Check out the biggest trends of the season and our expert take on them.
Grout gone wrong: Why your tile joints keep turning black
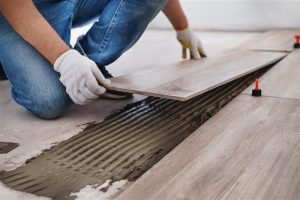
A lot of thought goes into planning a tile installation in a home: what kind of tiles to use, how to apply grout, which colours to choose, and more. Yet many homeowners find themselves frustrated by blackened grout that appears very quickly, sometimes as soon as a year after installation.
You may think the problem is with how you clean your tiles and grout. But the issue usually runs far deeper than that. Here’s everything you need to know about why grout blackens, as well as how to prevent it.
Why does grout turn black?
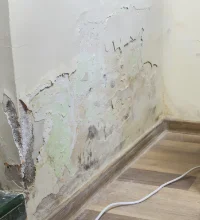
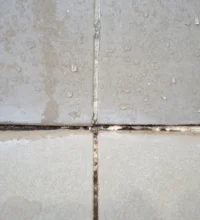
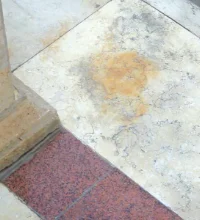
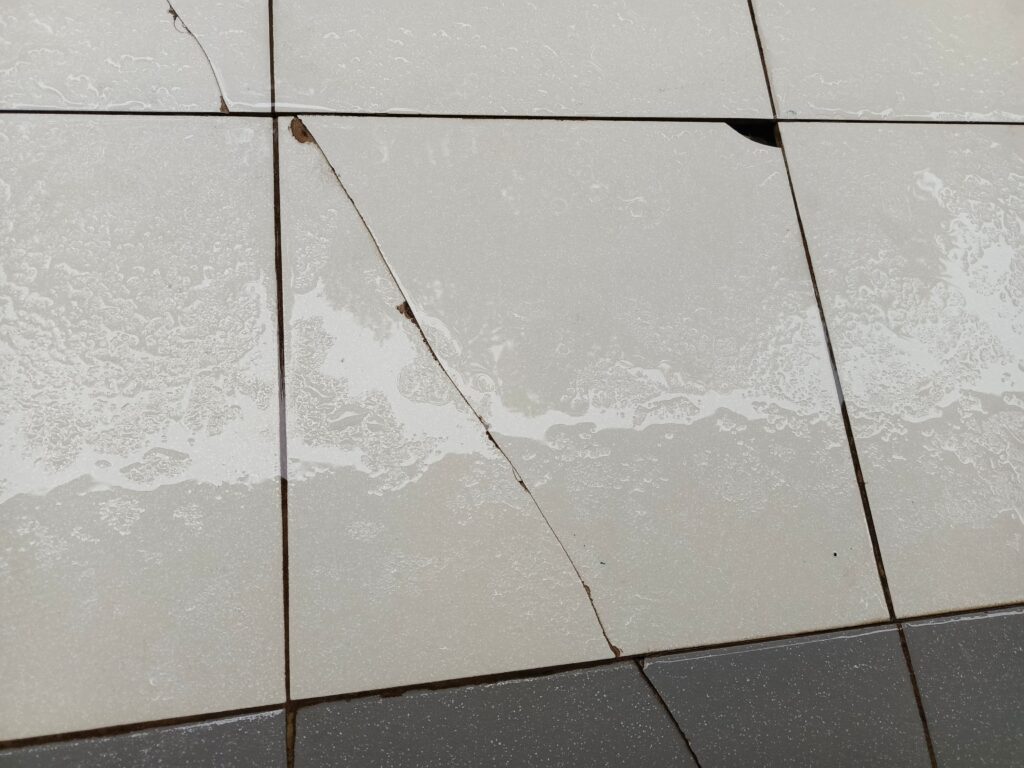
Grout turns black when dirt, grime, mould, and mildew seep through it and accumulate within the tile joints. When this happens, you may believe that the right grout cleaner can solve the problem. However, there are two main underlying factors that cause discolouration and blackening:
Use of cement grout
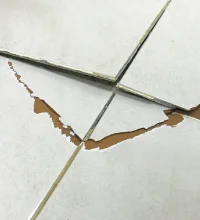
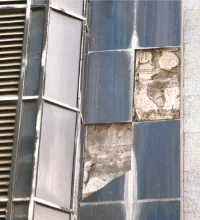
In most construction projects across India, cement grout remains the standard material for tiling installations. However, its porous nature means that it easily absorbs moisture, dirt, and grime, creating an ideal environment for mould and mildew growth.
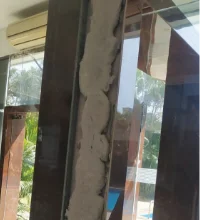
This is what ultimately leads to discolouration and blackening. Over time, moisture intrusion may also cause the cement grout to soften and chip away, compromising the overall structural integrity of your installation.
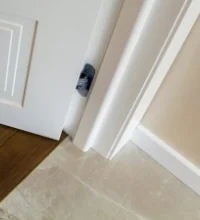
Opting for jointless tiling
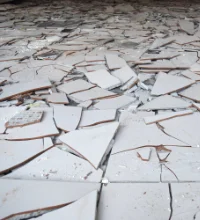
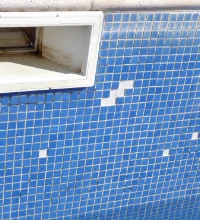
Many homeowners nowadays are also opting for jointless tiling. What this means is that the tiles are placed extremely close together, leaving insufficient gaps for the grout to settle in and form a robust joint. This causes the grouting to dry out inconsistently and underperform at its job of keeping moisture and dirt out.
Over time, jointless tiling not only leads to blackening but can also compromise the structural integrity of your tiles by causing shifting, misalignment, and popping out.
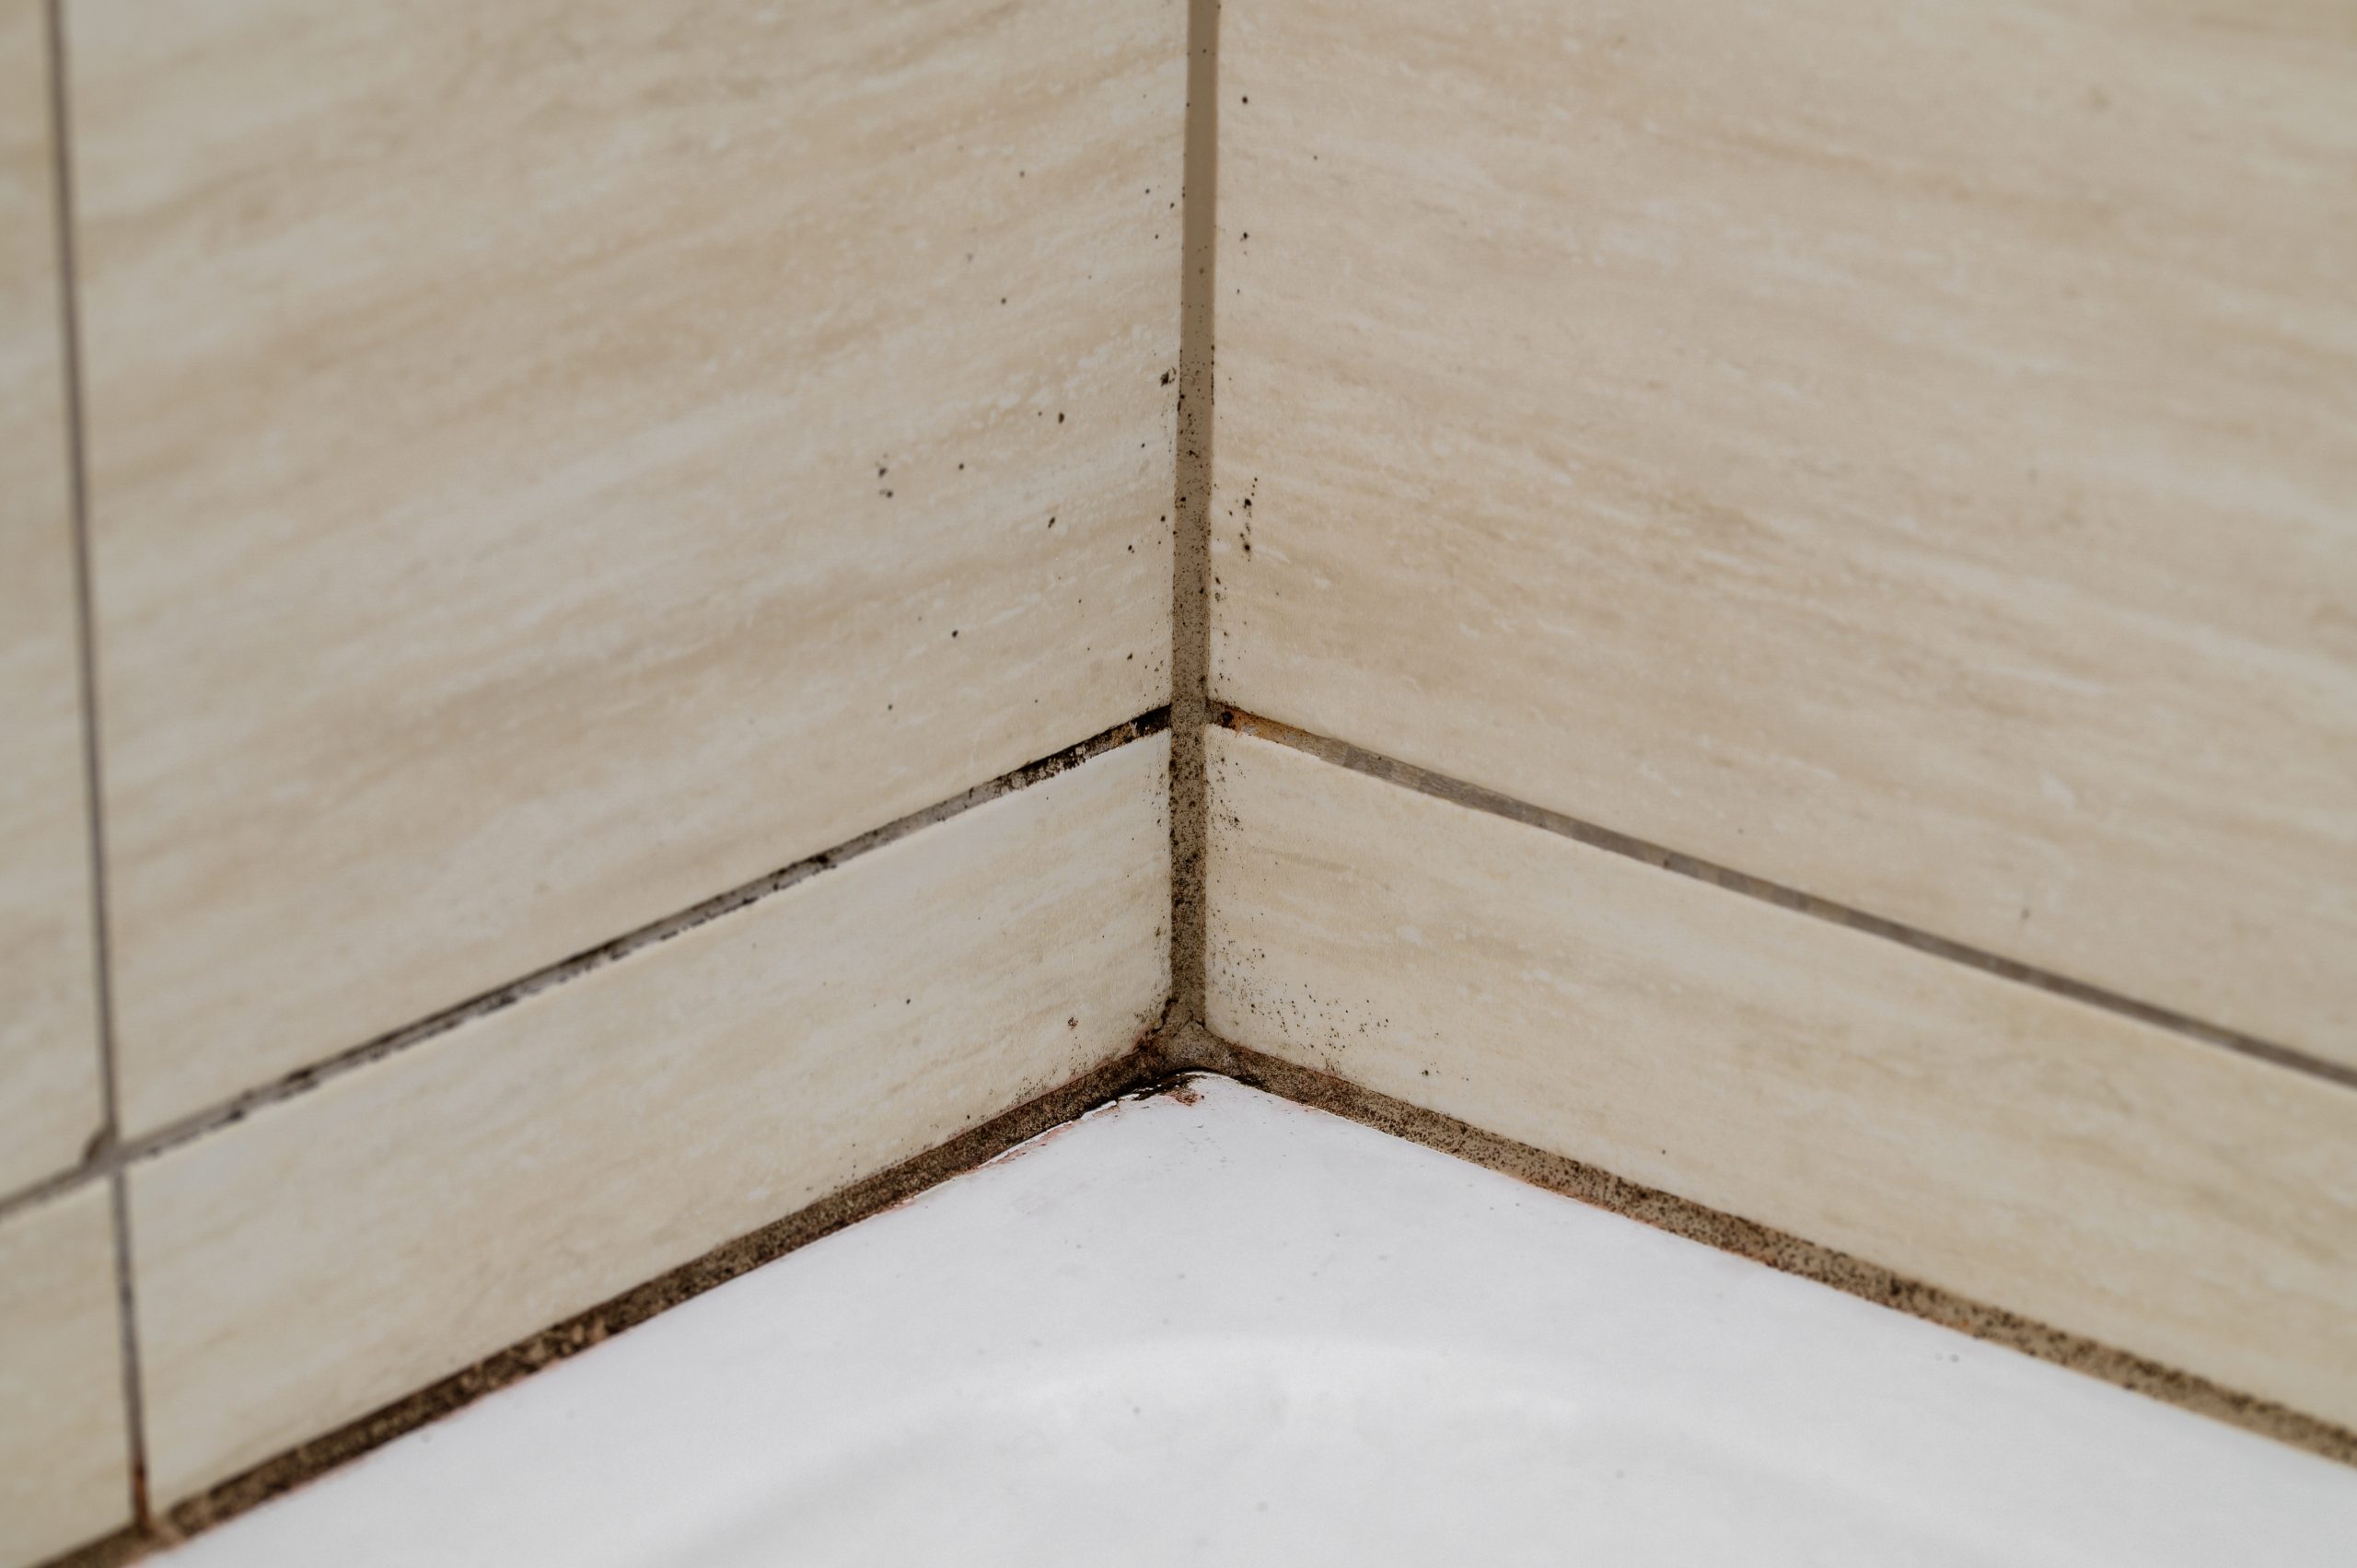
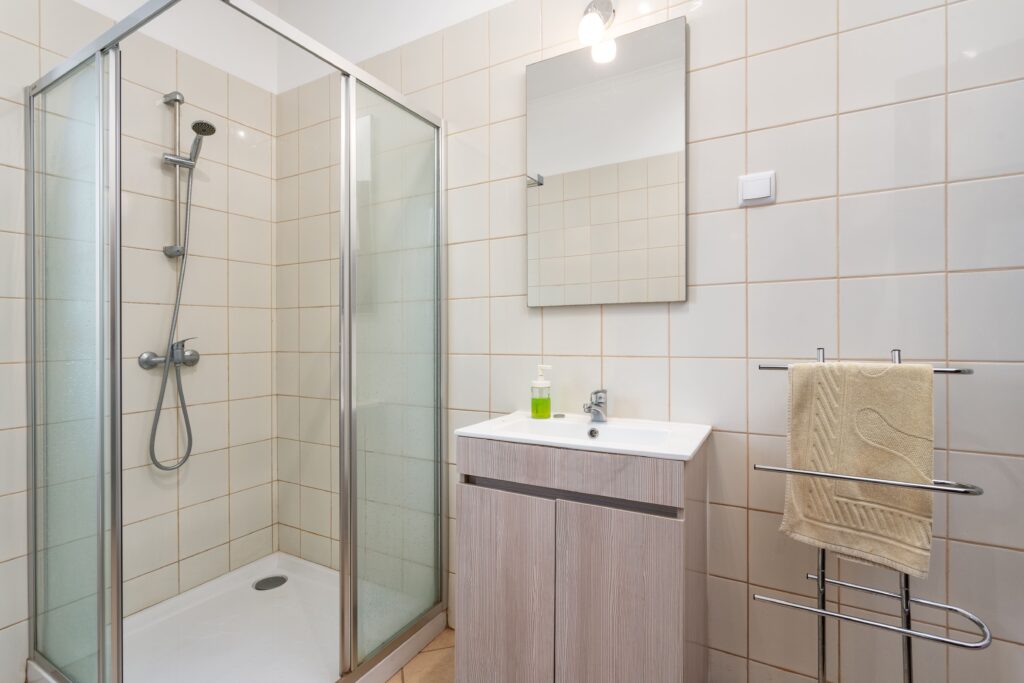
Cement grout and improper tile spacing are a particularly problematic combination when moisture is a constant factor. This is why many homeowners find it much more difficult to prevent grout blackeningin bathrooms, kitchens, balconies, and other wet areas.
Why choose an epoxy grout?
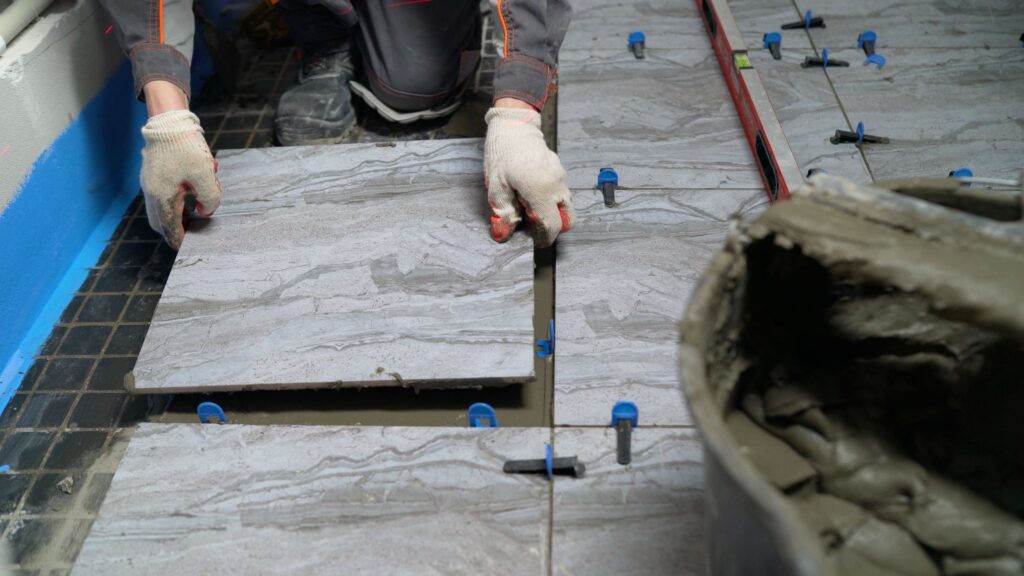
While you can take care of adequate spacing by asking your contractor to use proper tile spacers during the installation process, how do you choose the right solutions for your grout to prevent blackening? The answer lies in epoxygrout.
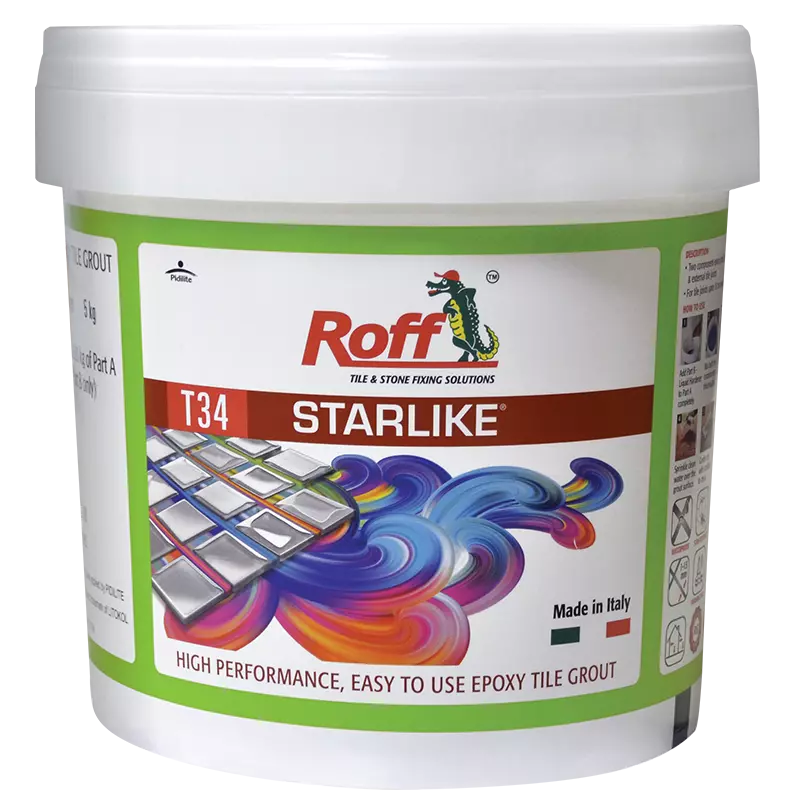
Epoxy solutions likeRoff Starlikeare specifically engineered to counter these problems. Formulated with Italian quartz technology, it is a two-component epoxy grout that offers:
Waterproofing and stain resistance that keeps out moisture, grease, and gunk entirely
Zero shrinkage and flexibility to prevent cracking, chipping, or inconsistent drying
UV resistance to make your installation equally strong for outdoor installations
Versatile to fill joints between 1–15 mm, suitable for any surface
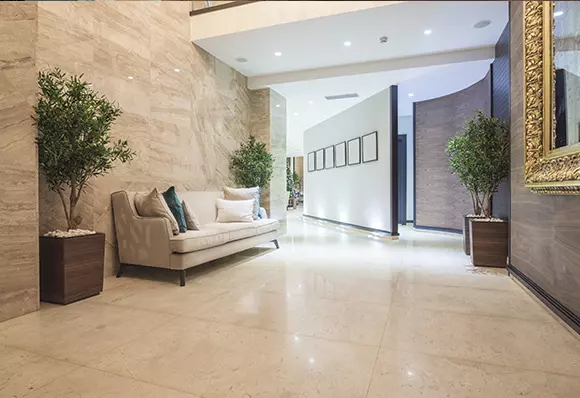
The result is grout that stays cleaner, lasts longer, and holds your installation together far better than cement ever could.
The right grout makes all the difference
You do not have to tolerate blackening grout. By addressing both the spacing and the grout type from the outset, you can protect your installation for years without the frustration of constant cleaning or early deterioration.
Roff Starlike gives you a grout that actively resists everything that causes blackening in the first place. Explore Roff Starlike today and give your tile installation the finish it deserves.
FAQs
1. Is epoxy grout more expensive than cement grout?
Yes, epoxy grout may cost more upfront. However, its longevity, low maintenance, and resistance to damage make it a far more cost-effective choice over the long term since you do not need to invest in frequent repairs.
2. Does grout colour affect how quickly blackening occurs?
Yes. Lighter grout colours show discolouration far more visibly than darker shades. However, blackening becomes visible over time, regardless of the colour you use, if you aren’t using the right grout material.
3. How long does epoxy grout take to cure?
Epoxy grout typically cures within 24 hours, though full chemical hardening can take up to 72 hours. Make sure to avoid heavy foot traffic or moisture exposure during this period.