Check out the biggest trends of the season and our expert take on them.
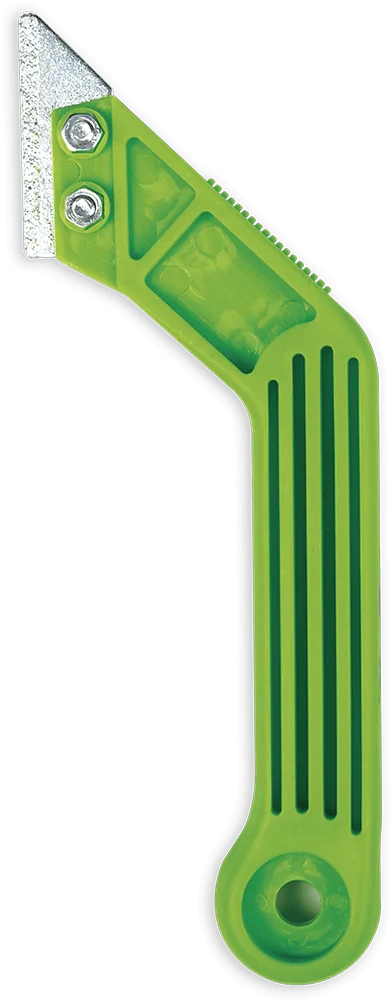
Tile Spacers: The Key to Perfectly Aligned Tiles and Stones
Tile spacers play an essential role in the installation of tiles and stones. These small, but mighty floor leveling tools are designed to ensure that your tiles are evenly spaced and aligned during installation. Whether you are installing tiles in your bathroom, kitchen, or any other area of your home or office, using tile spacers can make the difference between a flawless installation and a shoddy one. In this article, we will discuss the role of tile spacers in fixing stones and tiles and how to use them.
What are Tile Spacers?
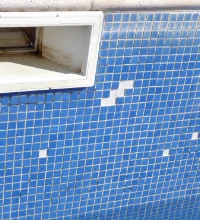
Tile spacers are small, plastic or rubber devices that come in a variety of sizes and shapes. Today, there are many types of tile spacers available in the market which are designed to suit various requirements. They are inserted between tiles or stones during installation to ensure that the gaps between them are consistent and uniform. Tile spacers are available in different sizes, typically ranging from 2mm to 5mm. They can be found in various shapes, including crosses, T-shapes, and straight lines.
The Role of Tile Spacers
Tile spacers are crucial in ensuring that tiles and stones are evenly spaced and aligned during installation. They help to maintain a consistent gap between tiles, which is essential for achieving a professional-looking finish. The gaps between tiles or stones allow for expansion and contraction, which is necessary to prevent damage to the flooring or wall over time. The use of tile spacers ensures that the gaps are uniform, and the tiles or stones are evenly spaced, providing a consistent and aesthetically pleasing finish.
How to Use Tile Spacers
Using tile spacers is relatively simple. Here are the steps to follow:
Step 1: Prepare the surface for installation
Make sure the surface is clean, level, and dry before beginning the installation process.
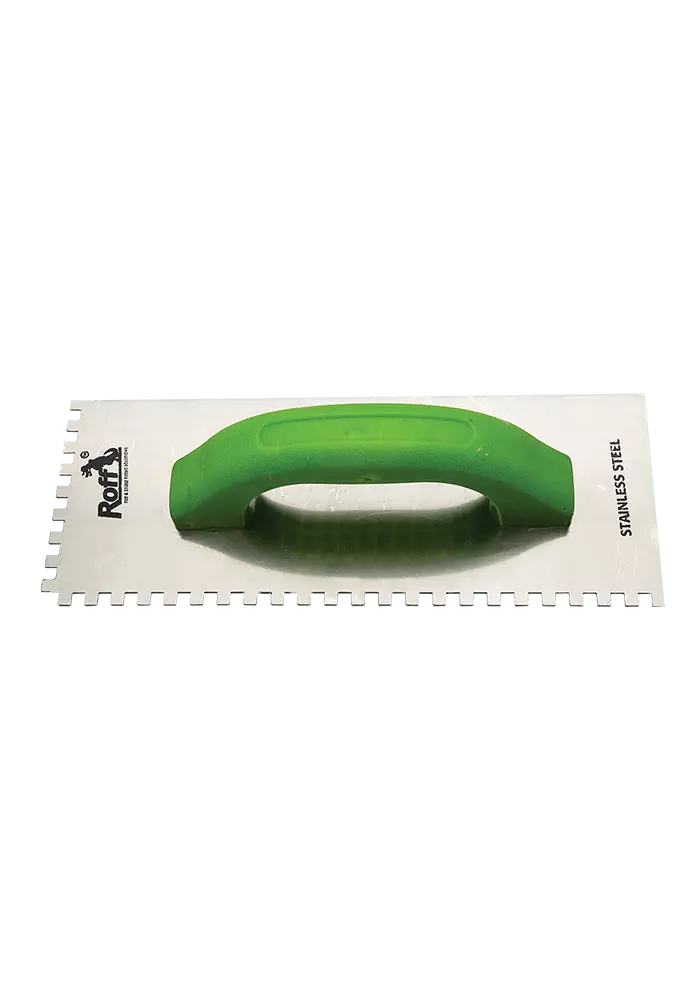
Step 2: Apply adhesive to the surface
Use a notched trowel to apply adhesive to the surface in sections.
Step 3: Place the first tile or stone
Press the tile or stone into the adhesive, making sure it is level and aligned with the surrounding tiles.
Step 4: Insert the tile spacers
Place the tile spacers between the tiles at the corners, ensuring that they are leveled and straight.
Step 5: Continue installing tiles
Continue installing tiles or stones in the same manner, using tile spacers to ensure a consistent gap between each tile.
Step 6: Remove the tile spacers
Once the adhesive has dried, remove the tile spacers by gently pulling them out from between the tiles.
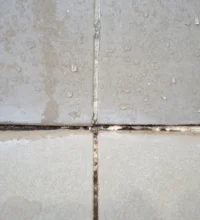
Step 7: Grout the gaps
After the adhesive has dried, use a grout float to fill in the gaps between the tiles with Roff Starlike grout.
Step 8: Wipe off excess grout
Use a damp sponge to wipe off excess grout from the tiles, being careful not to remove too much grout from the gaps.
Tile spacers are an essential tool for achieving a professional-looking finish when installing tiles or stones. They ensure that the gaps between the tiles are consistent and uniform, which is crucial for preventing damage and achieving an aesthetically pleasing finish. By following the steps outlined in this article, you can use tile spacersto achieve a flawless installation of your tiles or stones.