Check out the biggest trends of the season and our expert take on them.
Your guide to quality control when using floor tile adhesive
When supervising site execution, flooring failures often trace back to improper adhesive application. Even high-quality materials can underperform if installation practices are inconsistent. Conducting systematic quality checks when using flooring tile adhesive ensuresbetter bonding, prevents rework, addresses finish-related issues, and maintains the appeal of the final tile flooring.
Because floors experience constant loads, movement, and wear, careful monitoring during installation is pivotal to achieving durable, high-performing house flooring.
If you’re unsure about how to choose the correct floor tile adhesive, here’s a list of quality checks to guide your decision.
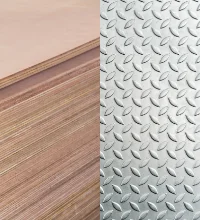
What is the right substrate condition and surface preparation for floor tile adhesives?
The success offloor tile adhesive begins with the substrate. Adhesives require a stable base to form a strong bond.
Important factors to check include:
Surface levelling: The substrate, whether PCC, screed, or existing hard floor, must be level and free from depressions. Uneven surfaces can lead to lippage and inconsistent adhesive thickness.
Surface hardness: Weak or powdery substrates reduce adhesion strength.
Cleanliness: Dust, grease, curing compounds, and debris must be removed before adhesive application.
Dryness: Excess moisture may weaken bonding and delay curing.
A properly prepared base ensures the adhesive performs as intended and supports long-term durability of tiles and floors.
Finding the right open time, setting time, and installation discipline
Every flooring tile adhesive has a defined open time: the period during which tiles must be placed after the adhesive is spread. Open time is especially important for large format tiles that are popular in modern installations.
If tiles are installed after the adhesive begins to skin over, bonding strength reduces significantly. To avoid this:
Spread adhesive in manageable sections.
Follow manufacturer guidelines for open and setting times.
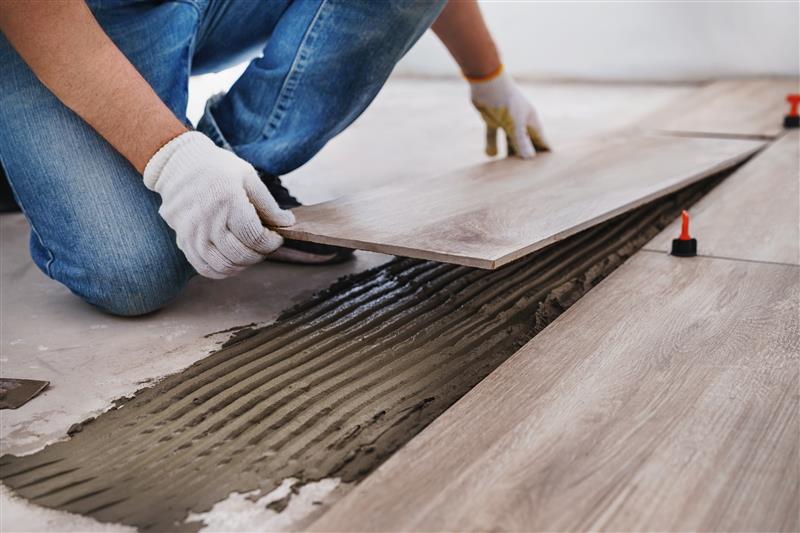
Train installers on how to apply tile adhesive floor correctly to maintain consistency.
Good installation discipline ensures optimal bonding and prevents premature tile debonding.
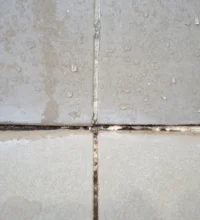
Does adhesive coverage and bed thickness matter for floor tiles?
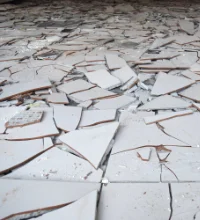
Insufficient adhesive coverage is a common cause of hollow sounds in tile flooring.
To achieve proper bonding:
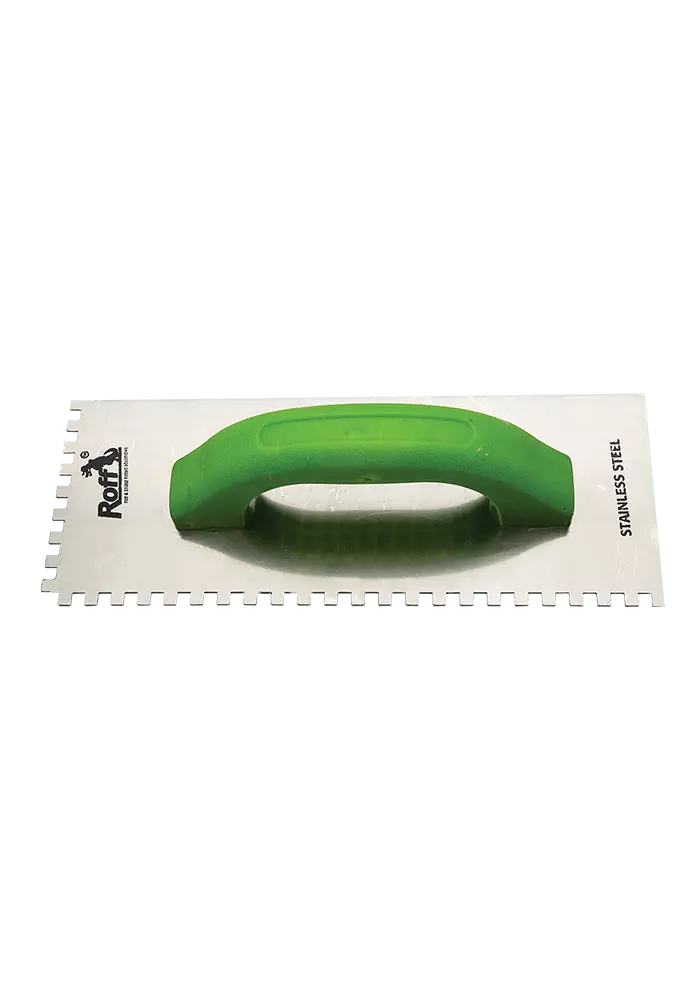
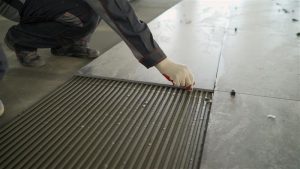
Use the correct notched trowel size based on tile dimensions.
Ensure uniform adhesive spread across the surface.
Maintain the recommended bed thickness.
For larger tiles, back-buttering may be required to ensure full contact between the tile and the adhesive layer. Proper coverage helps prevent cracks, tile movement, and long-term failures.
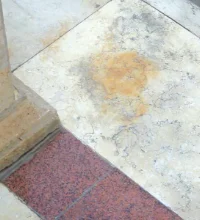
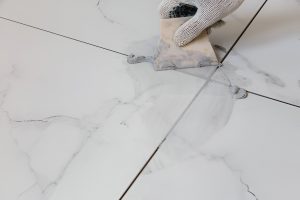
What is the right tile alignment, level differences, and joint consistency for floor tiles?
Aesthetics is equally important in house flooring installations.
During installation, check for:
Consistent tile alignment
Uniform spacing and joint width
Minimal level differences between adjacent tiles
Maintaining these standards ensures a clean, professional finish that enhances the overall visual appeal of the tiles and the floor design.
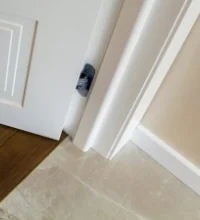
Final inspection before curing and handover
Before allowing foot traffic or proceeding with grout and finishing work, conduct a final inspection. Confirm that tiles are properly bonded, that joints are consistent, and that curing time recommendations are followed.
Allowing sufficient curing time ensures the floor tile adhesive develops full strength, reducing the risk of tile displacement or surface damage.
Key takeaway
Consistent quality checks during the application of floor tile adhesive are essential for achieving durable, level, and visually appealing tile flooring. By carefully supervising substrate preparation, adhesive application, tile alignment, and curing conditions, architects and interior designers can prevent installation failures and deliver long-lasting house flooring solutions.
Roff offers a wide range of high-quality tile adhesives that are effective on various surfaces. For example,Roff Non-Skid Adhesive provides a strong, durable bond that enhances surface grip and prevents slipping. This adhesive is ideal for safety applications on floors, stairs, ramps, etc., ensuring long-lasting skid resistance in your home. Once the adhesive is applied, you must fill the joints between tiles with a high-performance epoxy grout like Roff Starlike.
FAQs
1. How do you apply tile adhesive to the floor correctly?
Spread the adhesive using a notched trowel, maintain even coverage, and place tiles within the adhesive’s open time for proper bonding.
2. Why is substrate preparation important for tile flooring?
A clean, level, and strong substrate ensures proper adhesion and prevents hollow tiles or cracking over time.
3. Can improper adhesive coverage cause tile failure?
Yes. Poor coverage can create voids under tiles, leading to hollow sounds, cracks, or tile debonding.
4. How long should you wait before walking on newly installed tiles?
Light foot traffic is usually allowed after 24 hours, but full curing may take 48 to 72 hours depending on the adhesive type.