Check out the biggest trends of the season and our expert take on them.
How tile spacers improve the final look of your flooring
A tiled surface can look exactly right in a render and fall apart on site. Even when the tiles and adhesive are skillfully installed, uneven grout lines and jointless tiling can cause visible lippage across the field, making the entire installation look slightly off. In most cases, such problems started with the tile spacers.
For architects and interior designers, tile spacers are easy to underspecify. They’re small, inexpensive, and often treated as a site consumable that contractors figure out for themselves.
But the type, size, and placement of your tile spacers directly determine grout joint width, surface flatness, and how well the installation holds up over time. Getting this right from the specification stage is how you close the gap between design intent and executed reality.
Here is everything you need to know about tile spacers: the types available, how to select the right size, and the correct technique for wall and floor installations.
What are tile spacers?
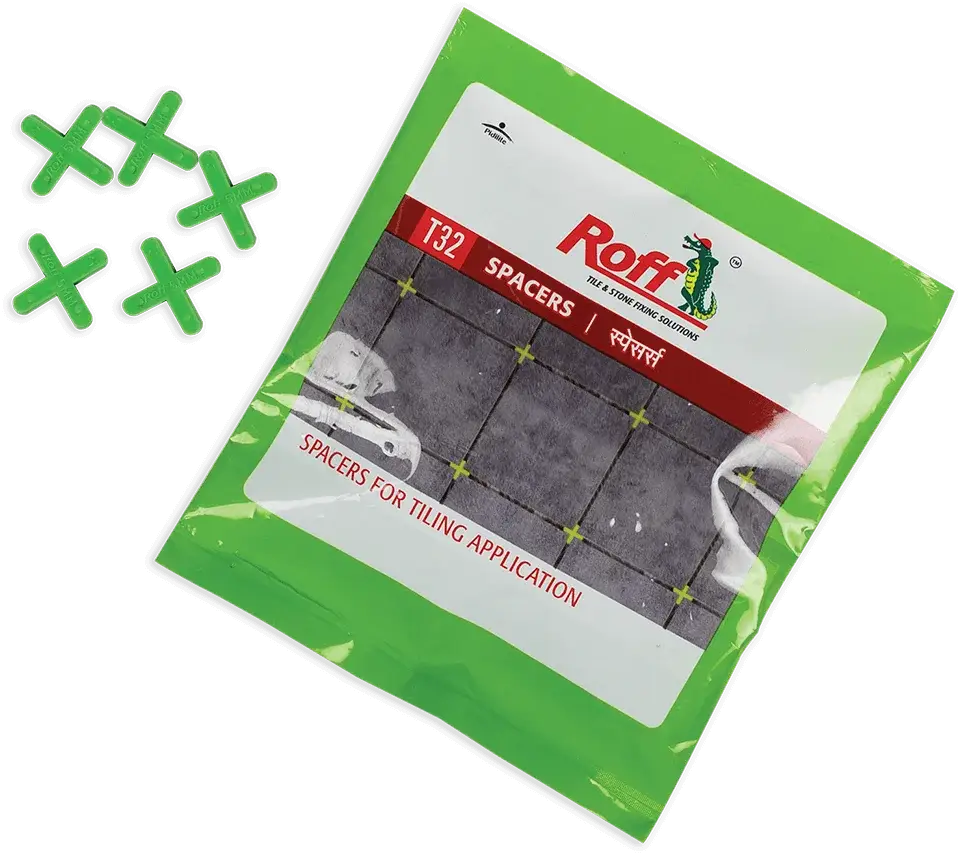
Tile spacersare smallplastic insertsplaced in the joints between tiles during installation to maintain consistent gaps before grouting. Without them, tiles shift during setting, grout lines vary in width, and alignment errors compound across the tile field.
Why do you need tile spacers?
The spacer design choices for tiles have consequences that only become visible later. The gap width your tile spacers create affects stress distribution across the installation, grout joint durability, and the visual scale of the finished surface.
This is the part that is easy to overlook when tile levelling and lippage aren’t yet visible problems. Some ways it can affect your installation include:
Uneven grout lines
Without consistent spacing, grout joint width varies across the tile field, making even a well-chosen tile look poorly installed.
Lippage
When adjacent tiles aren’t held at the same height during setting, one edge sits higher than the other. On large-format tiles, especially, this is visible underfoot and very difficult to correct after the adhesive cures.
Grout failure
A joint that’s too narrowconcentrates thermal movement stress at individual grout lines, leading to cracking over time, particularly in areas with underfloor heating or temperature fluctuation.
Structural degradation
Inconsistent joints lead to uneven load distribution across the tile field, accelerating wear on both the grout and the tile edges.
A wider joint reads differently from a narrow one. It also performs differently under thermal movement, especially in large-format installations or areas with underfloor heating. This is why tile spacerselection is a specification decision and not just a site-level afterthought.
What are the types of tile spacers, and what is each one made for?
Not all tile spacersare the same. The right type depends on your tile format, the pattern you’relaying, and the surface conditions on site.
Cross spacers
Cross tile spacers are the standard choice for most installations. Cross-shaped inserts are placed at the four-tile junction in a straight grid layout. They’re the default option for wall and floor tiles in a regular pattern and are widely available in sizes 1mm to 10mm.
They work well for uniform layouts but struggle in offset or diagonal patterns, where not all corners meet at a single point.
T-shaped spacers
T-shaped spacers are designed for three-tile junctions, which are found in offset, brick-bond, or metro tile patterns. If your specification calls for a staggered layout, T-shaped tile spacers are the correct tool. They maintain consistent spacing at the points where cross spacers simply don’t fit the geometry.
U-shaped spacers
These are open on one side and placed along a single tile edge rather than at junctions. They’re most useful at perimeters and edge conditions, like the first row of wall tiles against a floor line, or anywhere you need to maintain a gap but still be able to retrieve the spacer cleanly. The open design makes removal easier than a fully enclosed insert.
Wedge spacers
Wedge spacers are flat and tapered. Used in pairs, they’re pushed together to adjust spacing incrementally, making them useful on uneven substrates where a fixed-size spacer won’t compensate for variation. They give you fine-tuned control over the joint without lifting and resetting tiles.
Tile levelling spacers
Tile levelling spacers are a two-part system: a clip that slides under the edge of a tile before the next tile is laid, and a wedge that drives through the clip to pull both tiles flush. They do two things at once: they maintain the joint gap, and mechanically level adjacent tiles to eliminate lippage.
For large-format tiles, natural stone, and any high-specification project where surface flatness is non-negotiable, tile levelling spacers are now considered best practice. They’re the single most effective way to prevent the lippage complaints that follow large-format installations.
Tile spacer sizes: How to choose the right one?
Spacer size determines grout joint width, which is not purely an aesthetic call. Here’s how to think through the decision.
Understanding standard sizes and typical applications
2mm: The most common wall tile specification that creates clean joints without visual heaviness.
3mm: The standard spacing for floor tiles that accommodates minor dimensional variation in tiles.
5mm: Ideal for larger formats, external applications, or installations where movement joints are a factor.
10mm and above: Ideal for rustic or handmade tiles with edge variation, external areas like stone patio or parking, or heritage restoration work where wider joints are part of the aesthetic.
Three questions that drive the decision
1) Are the tiles rectified or non-rectified?
Rectified tiles have machine-cut edges and can take as few as 2mm joints cleanly. Non-rectified tiles have natural dimensional variation and need at least 3mm of movement to avoid joints looking inconsistent.
2) What is the tile format?
Larger tiles require wider joints to manage thermal movement and substrate flex. An excessively fine joint can put too much stress on the grout and cause cracks to form within the first year.
3) What are the substrate conditions?
A perfectly flat, rigid substrate gives you more freedom to go narrow. An uneven or slightly deflecting substrate needs a wider joint to redistribute stress across the tile field.
How to use tile spacers correctly?
Knowing which tile spacers to specify is half the job. The other half is making sure they’re placed and removed correctly on site. Here is how to use tile spacers for floor and wall installations:
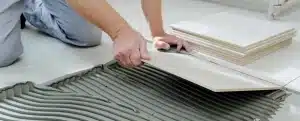
1. Set out from the centre of the room or a defined reference point, not from the wall. Dry-lay the first field to check the pattern, joint widths, and cut positions before any adhesive goes down.
2. Apply adhesive to the bed tiles and place tile spacers at every corner junction as you go. Do not skip junctions to save time
3. For large-format tiles, use tile levelling spacers: slide the clip under the tile edge before the adjacent tile is laid, then drive the wedge through to pull both tiles flush. Check with a straightedge across every three to four tiles
4. Remove spacers before the adhesive fully cures. For most products, this means within 20 to 30 minutes of placement. Do not wait until the next session
Your essential guide to ensuring a successful tile installation
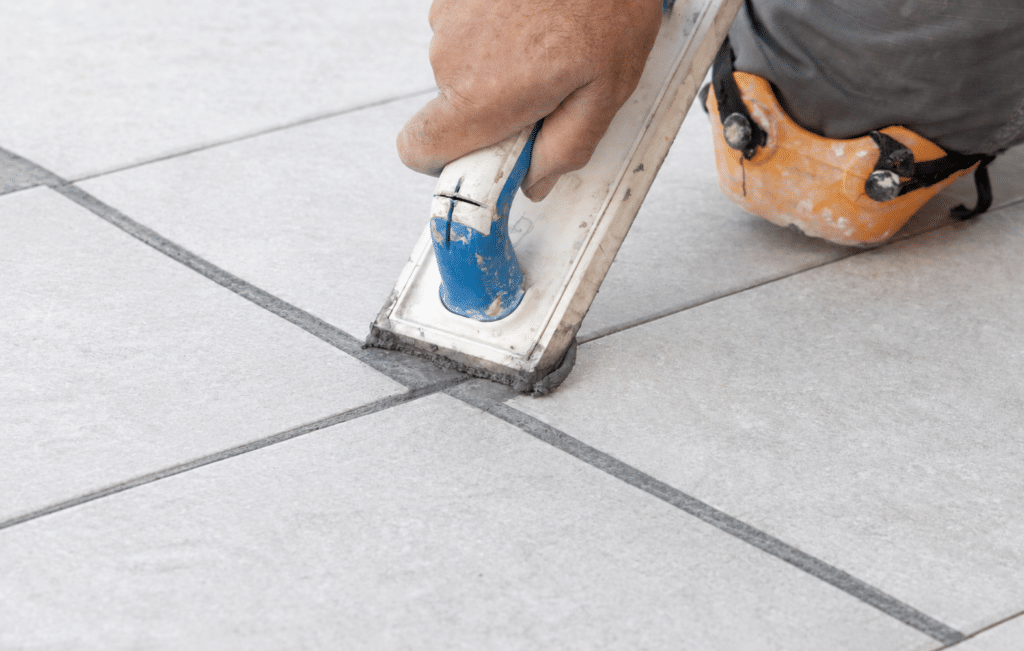
Getting your tile spacers right sets the foundation. But the grout you use to fill those joints determines how long that foundation lasts.
Even a perfectly spaced, flawlessly levelled installation can deteriorate quickly if the joint filler isn’t up to the job. That’s because grout that shrinks, cracks, or stains compromises the structural integrity of the whole tile field, making your choice of grout as important as the choice of using tile spacers.
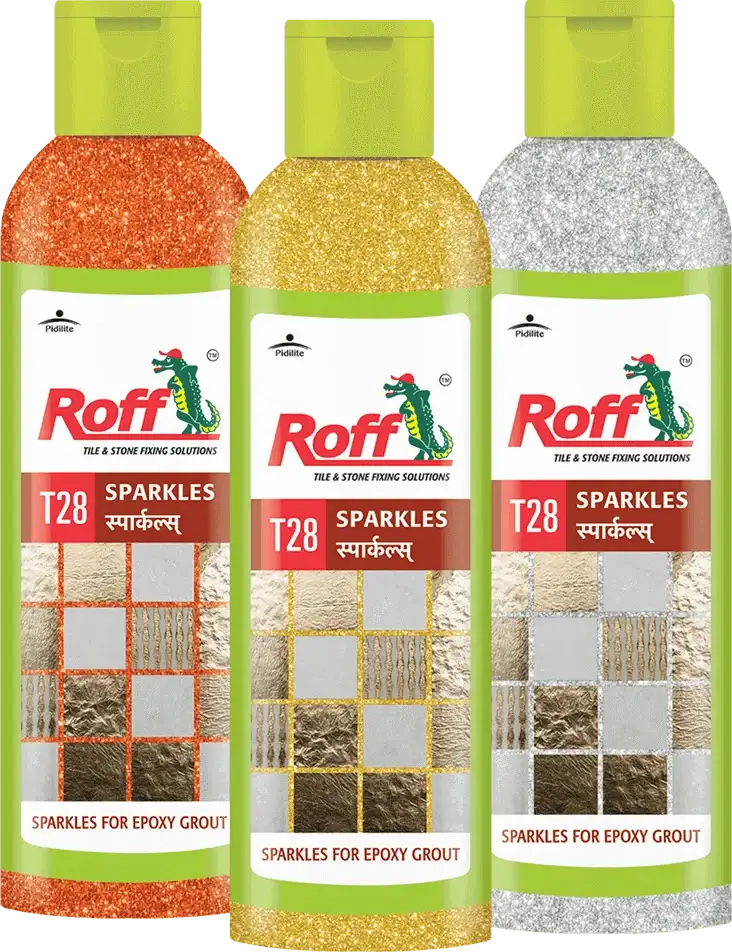
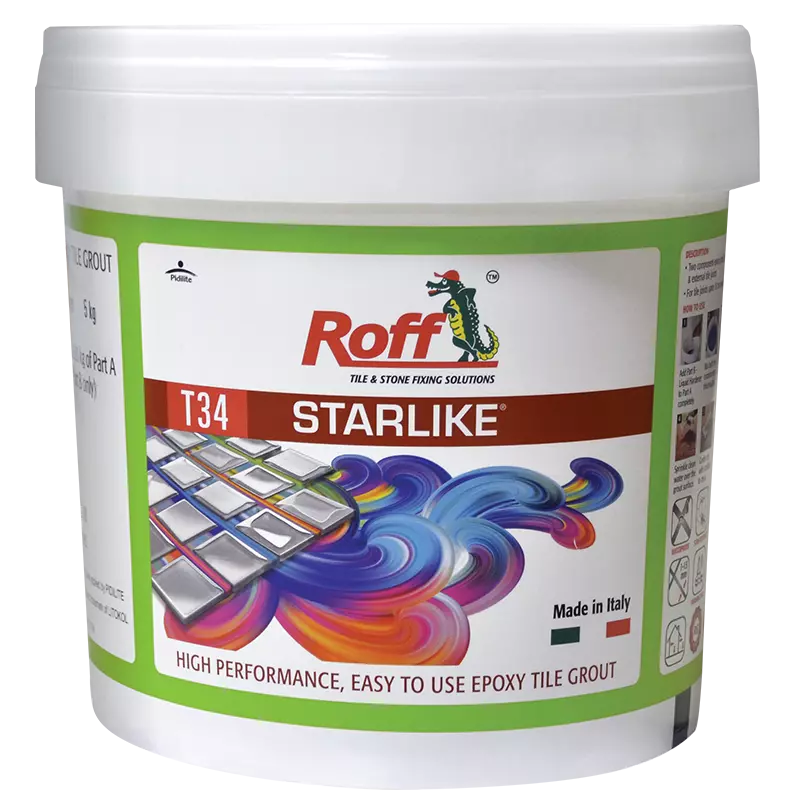
Roff Starlike is an epoxy tile joint filler built to perform where standard grouts fall short. Here’s what makes it the right finish for a well-specified installation:
Waterproof and stain-resistant
Roff Starlike seals joints completely, keeping out grease, gunk, and oil. Surfaces stay clean without the maintenance burden that porous grouts create.
Zero shrinkage
Unlike cement-based grouts that shrink as they cure and leave gaps over time, Roff Starlike maintains the joint exactly as filled, with no voids or cracking at the edges.
Flexible
It imparts flexibility to the surface, allowing the joint to move with the tile field rather than working against it. This is particularly important in installations with underfloor heating or thermal cycling.
UV-resistant
Roff Starlike holds its colour and integrity in outdoor conditions, making it a reliable choice for external applications where standard grouts fade or degrade.
Acid-resistant
This property makes Roff Starlike suitable for industrial environments where exposure to harsh chemicals would compromise ordinary grout.
Wide joint compatibility
Roff Starlike fills joints from 1mm to 15mm, covering everything from fine rectified tile gaps to wider joints in large-format or handmade tile installations.
Low VOC
It is a cleaner product for enclosed spaces, with no compromise on performance.
Tile spacers: A precision call, not a site consumable
The difference between a finished installation that matches the specification and one that needs rework often comes down to tile spacers. Type, size, and placement technique all feed into the final result: consistent grout lines, flat surfaces, and installations that perform over time. But the work doesn’tstop at spacing. What fills those joints matters just as much as how they were created.
Specify your tile spacers with the same precision you bring to tile selection and layout. Communicate requirements clearly to your site team. And when it comes to finishing the installation, choose a grout that holds up as well as the rest of your specification. Roff Starlike is built for exactly that.
Frequently asked questions (FAQs)
1) Can tile spacers be reused?
Cross and T-shaped tile spacers can be reused if removed cleanly before the adhesive cures. Wedge-type tile levelling spacersgenerally cannot be reused, as the wedge snaps at the tile surface and is not recoverable.
2) When should tile spacers be removed?
Remove tile spacers before the adhesive fully cures, typically within 20 to 30 minutes, depending on the product. The tile should be firmly set, but the adhesive should still have some give. Waiting too long makes removal difficult and risks tile movement.
3)How do tile spacers work in a diagonal layout?
Diagonal or rotated layouts require adjusted placement, as cross tile spacersdon’t fit cleanly at diagonal junctions. For these patterns, use wedge spacers along tile edges and plan your tile levelling and spacing from a central reference point rather than a wall edge.
4)What size tile spacers should I use for floor tiles?
For most floor tiles, 3mm tile spacers are commonly recommended because they allow for minor dimensional variations and help maintain consistent grout joints. Larger-format tiles, outdoor areas, or installations exposed to movement may need wider spacers, such as 5mm.
5) Are tile levelling spacers necessary for large-format tiles?
Yes, tile levelling spacers are highly recommended for large-format tiles because they help maintain even grout spacing while pulling adjacent tiles flush. This reduces the risk of lippage, which is more visible and harder to correct in large-format tile installations.