Check out the biggest trends of the season and our expert take on them.
Best Adhesive for Mosaic Tile Sheets (Glass & Ceramic)
Key Takeaways
A white, non-staining adhesive helps prevent unwanted show-through and maintains the appearance of translucent or light-coloured mosaic tiles.
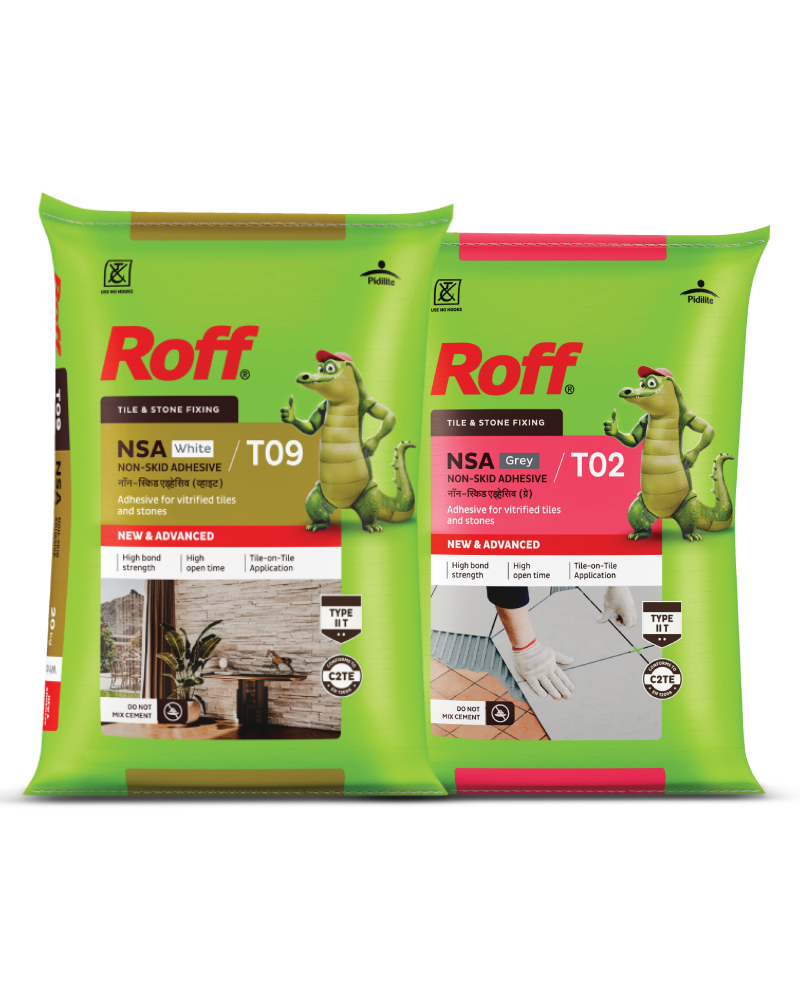
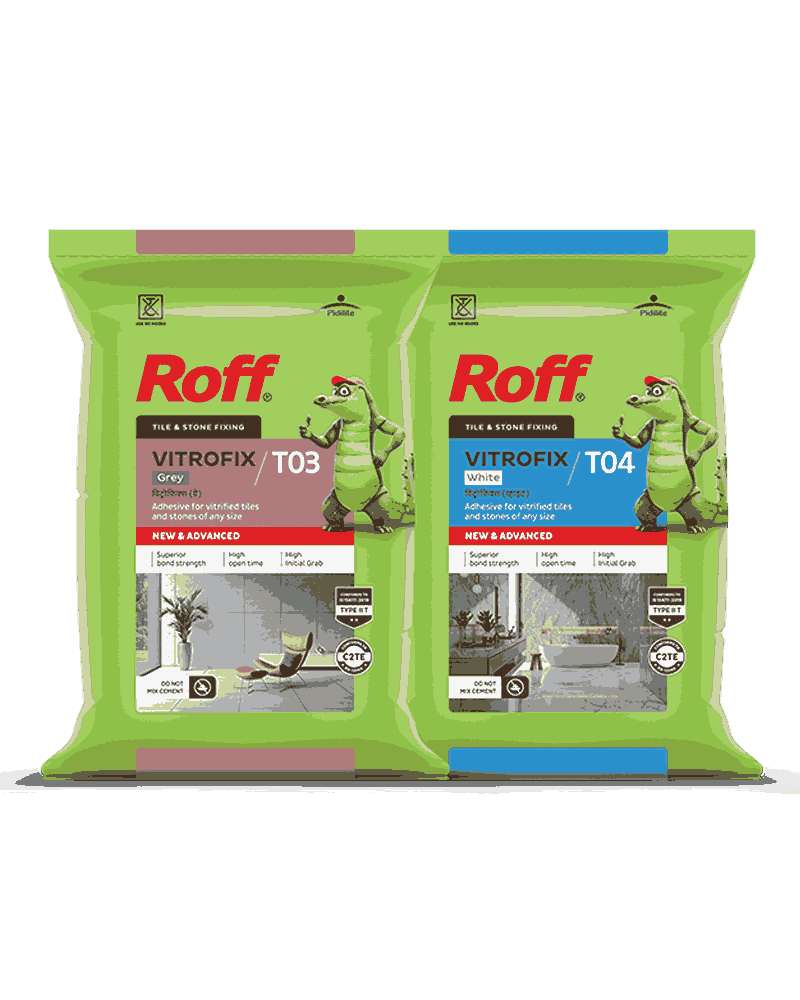
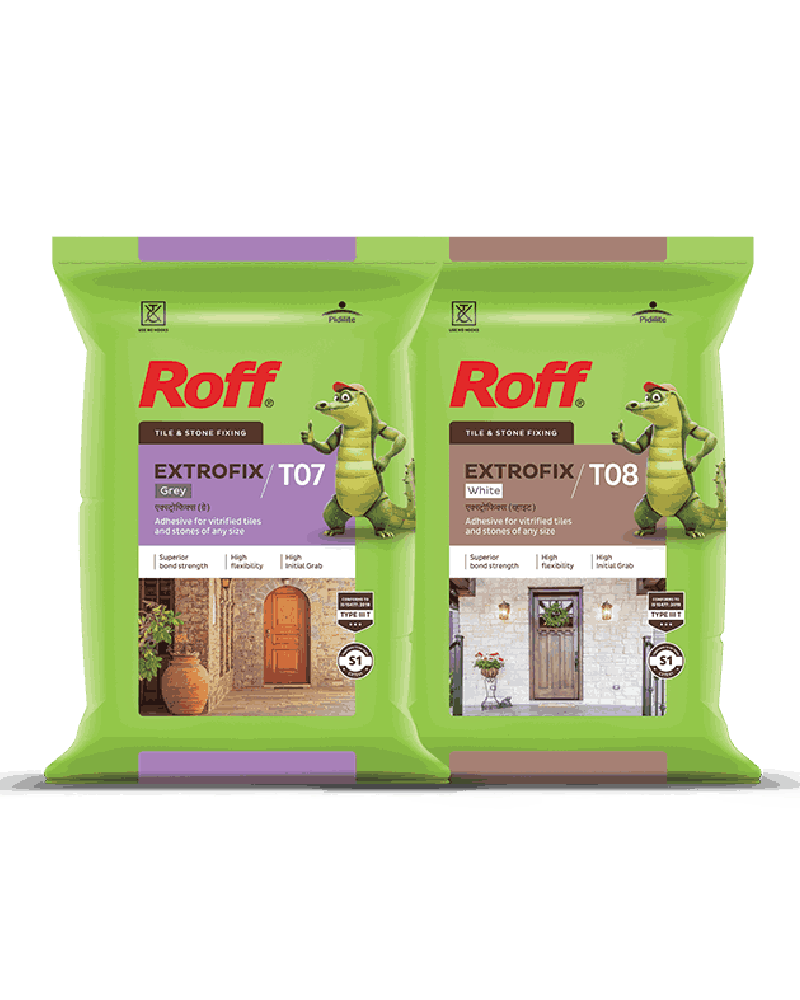
Roff NSA and Roff Vitrofix Adhesive (white grade) suit glass and ceramic mosaics, subject to substrate compatibility and installation requirements.
Use a flat, clean substrate, a suitable fine-notch trowel, and consistent sheet spacing to achieve an even, professional finish.
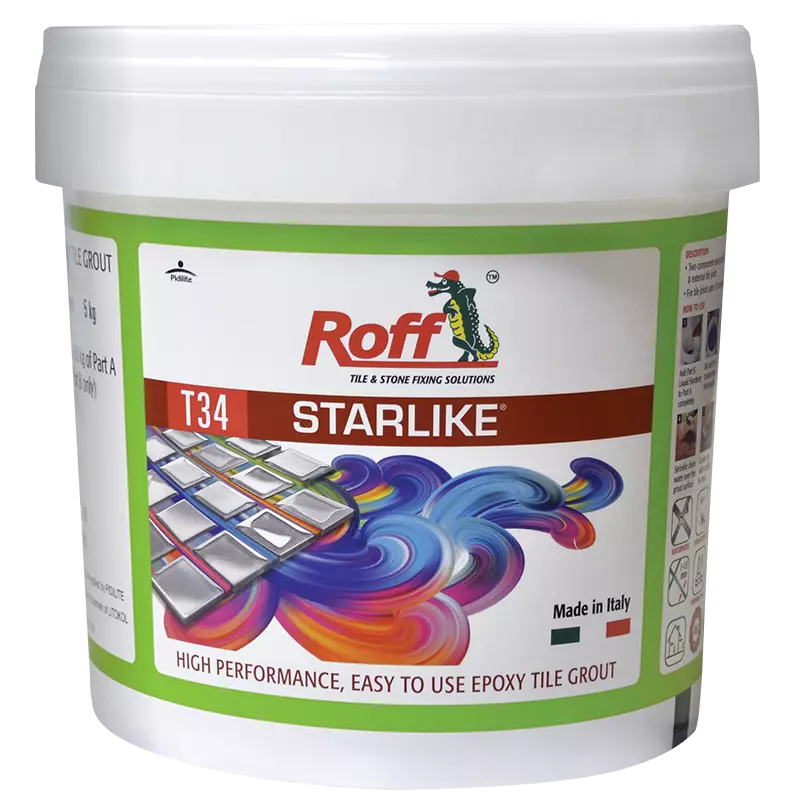
Roff Starlike Epoxy Grout offers excellent water and stain resistance, helping mosaic joints maintain their appearance and colour over time.
Mosaic tile sheets create detailed finishes on kitchen backsplashes, bathroom walls, shower areas, and decorative surfaces. However, their small tile pieces, mesh backing, and closely spaced joints require careful selection and application of adhesive. For glass mosaics in particular, choosing a white, non-staining adhesive helps preserve the intended colour and appearance of the finished surface.
Why Mosaic Needs a White, Non-Staining Adhesive
Mosaic sheets often contain small glass or ceramic pieces mounted on a mesh backing. Because the individual tiles are small and the joints are numerous, the adhesive bed and its colour can influence the overall appearance.
Show-through with glass
Glass mosaic tiles may be translucent or partially transparent, allowing the adhesive bed beneath them to show through. A grey or unevenly coloured adhesive can affect light-coloured glass, making the finished surface look darker or less uniform than intended.
A white adhesive is therefore a useful choice for light-coloured or translucent glass mosaics, provided the product suits the application. Apply it evenly to avoid ridges or inconsistent colour beneath the sheets.
Staining risk
The adhesive must also be compatible with the mosaic material. An unsuitable product can affect the appearance of delicate or porous materials, while an uneven bed may create visible marks or shadows. Choose an adhesive approved for glass or ceramic mosaics and follow the manufacturer’s instructions. Test a small area first when working with unusual finishes or decorative glass that may be sensitive to staining.
Which Adhesive Works for Mosaic Tile Sheets?
The best adhesive depends on the mosaic material, substrate, and installation environment. For glass and ceramic mosaic sheets, Roff Vitrofix Adhesive is a suitable option because it comes in white and is specified for glass mosaic tiles and ceramic tiles.
Check the current technical data sheet for substrate compatibility and installation requirements before proceeding. For wet areas, remember that tile adhesive does not replace a dedicated waterproofing system where one is required.
How to Fix Mosaic Sheets (Step by Step)
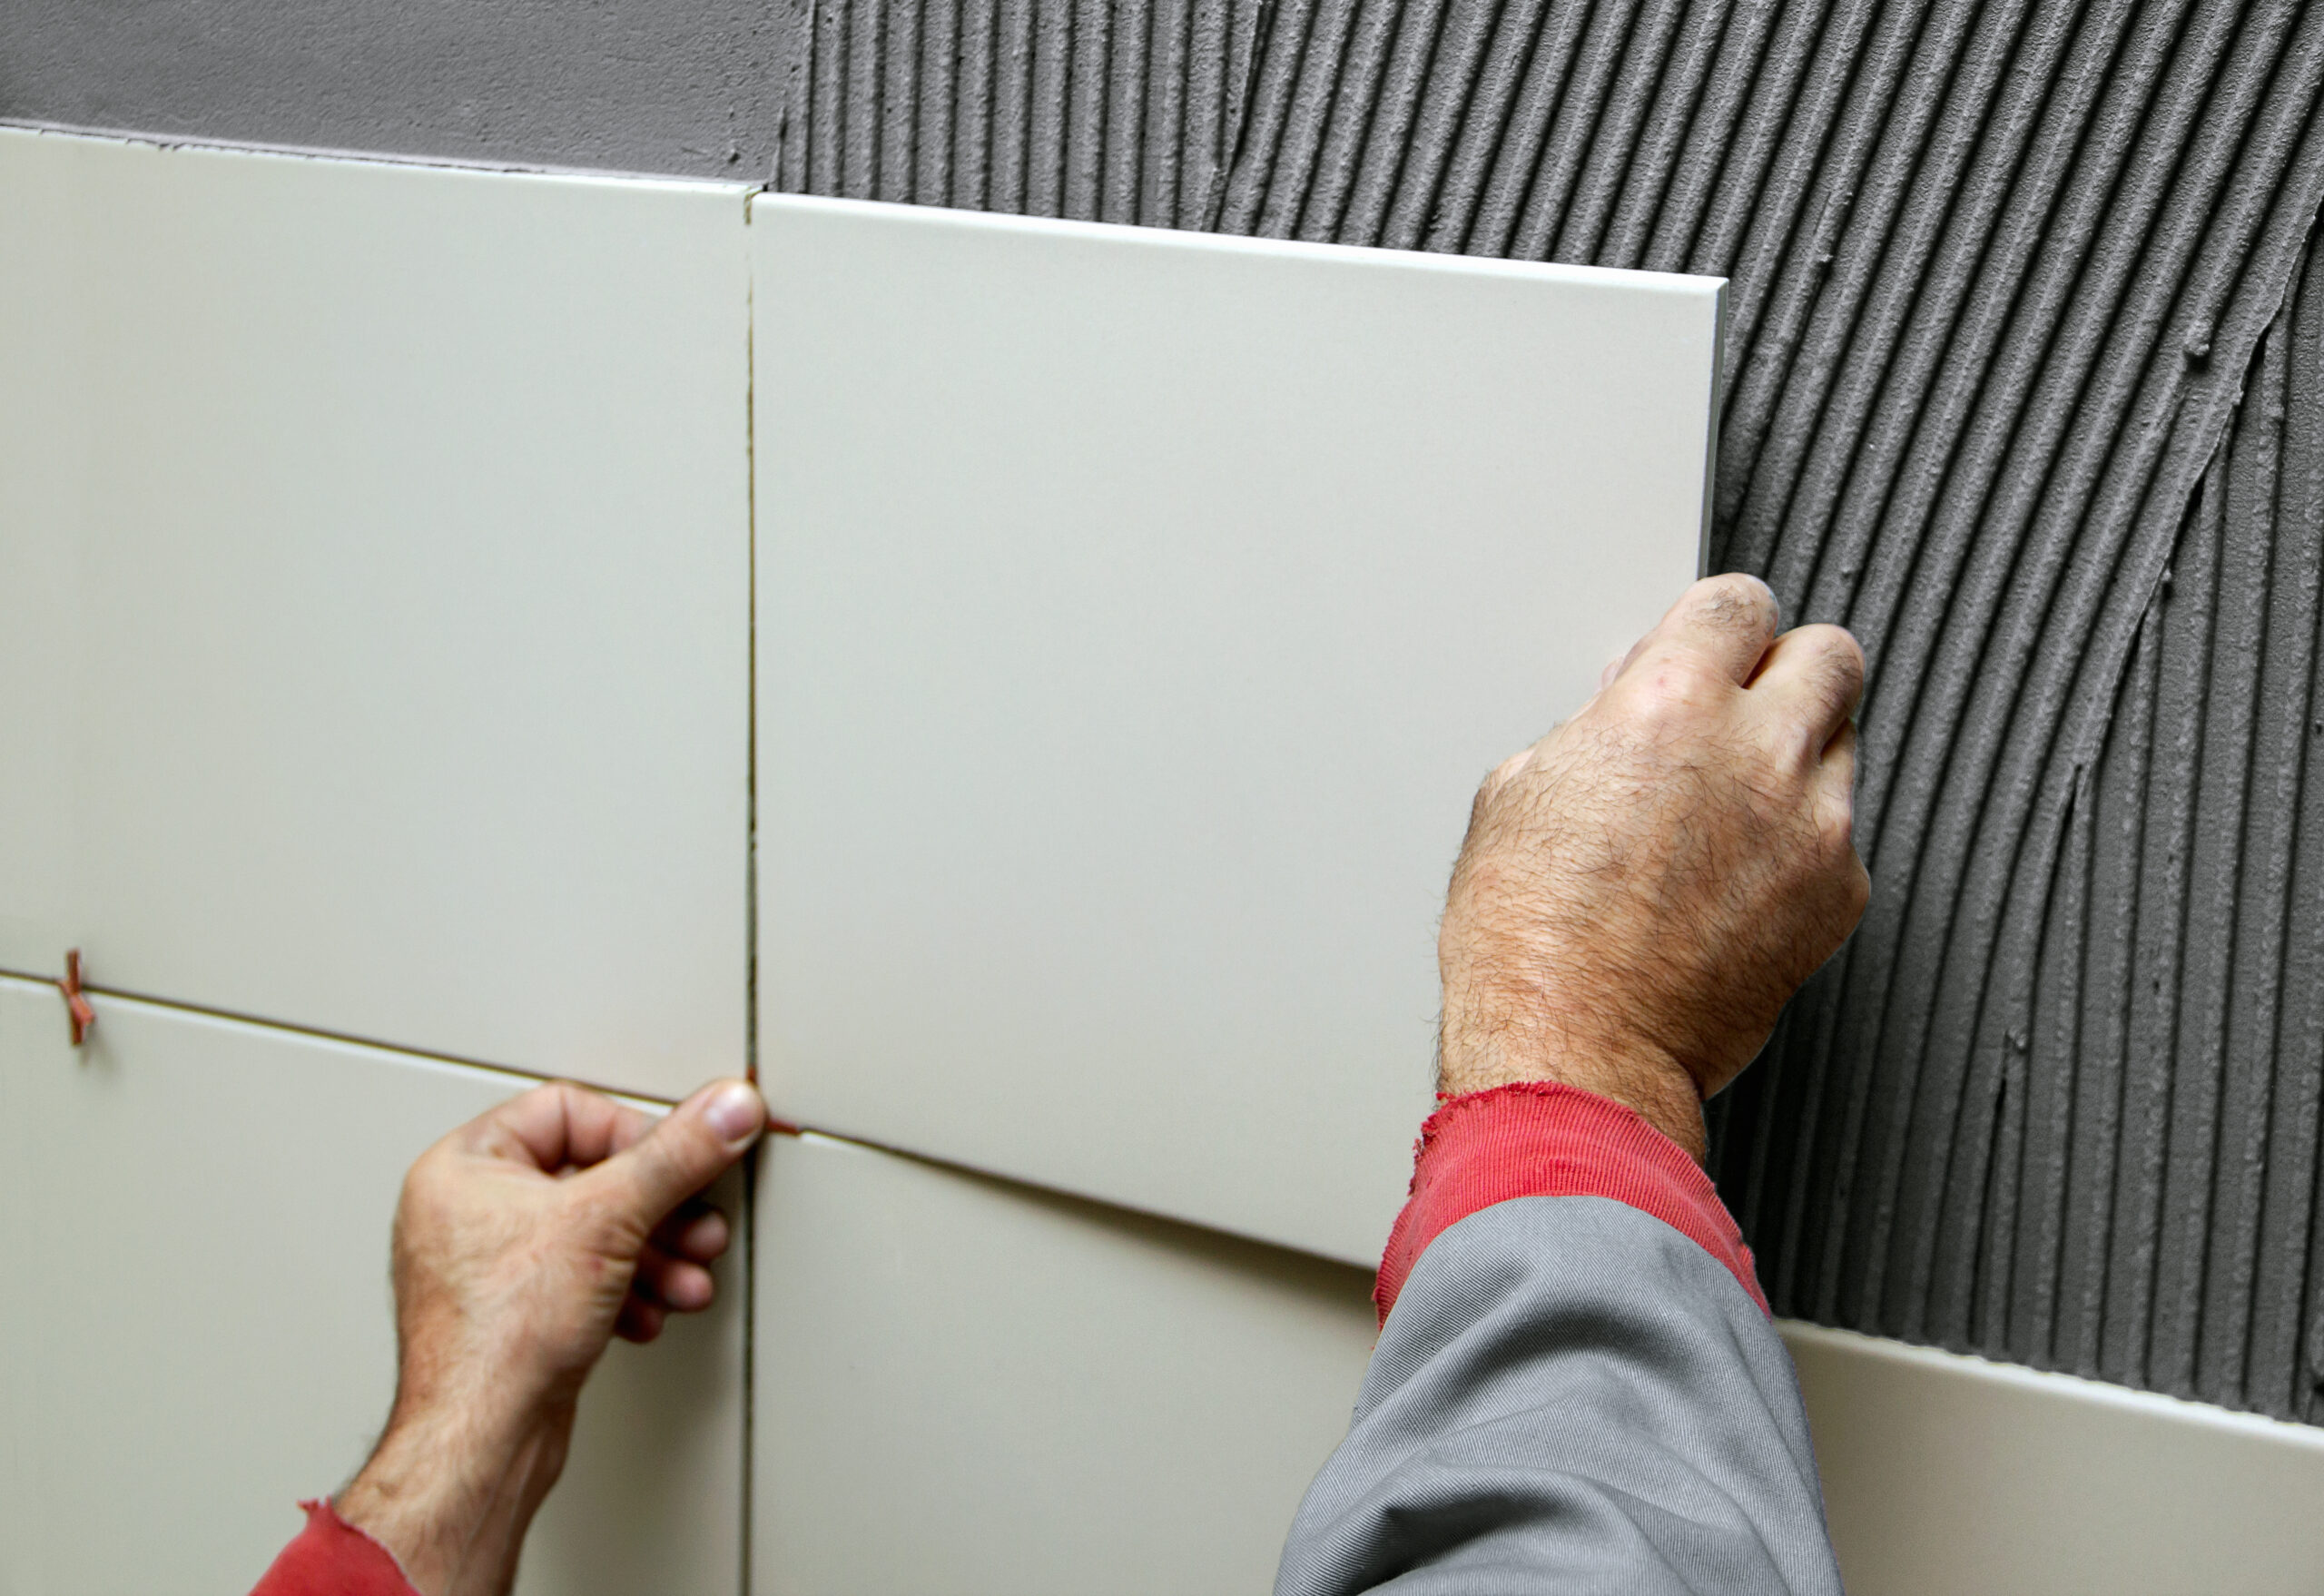
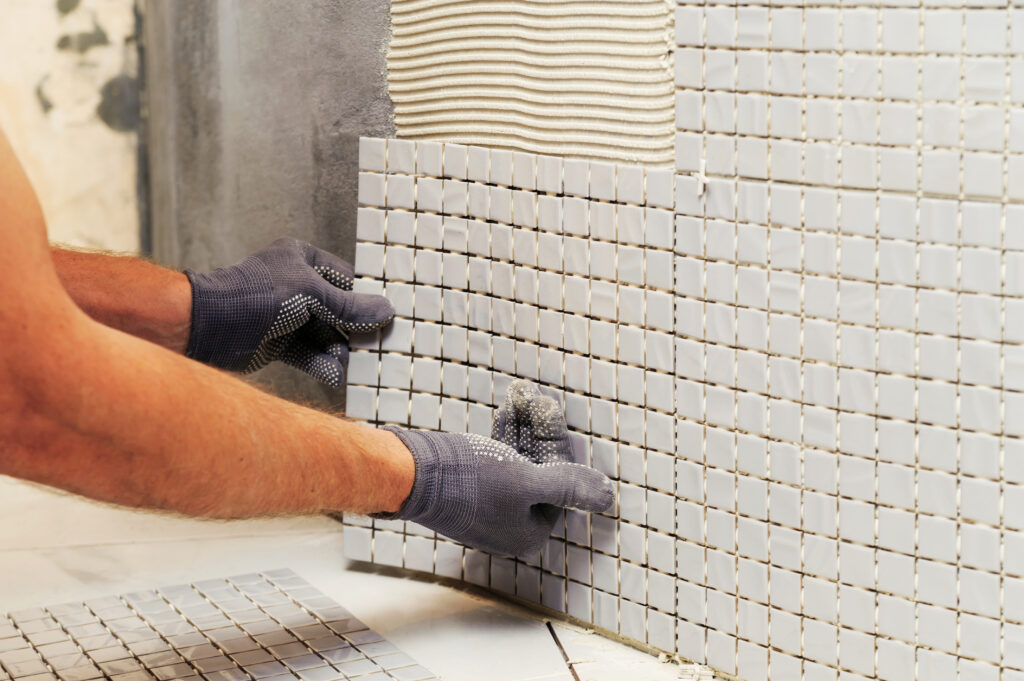
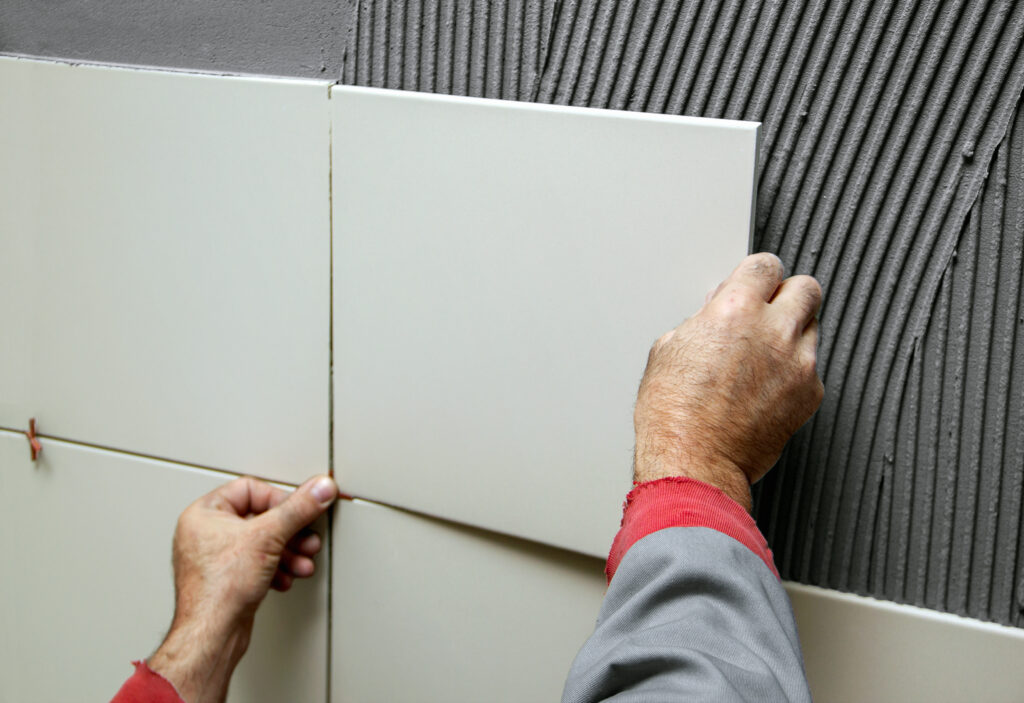
Mosaic sheets need a flat, consistent adhesive bed because small differences in thickness or pressure can become visible across the finished surface. Prepare the substrate carefully and work in manageable sections so the adhesive remains suitable for tile placement.
Flat bed & fine notch trowel
Follow these steps to prepare the surface and spread the adhesive evenly.
Prepare the substrate. Ensure it is sound, clean, and free from dust, grease, loose material, and other contaminants. Correct significant unevenness before tiling.
Mix the adhesive. Follow the product instructions for water quantity and mixing. Avoid adding excess water, which can affect performance.
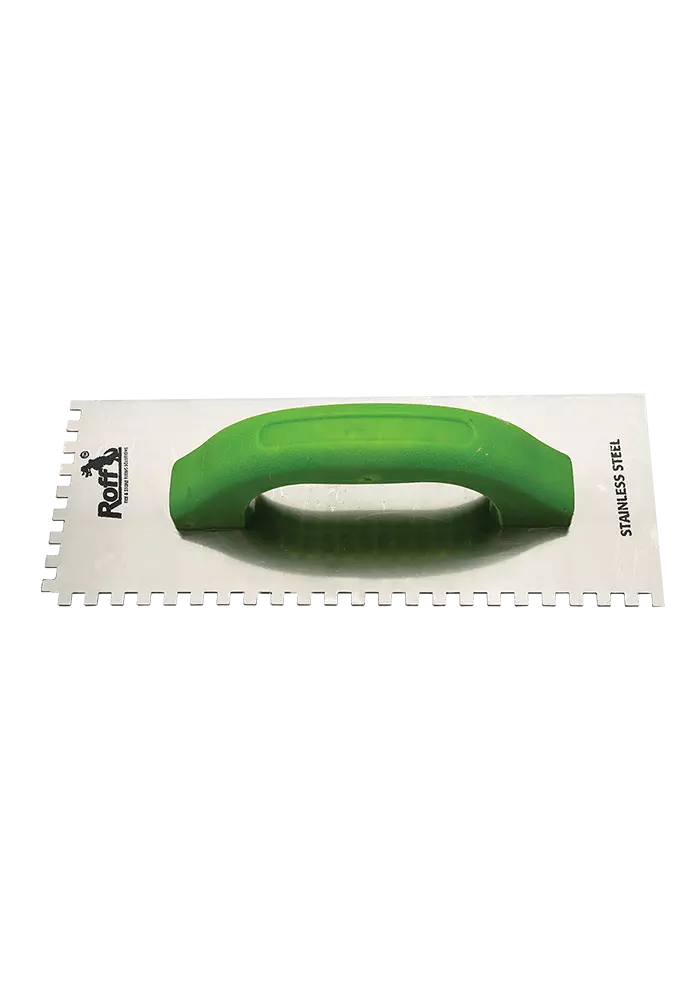
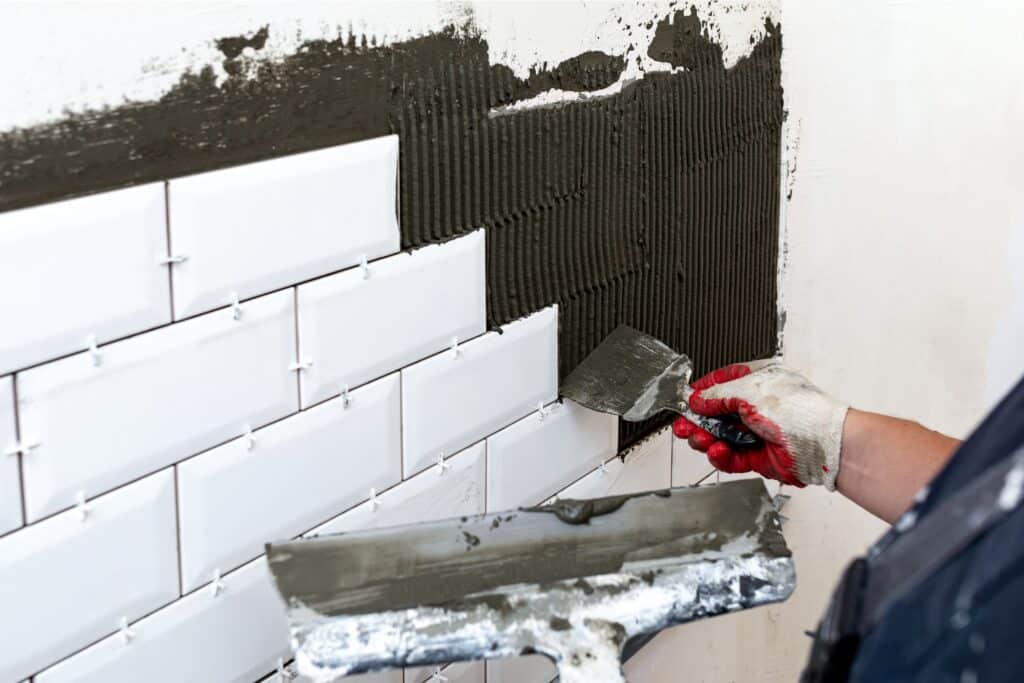
Spread a thin, even bed. Use a suitable notched trowel, such as the Roff Notch Trowel, selected for the mosaic and substrate. Avoid excessive adhesive, which may squeeze into the joints.
Work in small sections. Spread only as much adhesive as you can cover within its open time. Do not place sheets over adhesive that has begun to skin over.
Mesh-side down, space, level
Once the adhesive bed is ready, position the sheets carefully to achieve consistent joints and a level finish.
Place the mosaic sheet with the tile faces outward and the mesh backing against the adhesive, following the sheet manufacturer’s instructions.
Maintain consistent spacing between adjacent sheets so the boundaries do not stand out.
Use a suitable flat tool to press the sheet into the adhesive without pushing the tiles too deep or forcing excess adhesive into the joints.
Correct alignment and uneven tile faces while the adhesive is still workable.
Grouting Mosaic Joints
Mosaic installations contain many joints, so grout choice affects both appearance and maintenance. For glass mosaics, consider epoxy grout, especially in areas exposed to water or stains.
Choose epoxy grout
Epoxy grout offers stronger stain and water resistance than many conventional cement-based grouts. Roff Starlike Epoxy Grout is especially useful for glass mosaic applications, as it maintains its colour and resists blackening for years. With over 33 shades to choose from, Roff Starlike lets you select the grout colour that best complements your mosaic tiles.
Frequently asked questions (FAQs)
1) Which adhesive is best for glass mosaic tiles?
White Roff Vitrofix/NSA Adhesive is an option for glass mosaics when the product’s technical specifications suit the substrate and installation. Its white colour can help maintain the appearance of translucent glass.
2) Why use white adhesive for mosaic?
Translucent glass can show the colour of the adhesive underneath. White adhesive helps reduce unwanted dark or uneven show-through, especially with light-coloured mosaics.
3) Can I use normal cement for mosaic sheets?
Do not assume ordinary cement is suitable. Use a tile adhesive specifically designed for the mosaic material and substrate to achieve the intended bond and finish.
4) What grout should I use for mosaic tiles?
Epoxy grout is a good option for glass mosaics, particularly where water and stain resistance matter. Roff Starlike is worth considering for its range of colours and resistance to blackening and stains.
5) How do I stop mosaic sheets from sagging?
Use an adhesive suitable for vertical application, prepare a flat substrate, and follow the specified trowel and application method. Ensure that the right amount of water has been added to the adhesive mix, as specified by the manufacturer. Press sheets evenly into the adhesive, maintain alignment, and use temporary support where the installation method requires it.