Check out the biggest trends of the season and our expert take on them.
How to Lay & Fix Floor Tiles with Adhesive (Complete Guide)
Key Takeaways
Prepare the Floor Properly. Ensure the substrate is clean, level, stable, and free from cracks or moisture issues before laying floor tiles.
Dry-lay tiles, mark reference lines, and plan cuts to achieve balanced spacing and a neat, uniform finish.
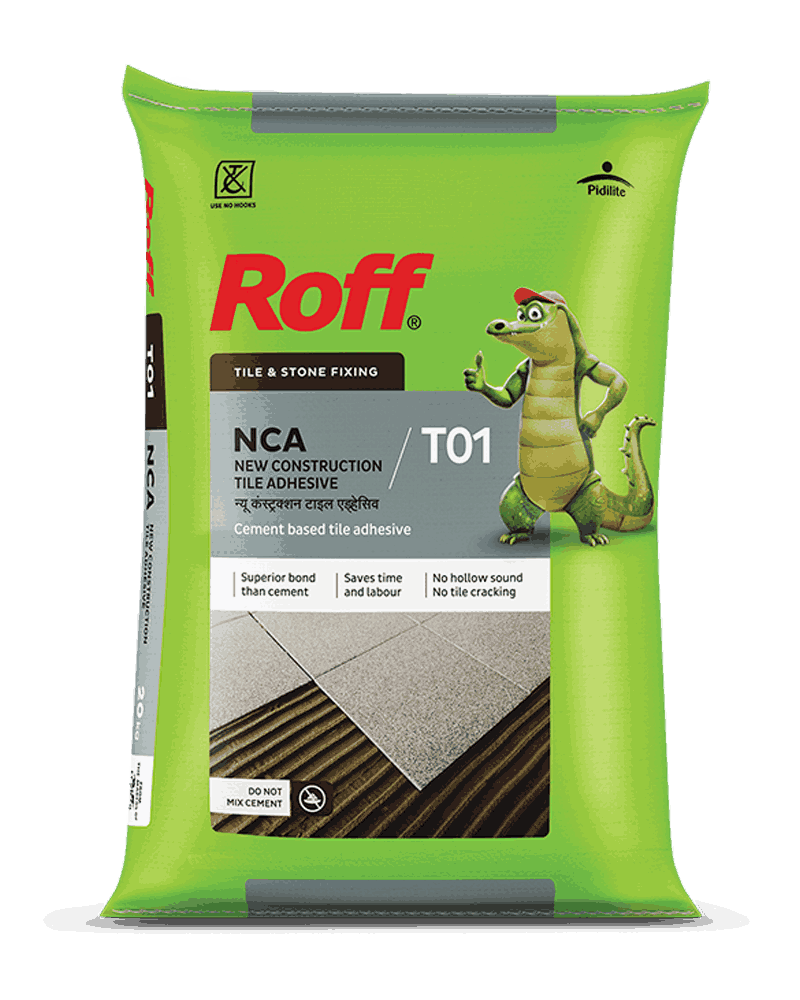
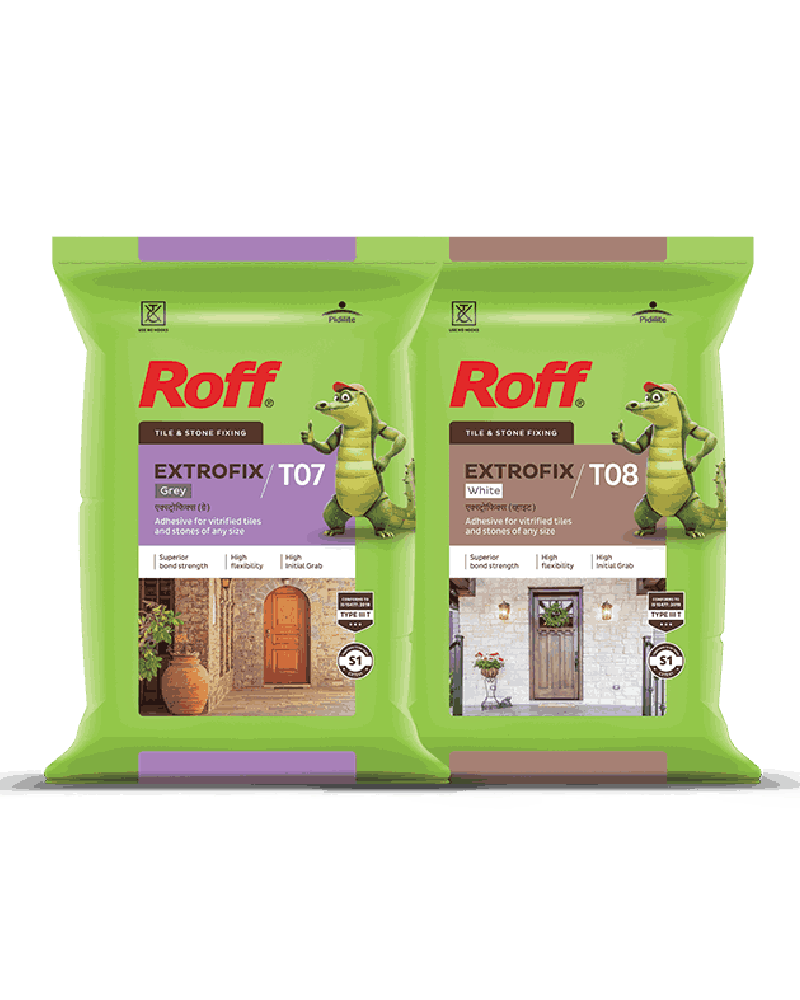
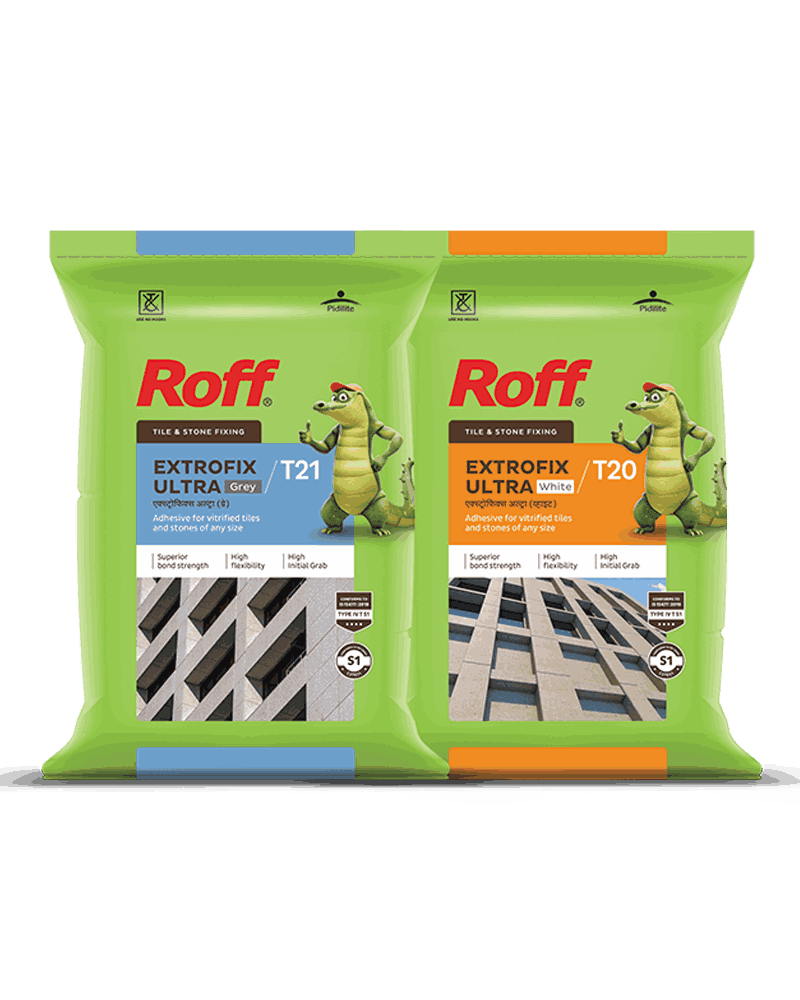
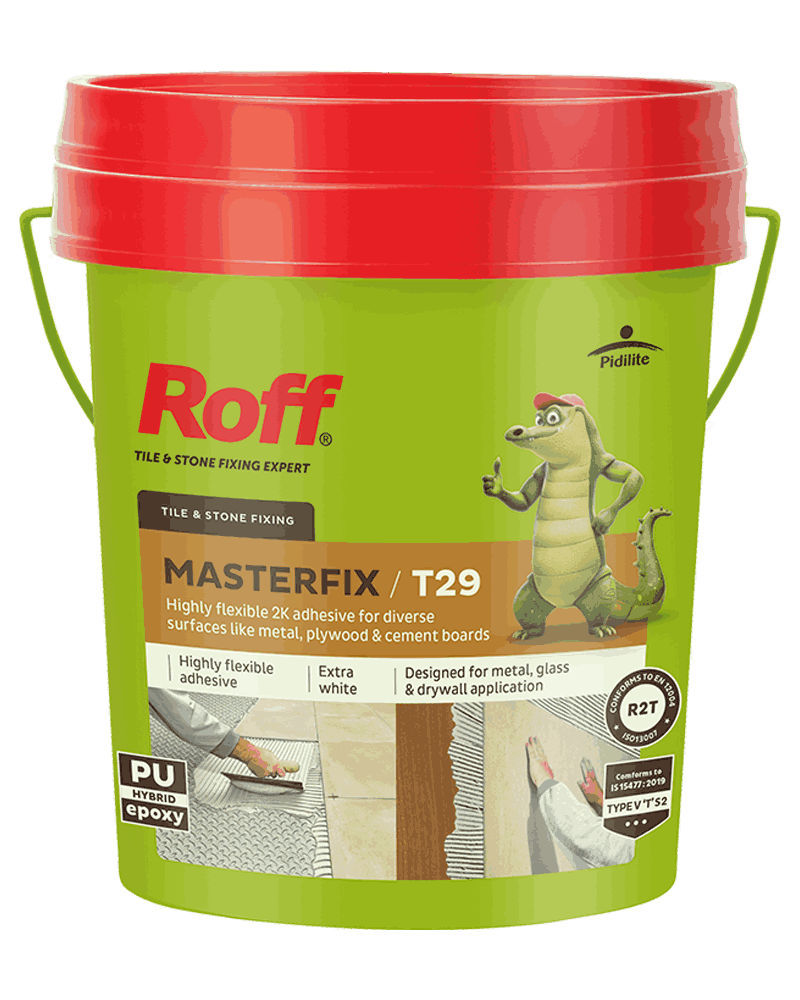
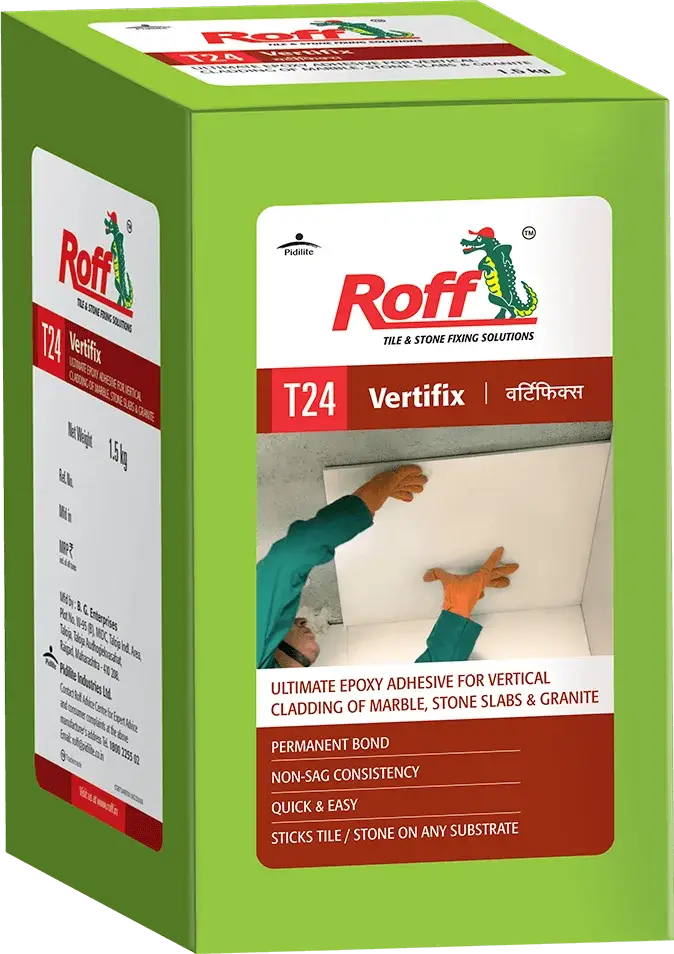
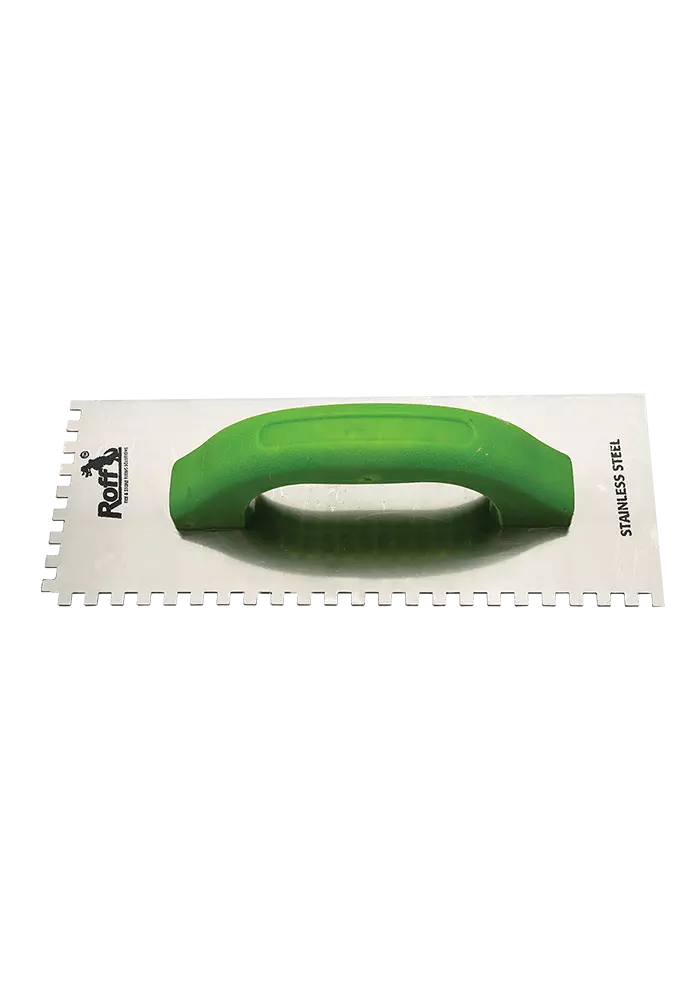
Choose and Apply the Right Adhesive. Select a Roff tile adhesive based on the tile type and substrate. Ensure that you use the right tools during fixing, such as a Roff Notch Trowel.
Use tile spacers for consistent joints, apply suitable grout, and follow the manufacturer’s recommended setting times before walking on the floor.
Laying floor tiles with adhesive requires more than placing tiles in a straight line. The floor must be stable and suitably level, and the adhesive must be applied correctly to create a reliable bond. With the right preparation, tools, tile spacers, and grout, you can achieve an even, long-lasting finish.
This guide explains how to prepare the floor, set out the tiles, apply Roff adhesive, maintain consistent joints, and complete the installation. Always follow the selected adhesive’s product instructions for substrate suitability, mixing, application thickness, and setting times.
Check the Floor Is Level & Sound
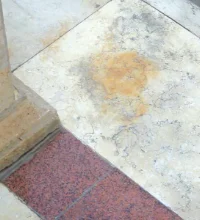
Before opening the adhesive, inspect the surface on which the tiles will be installed. Dust, loose material, cracks, and uneven areas can affect tile adhesion and leave the finished floor with lippage or hollow spots. Proper base prep helps the adhesive perform as intended.
Level, cracks, priming
Start by checking the floor with a straightedge or spirit level. Look for high spots, dips, loose patches, cracks, and areas that sound hollow or move under pressure.
Clean the surface: Remove dust, grease, paint residue, loose mortar, and other contaminants that could interfere with bonding. The substrate should meet the adhesive manufacturer’s cleanliness and moisture requirements.
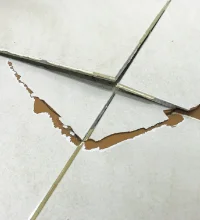
Check for cracks: Identify cracks and determine whether they are stable or indicate movement. Repair suitable cracks using an appropriate system before tiling; movement-related cracks may require specialist assessment or an approved crack-isolation solution.
Correct unevenness: Remove high spots where appropriate and use a compatible levelling compound to correct dips. Tile adhesive should not be used to compensate for major floor irregularities unless its technical instructions explicitly permit the required thickness.
Prime if required: Some porous or otherwise challenging substrates need a compatible primer. Check the adhesive and primer instructions rather than applying primer automatically.
Confirm suitability: Ensure the substrate is strong enough to support the tile installation and suitable for the chosen adhesive.
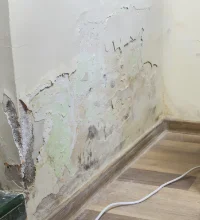
Do not tile over a weak or persistently damp base without resolving the underlying issue. If installing over an existing tiled floor or another specialist substrate, confirm that the selected adhesive is approved for that application.
Set Out Your Tiles
A little planning before fixing the first tile can prevent awkward narrow cuts along walls and doorways. Aim for a balanced layout and straight grout lines.
Dry-lay & centre lines
Measure the room and mark reference lines to guide the installation. In a rectangular room, centre lines can help you establish a balanced pattern, although the best starting point depends on the room’s shape, doorway positions, and tile layout.
Measure the room and identify visible focal points, doorways, and transitions to adjoining floors.
Mark perpendicular reference lines using a chalk line or suitable marking tool.
Lay out a row of tiles without adhesive, using spacers to represent the intended joints.
Check the tile widths at the edges. Adjust the starting position if the layout feels narrow.
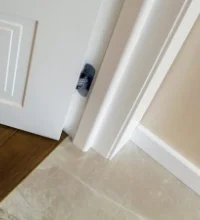
Plan around door frames, columns, floor drains, and other obstacles before fixing tiles.
Dry-laying also helps you confirm the tile pattern and identify any tiles that need cutting. Keep tiles from different boxes mixed where appropriate to distribute natural shade variation evenly.
How to Fix Floor Tiles (Step by Step)
Follow the steps given below to reliably install floor tiles with an adhesive:
Check that the floor is level, sound, clean, and suitable for tiling.
Dry-lay the tiles and mark reference lines to plan the layout and cuts.
Mix the selected Roff tile adhesive according to its product instructions.
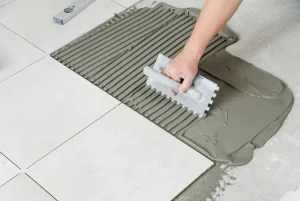
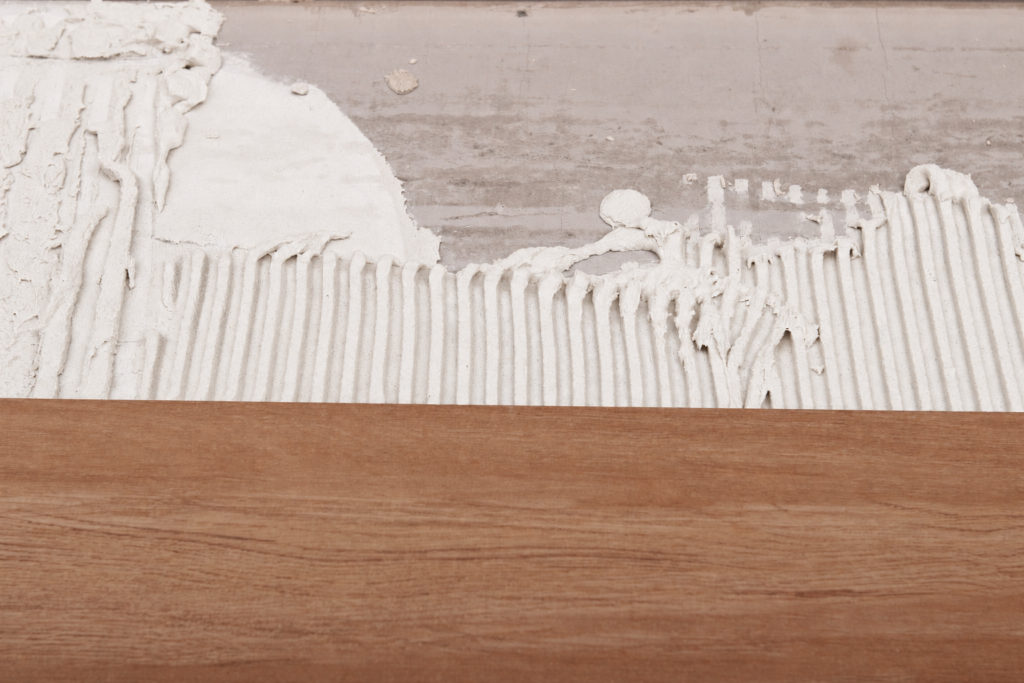
Spread adhesive over a manageable area using the flat side of a trowel.
Then comb the adhesive using a notched trowel.
Back butter the tiles with adhesive; the adhesive thickness should follow product specifications.
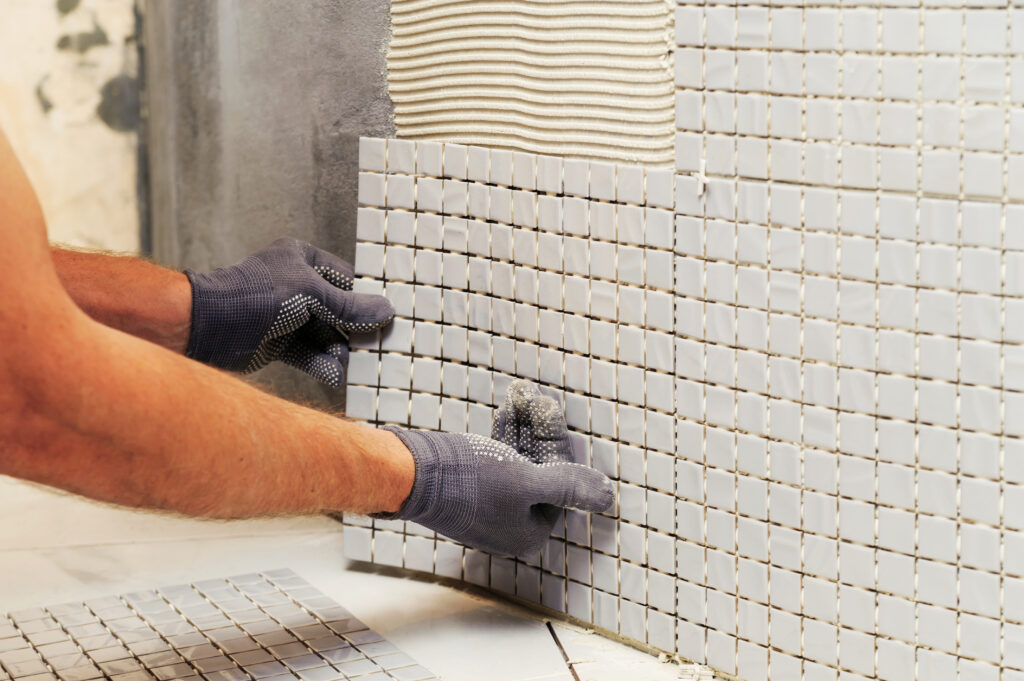
Place each tile into the adhesive bed and press it firmly into position.
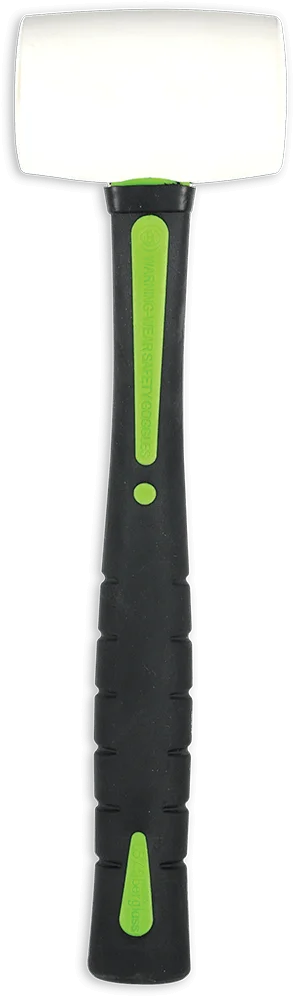
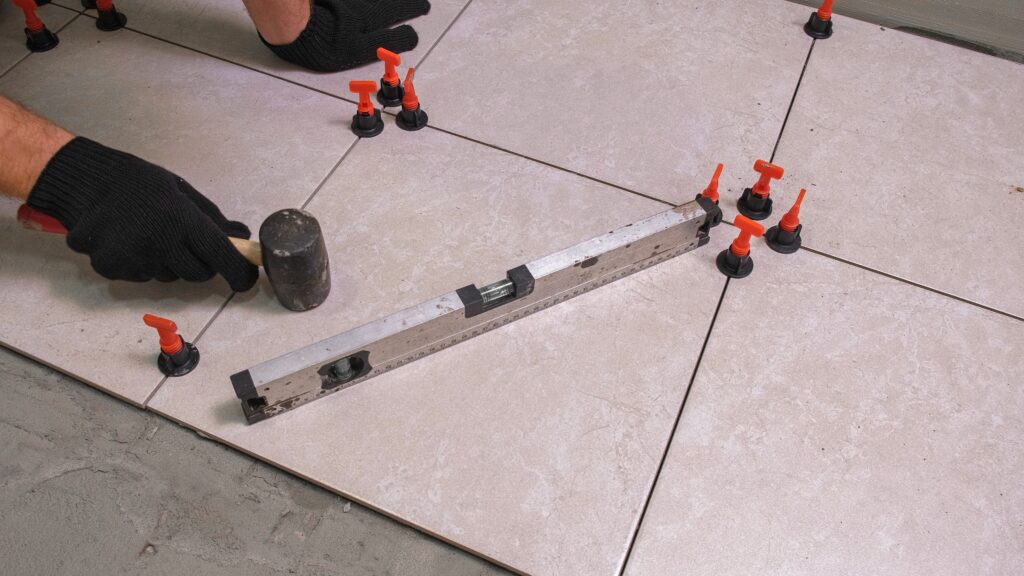
Check alignment and height, gently tapping with a rubber mallet where appropriate.
Insert tile spacers to maintain consistent joints and remove excess adhesive from the joints.
Allow the adhesive to set as directed before grouting or permitting foot traffic.
Comb, set, level
Once the surface and layout are ready, work methodically so the adhesive does not form a dry skin before the tiles are placed.
Mix correctly: Add the specified quantity of clean water to the powder adhesive and mix as directed on the product label or technical data sheet. Do not add extra cement or other materials unless the manufacturer specifies them.
Spread the adhesive: Apply a thin layer with the flat side of the trowel to help establish contact with the substrate.
Comb the adhesive: Use the notched edge to create uniform ridges. Select the notch size according to the tile dimensions, substrate condition, and required adhesive-bed thickness.
Place the tile: Set the tile into the fresh adhesive and press it into position. A slight slide across the ridges can improve contact.
Check coverage: Periodically lift a tile to inspect the adhesive transfer. Aim for the coverage required by the adhesive manufacturer’s instructions, with particular attention to edges and corners.
Check alignment: Use a straightedge or spirit level to check that tiles are aligned and sit at a consistent height. A rubber mallet or tile vibrator can help adjust a tile gently without damaging it.
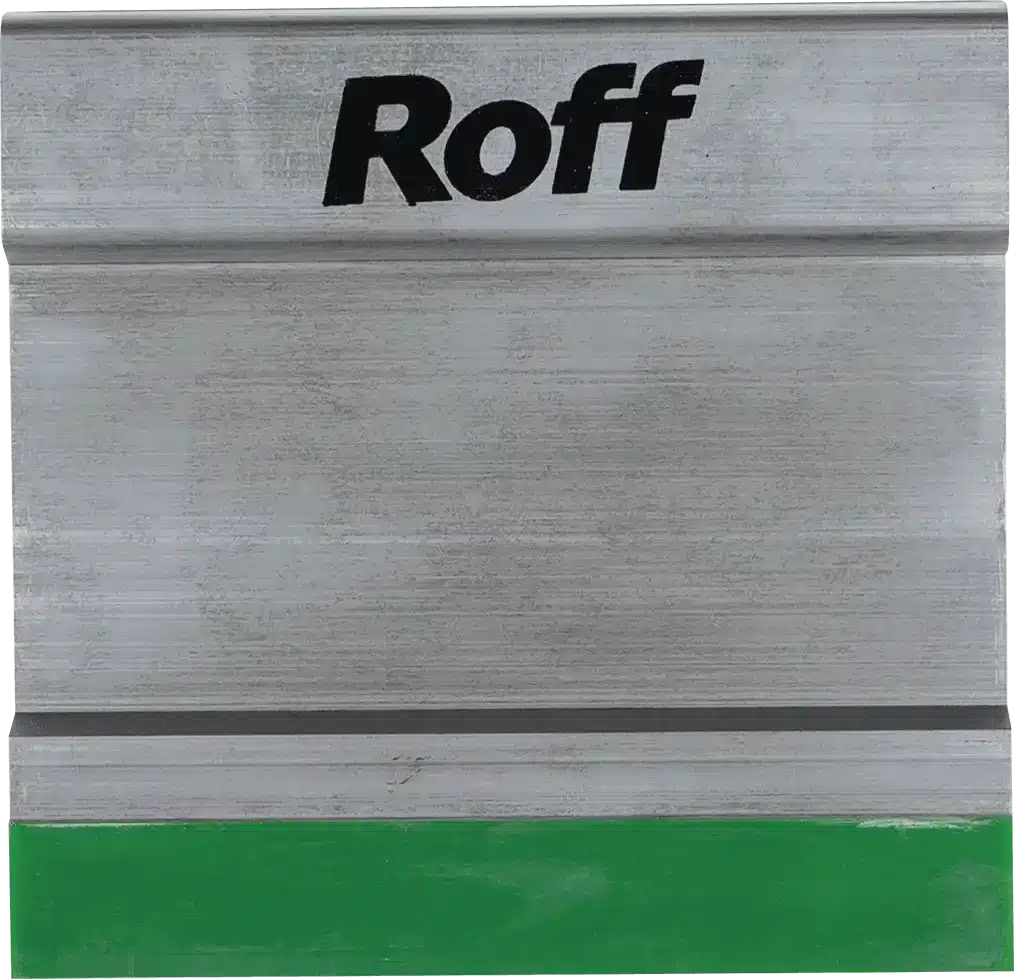
Roff’s Notch Trowel comes in different notch sizes for different applications. The right size creates a suitable adhesive bed and reduces air pockets beneath the tiles.
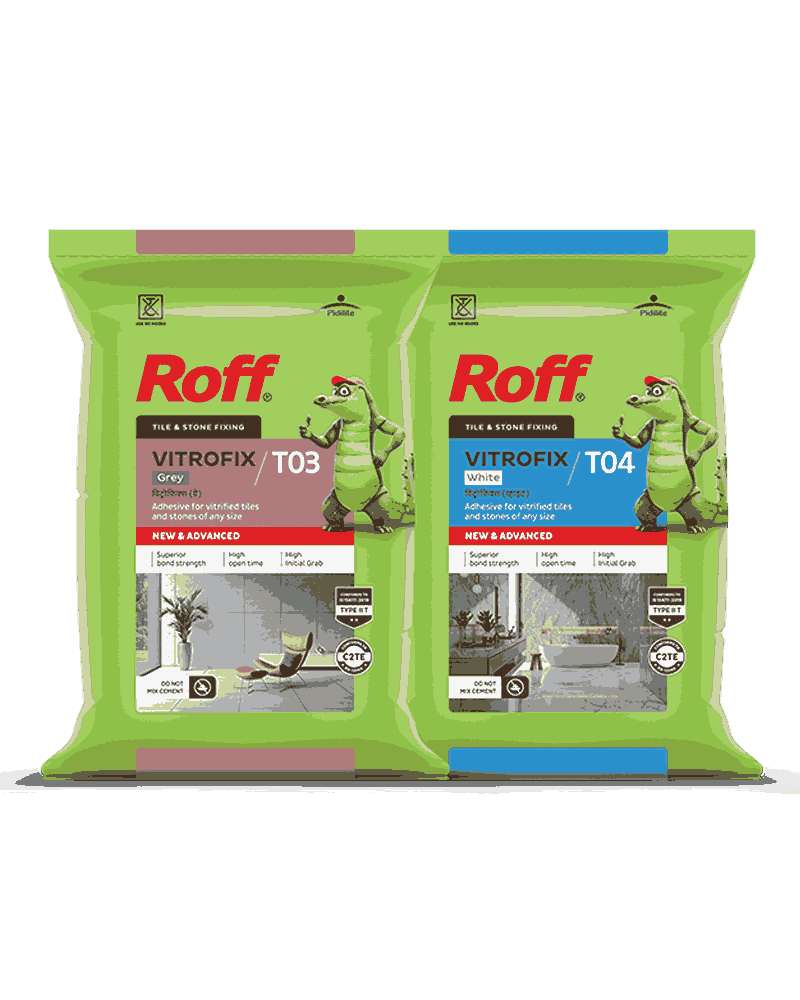
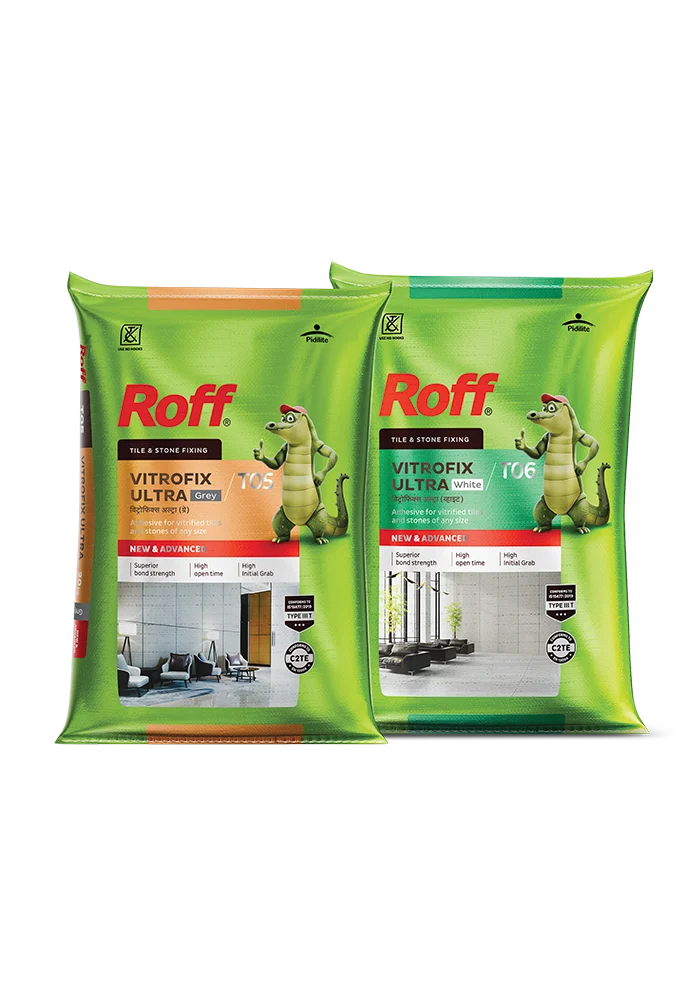
For suitable indoor applications, Roff Vitrofix is a good option for ceramic and vitrified tiles. However, it is not suitable for outdoor applications or for non-cementitious substrates like plywood or drywall. Use Roff’s flooring adhesive selection guide to understand the best option for each surface.
Spacing, Grouting & Curing
Once the tiles are in place, consistent spacing and proper curing are essential for a neat, durable finish. Don’t rush to grout or walk across the floor just because the surface looks dry.
Spacers, grout, wait times
Use these guidelines to finish the installation correctly:
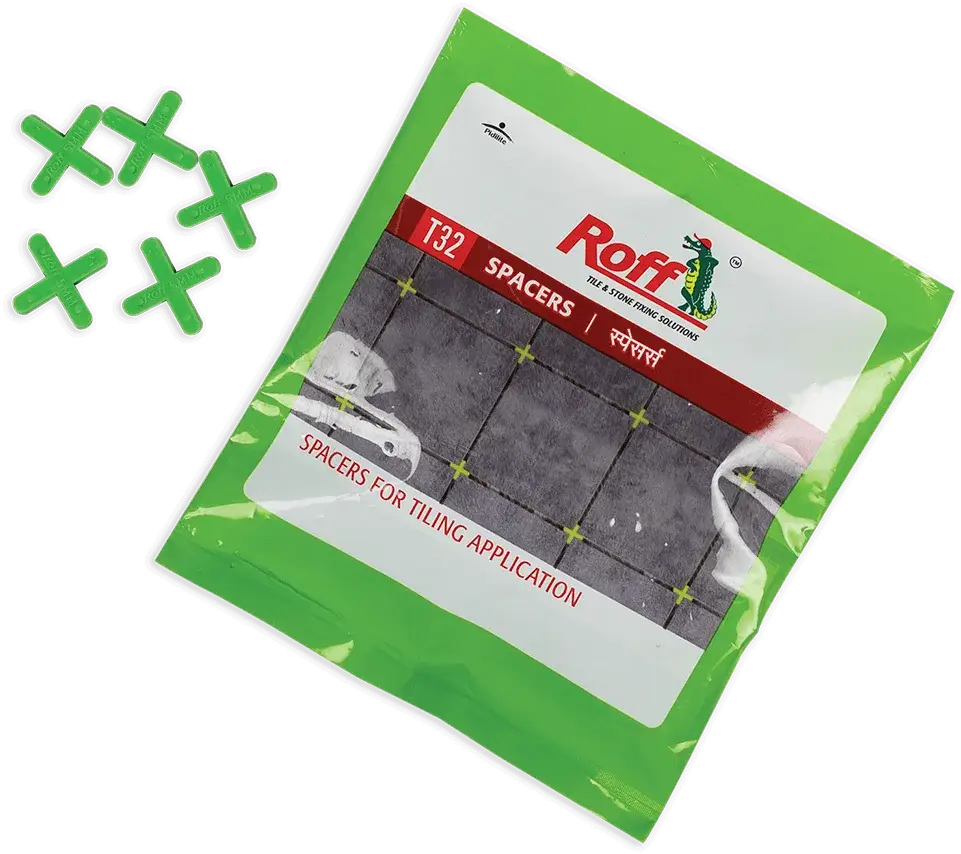
Maintain consistent gaps: Insert spacers at tile junctions as you work. Roff spacers are available in 2, 3, 4, 5, and 6 mm sizes. Choose a joint width appropriate for the tile dimensions.
Allow the adhesive to set: Follow the specific product’s instructions before grouting.
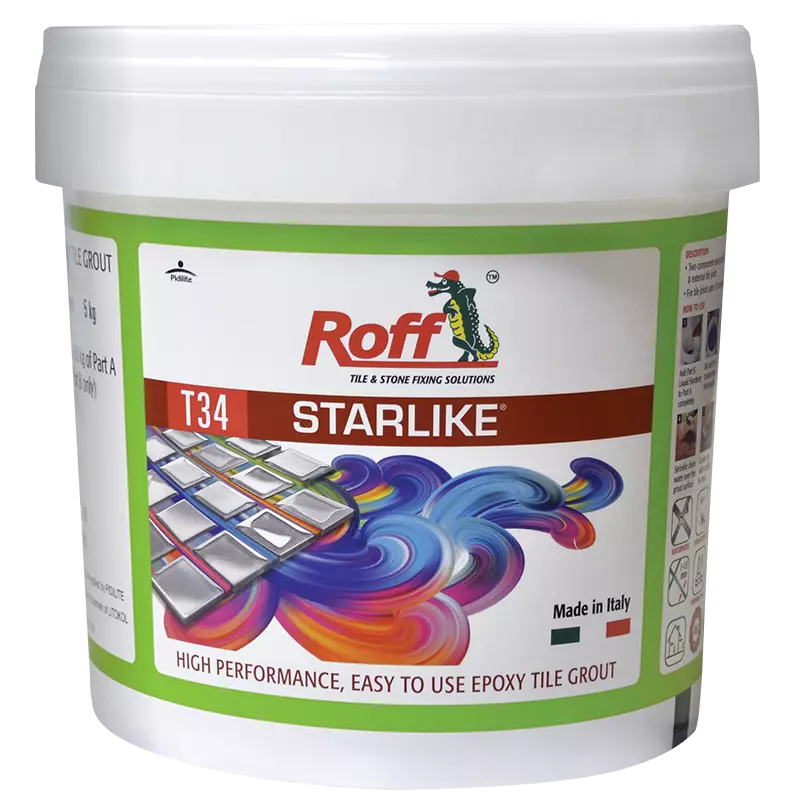
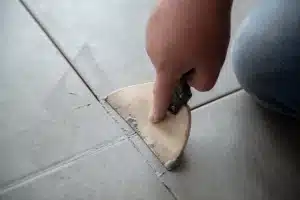
Apply grout: Clean and dry the joints, then apply a suitable grout, such as Roff Starlike.
Protect the floor: Keep the newly tiled surface protected from foot traffic and impact until the adhesive/grout dries completely.
No single waiting time applies to every adhesive or grout. Temperature, humidity, substrate porosity, tile type, and adhesive selection can affect the setting time. Check the product label or technical data sheet to know when the floor is safe to walk on.
Frequently asked questions (FAQs)
1) How do I lay floor tiles with adhesive?
Prepare a clean, sound, level substrate; plan the layout; mix a suitable tile adhesive; and spread it with a notched trowel. Place the tiles, check alignment, maintain consistent joints with spacers, and let the adhesive set before grouting.
2) Which adhesive is best for floor tiles?
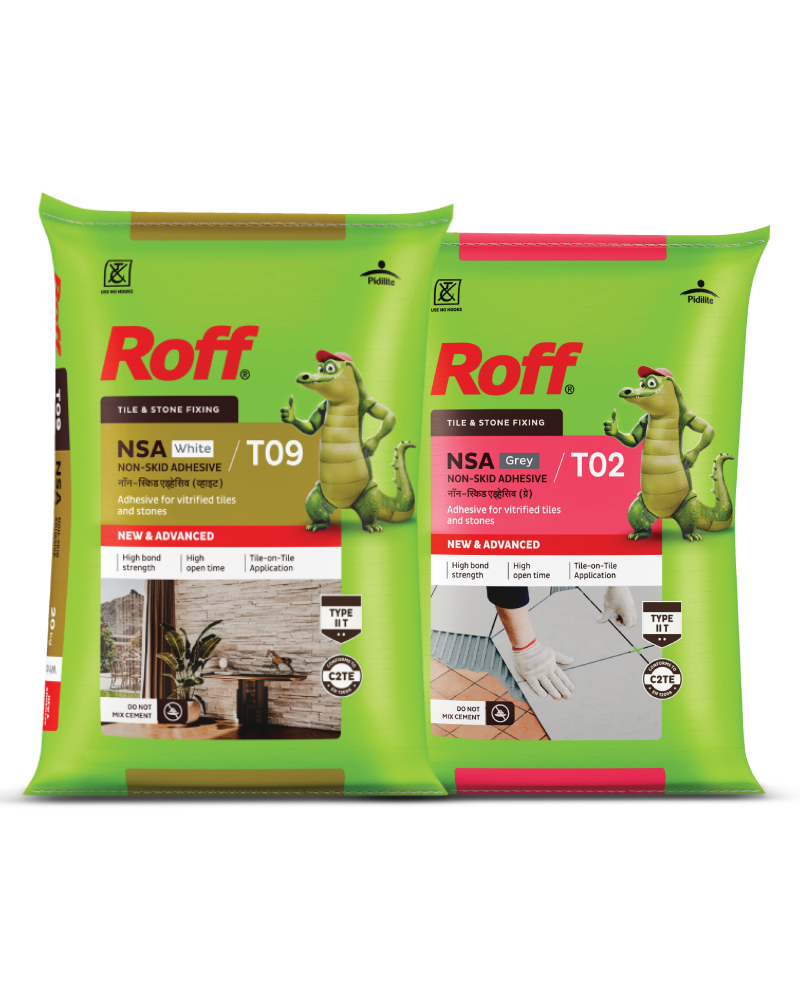
The best adhesive depends on the tile material, size, substrate, and whether the floor is indoors, outdoors, or exposed to moisture. Roff Vitrofix is suitable for internal cementitious applications, especially when large format tiles are being installed. Roff NSA may be used as well for medium format tiles. Check the product’s approved applications before use.
3) How level does a floor need to be?
The floor should be flat, stable, cured, and within the selected adhesive’s substrate tolerances. Significant dips or high spots should be corrected before tiling rather than covered with excess adhesive.
4) How long before I can walk on new floor tiles?
Wait until the adhesive manufacturer’s specified setting time has passed. The time varies depending on the product’s specifications, weather conditions, and site conditions, so don’t assume every tile adhesive is ready for foot traffic after the same number of hours. Grouting time and safe walking time may also differ.
5) How wide should floor tile joints be?
Joint width depends on tile size, dimensional variation, edge finish, layout, and the manufacturer’s recommendations. Roff spacers are available in sizes from 2 to 6 mm, offering options for different installations.