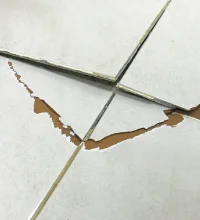
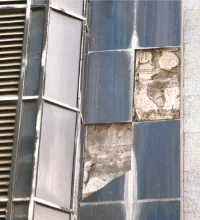
Check out the biggest trends of the season and our expert take on them.
How to Repair Loose or Cracked Ceramic & Vitrified Tiles (Without Redoing the Floor)
Key Takeaways
A single cracked or loose tile can often be replaced without redoing the entire floor.
Tile failure can happen due to hollow bonding, poor surface preparation or an unsuitable adhesive.
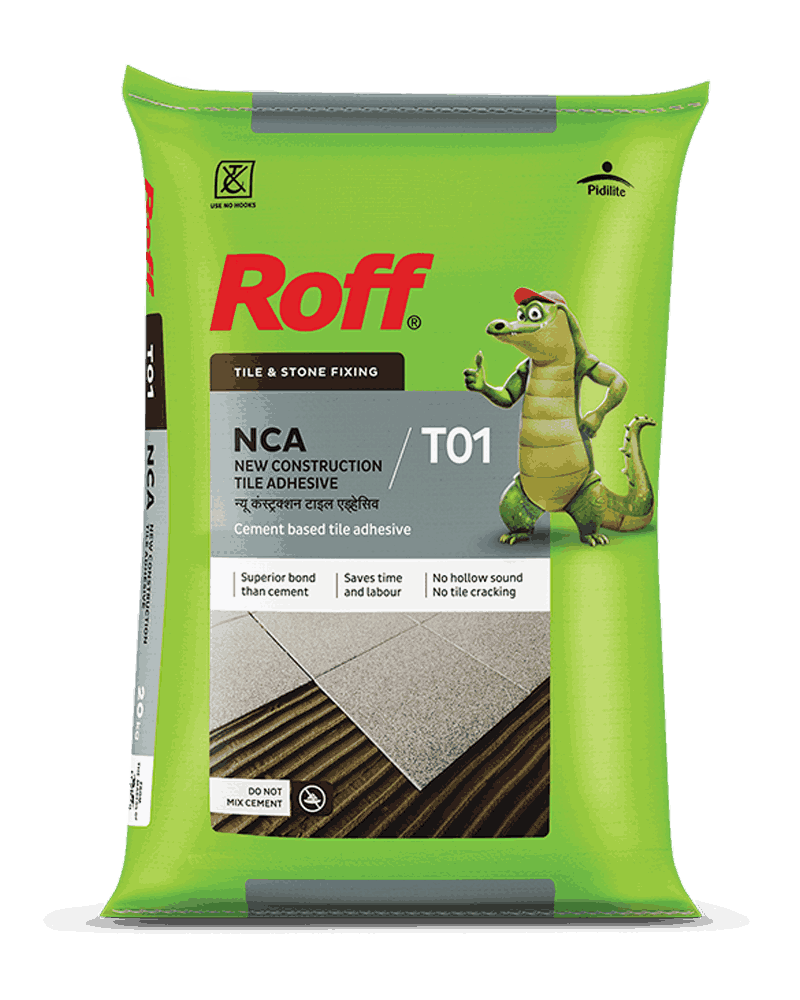
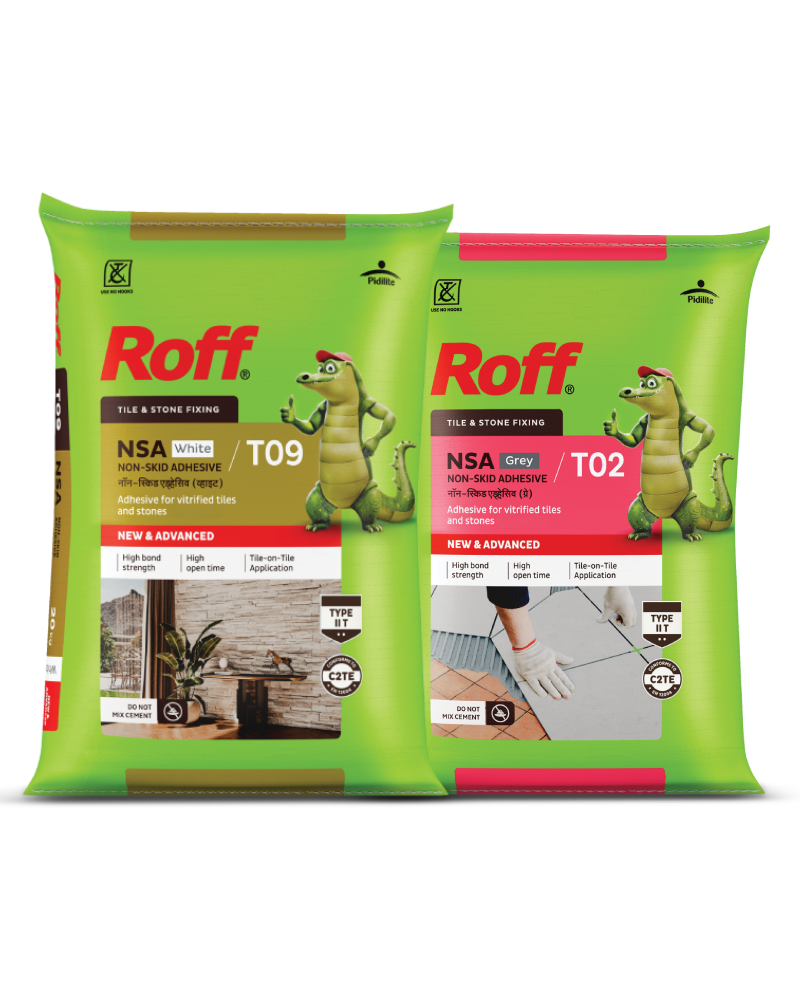
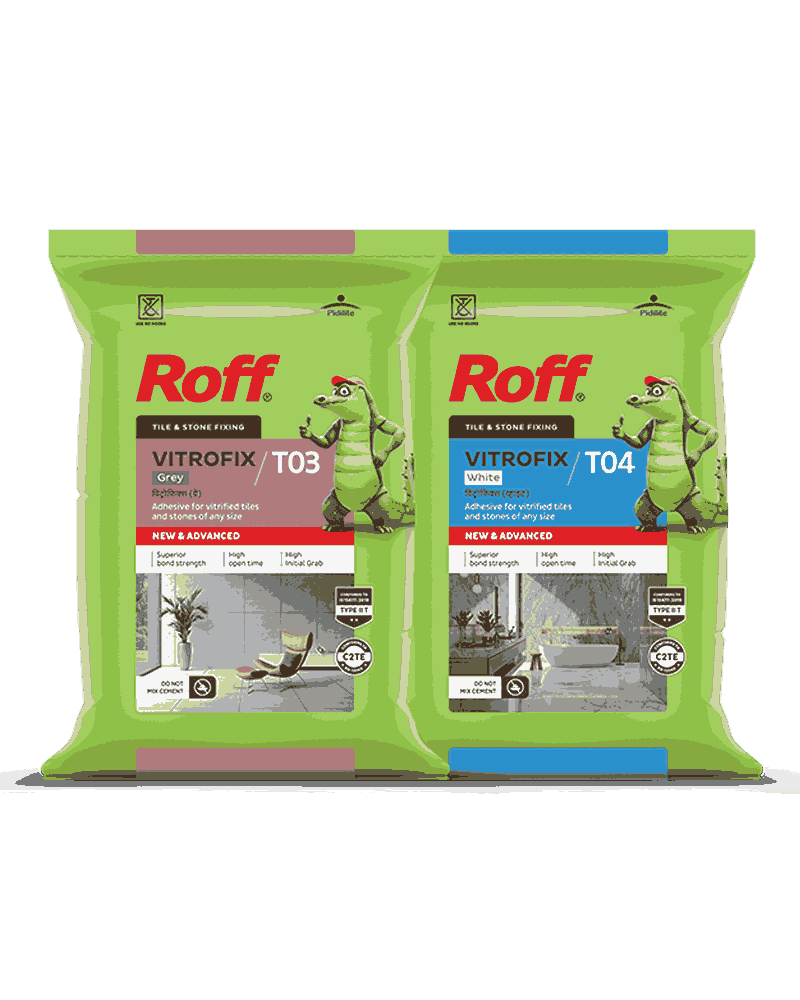
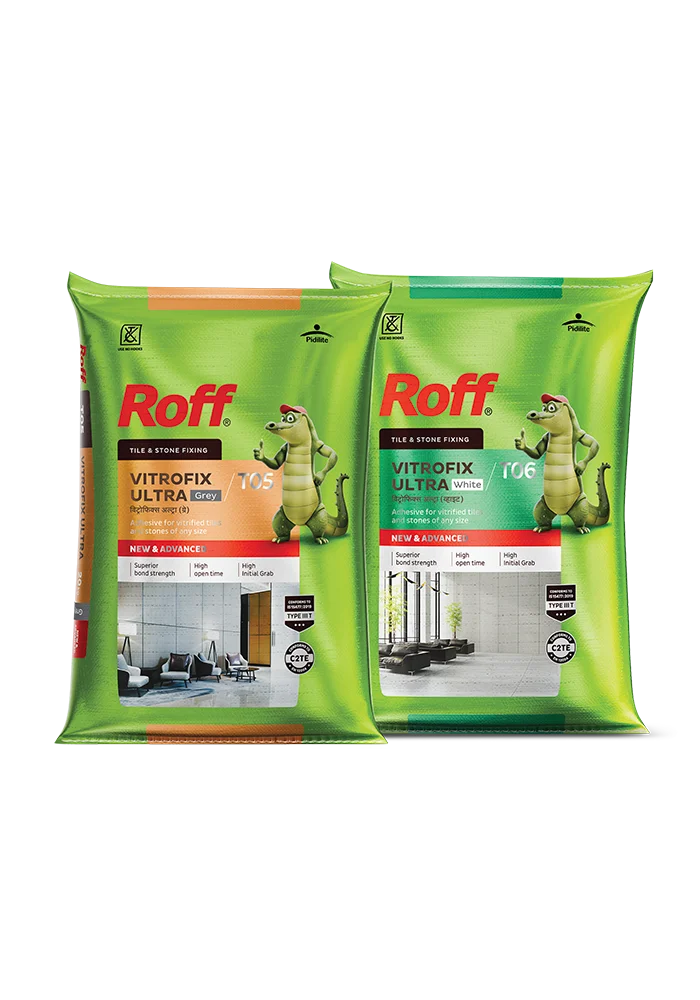
Use a compatible polymer-modified tile adhesive, such as Roff Vitrofix.
Maintain the existing grout gap and address any underlying substrate issues.
Don’t tear up the whole floor for one bad tile; with the right technique and materials, you can replace a single cracked or loose tile and make your floor look seamless again. If the surrounding tiles and underlying surface are sound, you can usually remove the damaged tile, prepare the base, fix a replacement tile with a suitable adhesive and restore the grout. The key is to address the cause of the failure rather than simply sticking the tile back in place.
Why Tiles Come Loose or Crack
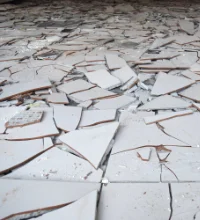
Tiles can loosen or crack when the bond between the tile and substrate is weak or when the installation cannot accommodate normal movement. Poor surface preparation, hollow areas beneath the tile and unsuitable adhesive can all contribute to failure.
Hollow bonding & movement
Air gaps beneath a tile reduce the surface area actually supported by adhesive. When the tile is walked on or subjected to impact, unsupported areas can flex and eventually crack or debond. A proper adhesive application should provide consistent contact and minimise voids beneath the tile.
Impact & wrong adhesive
While a dropped object can cause an obvious impact crack, tiles also fail when the wrong adhesive is used, creating a weak bond that can’t handle normal foot traffic or tiny movements in the subfloor. Cement or an incorrectly selected adhesive may not provide the required grip, particularly on dense tile surfaces. Choosing an adhesive designed for the specific tile and substrate helps create a more reliable installation.
Which Adhesive Is Best for Ceramic and Vitrified Tile Repair?
For repairing ceramic or vitrified tiles, use a polymer-modified tile adhesive suited to the tile and substrate. Roff Vitrofix Adhesive is suitable for most tile types, including ceramic and vitrified tiles. It can be used on various substrates and on internal floors or walls, including in wet areas.
When repairing a single tile, Roff Vitrofix is an appropriate option if the tile and substrate fall within its recommended application. It is a polymer-modified adhesive designed to provide strong bonding across a range of tile and substrate types.
Match the new tile to the old bed
Choose a replacement tile that matches the original in size, thickness and surface finish so it sits correctly with the surrounding tiles. Before fixing it, check the exposed substrate for loose material, old adhesive or hollow areas. Remove anything that could prevent the new adhesive from making proper contact. If the substrate is damaged or unstable, repair it before installing the replacement tile.
Step-by-Step: Remove and Replace a Single Tile
Cut out the grout
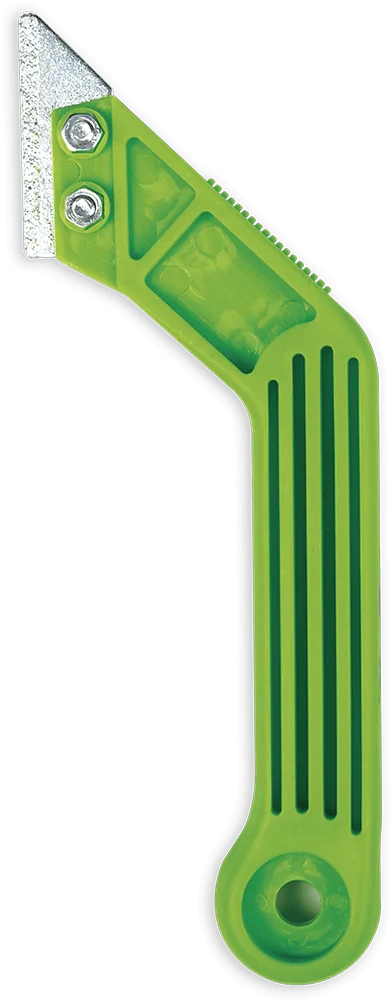
First, remove the grout surrounding the damaged tile. Work carefully along all four sides so you don’t chip or damage the adjacent tiles. A Roff Grout Cutter can clean and remove grout from tile joints before fresh grouting. Need help understanding how to remove grout properly during renovations? Then here’s a simple beginner’s guide to removing and replacing grout that you can refer to.
Lift the tile & clean the bed
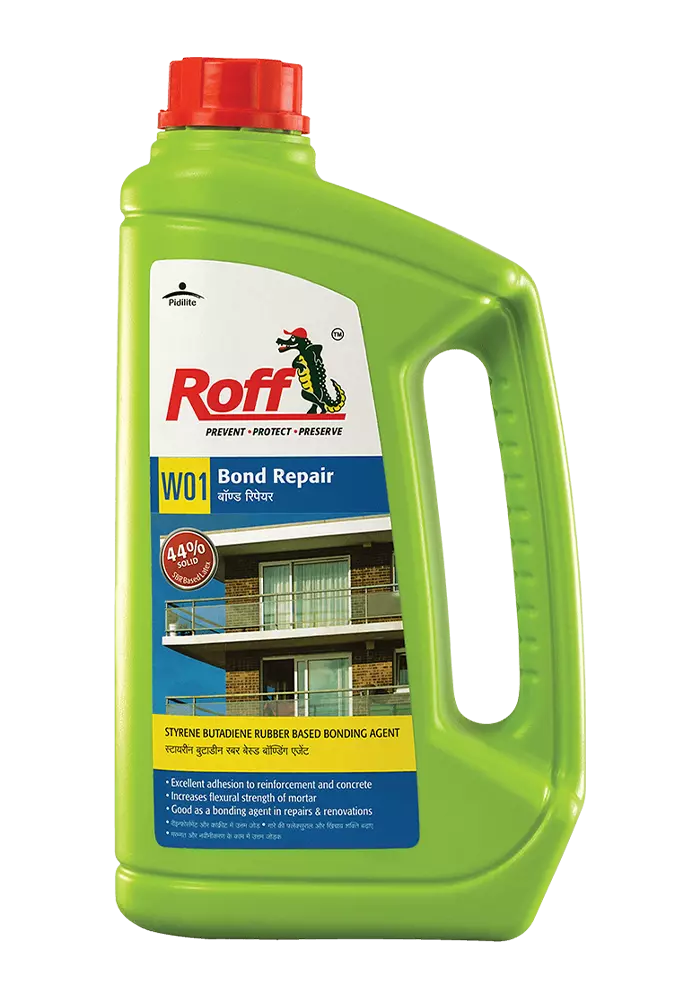
Once the grout is removed, carefully break or lift out the damaged tile. Remove the old adhesive from the exposed base and clean away dust, loose particles and debris. If the surface is prone to water damage or dust accumulation, consider using Roff Bond Repair beforehand. Roff Bond Repair is an SBR latex that helps prevent dust accumulation and provides water-resistance to the underlying substrate. Ensure that the substrate is sound and properly prepared before applying a fresh adhesive.
Re-fix with adhesive
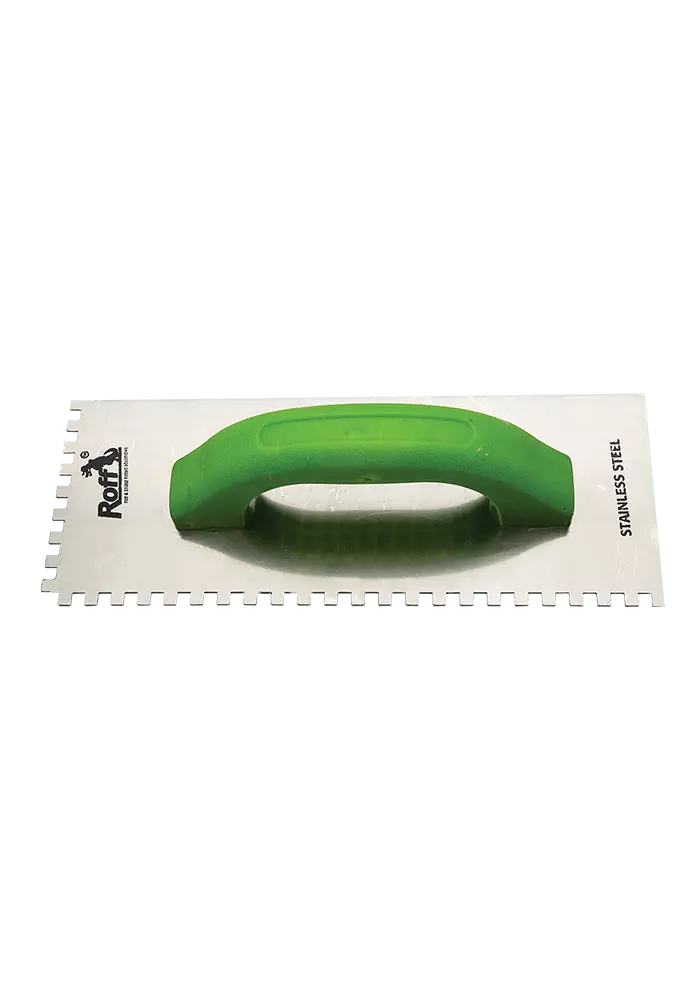
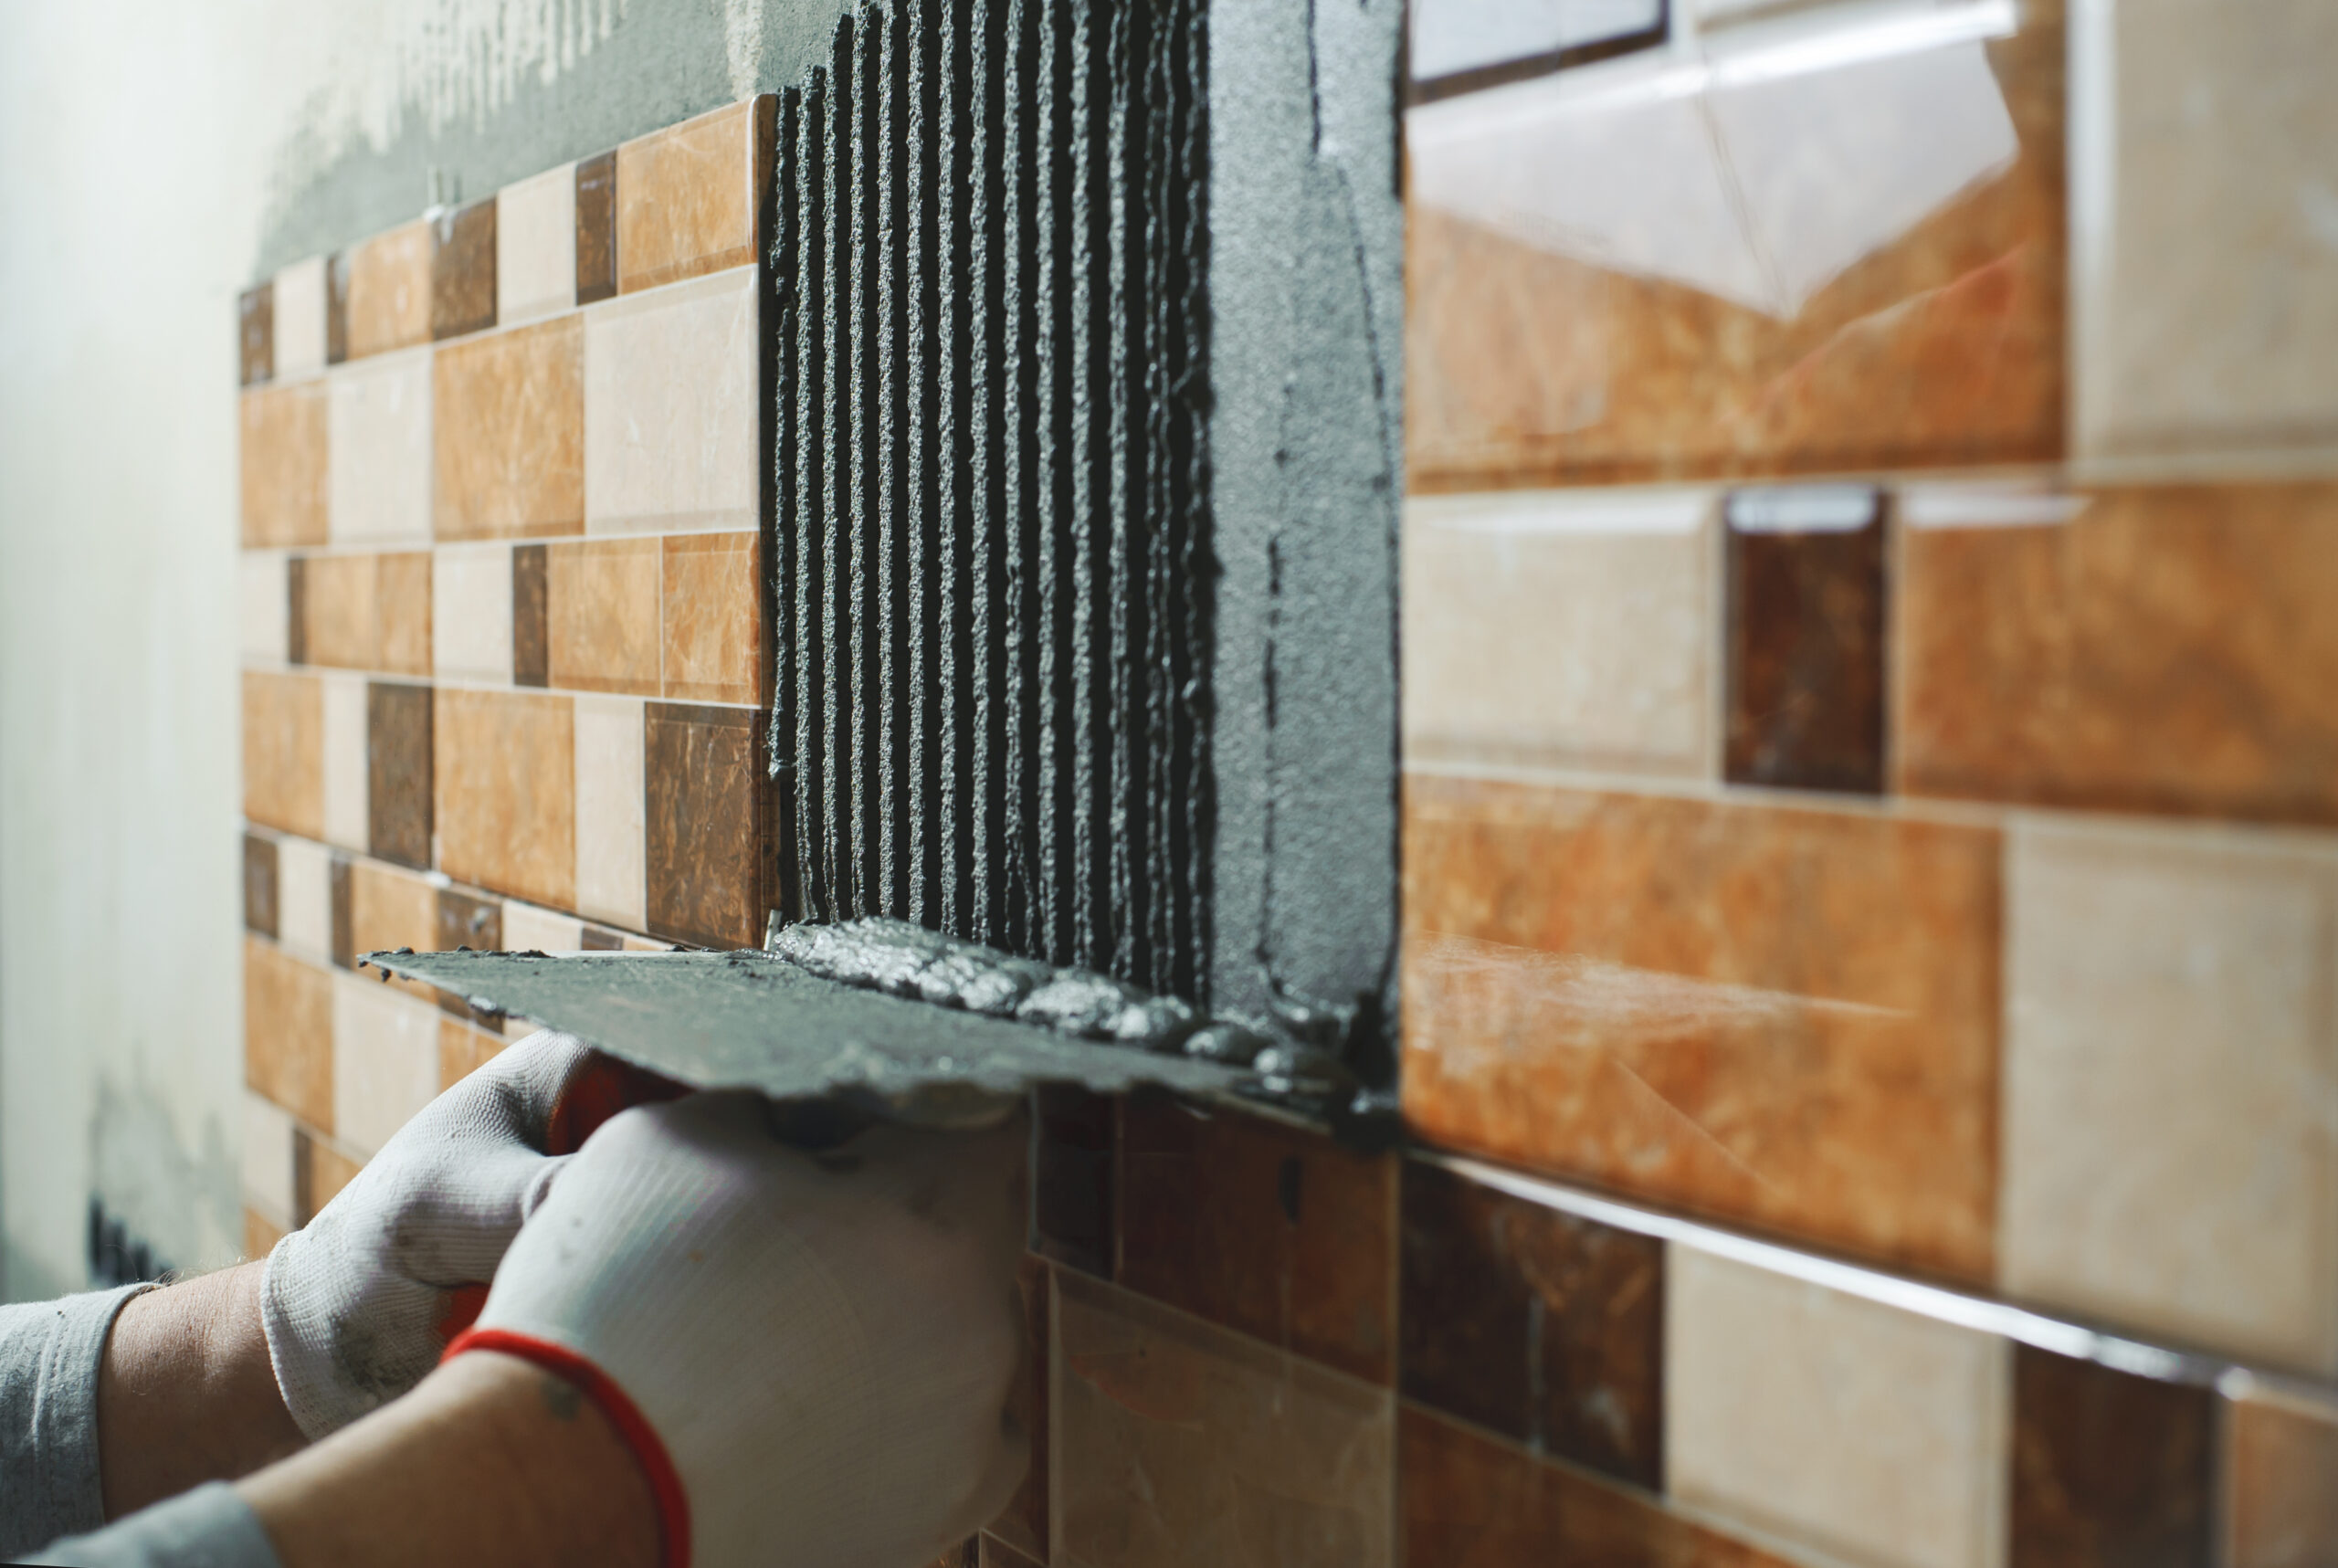
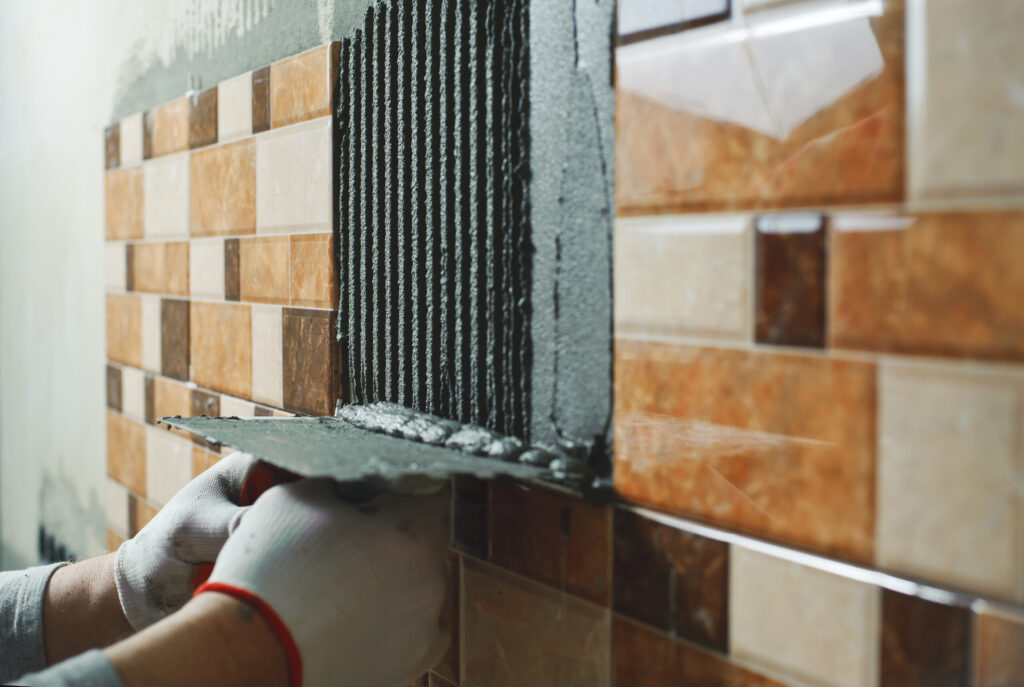
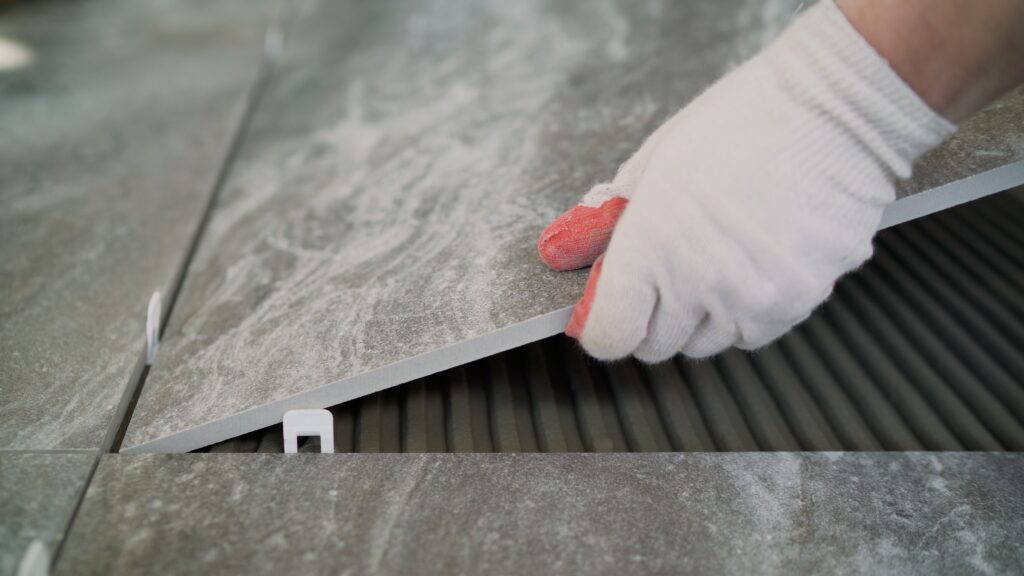
Apply the selected Roff adhesive according to its product instructions, using the recommended trowel and application method. Using the notched side of your trowel, spread the adhesive evenly across the entire area, ensuring full coverage to prevent hollow spots that can lead to future cracks. Check that it is aligned with the surrounding tiles and that there are no voids beneath it. Allow the adhesive to cure for the manufacturer’s specified period before reopening the area to regular use.
Do Not Skip the Grout Line
Why the gap matters
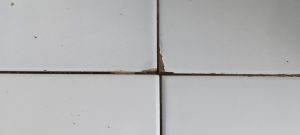
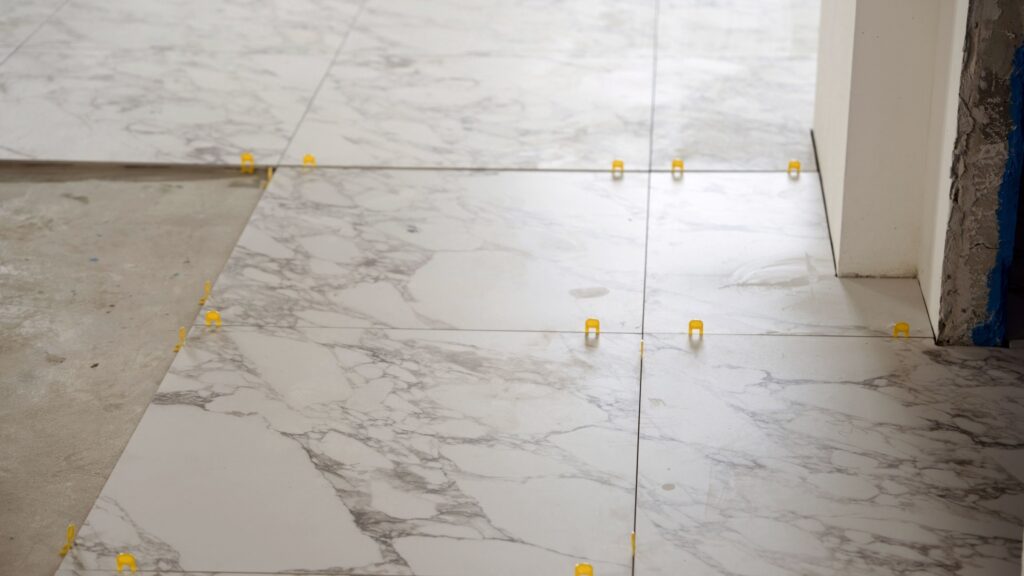
The grout joint between tiles is not merely decorative. It provides space to accommodate minor movement and helps prevent tiles from pressing directly against one another. Eliminating the gap can increase stress and contribute to cracking or debonding over time.
Re-grout to match
Once the replacement tile and adhesive have cured, clean the joint and apply fresh grout. Match the existing joint width and grout colour as closely as possible for a consistent finish. Remove excess grout from the tile surface before it hardens.
Prevent It from Happening Again
Follow the steps below to prevent your tiles from cracking or debonding in the future:
Full-contact bonding & curing
Use the correct adhesive for the tile and substrate.
Prepare the surface properly before applying the adhesive.
Ensure full adhesive contact and avoid spot bonding.
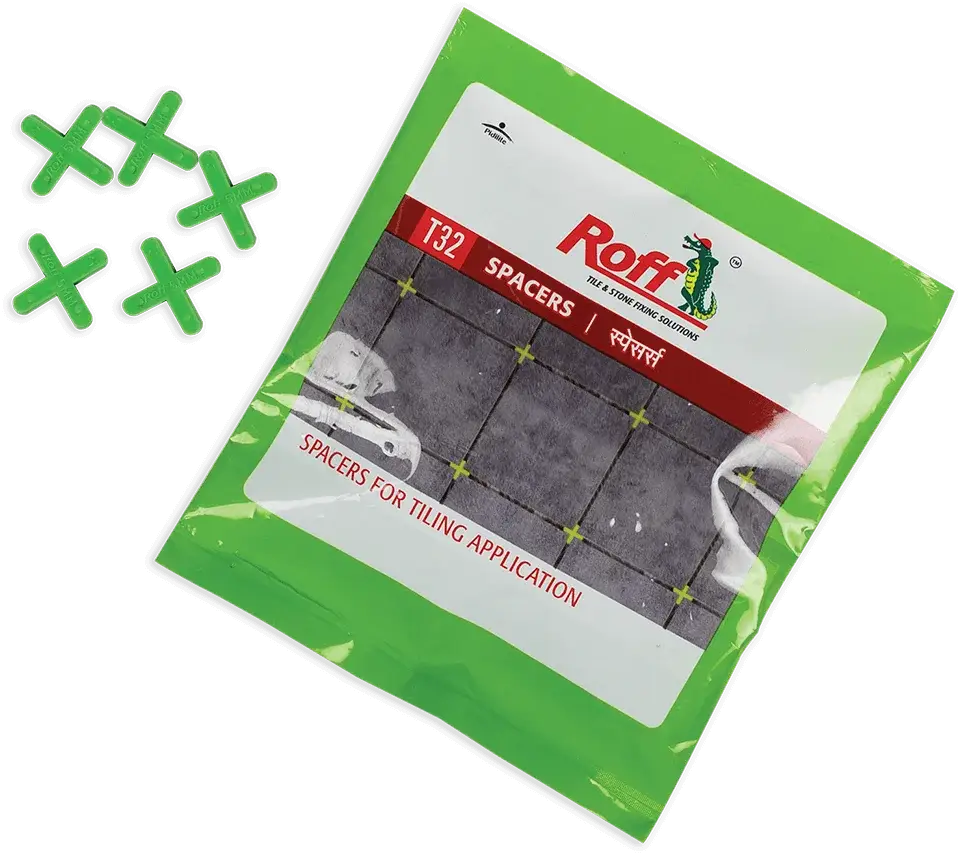
Maintain the required grout gaps between tiles.
Allow the adhesive and grout to cure fully before use.
The right adhesive can fix your tile and flooring problems for the foreseeable future. However, you must properly prepare the surface and follow the correct installation techniques. By following the steps above and using an effective adhesive like Roff Vitrofix, you can ensure your tiles remain durable and healthy after renovation.
Frequently asked questions (FAQs)
1) Can I replace one tile without removing others?
Yes, you can usually replace a single loose or cracked tile (ceramic or vitrified) without removing surrounding tiles, provided the adjacent tiles and substrate are sound. Carefully remove the grout and damaged tile without disturbing the neighbouring tiles.
2)Which Roff adhesive should I use to re-fix a cracked tile?
Roff Vitrofix Adhesive is a suitable option when the tile and substrate match its recommended applications. It is a polymer-modified adhesive designed for strong bonding of tiles to suitable substrates.
3) Do I need to leave a grout gap when replacing a tile?
Yes, maintain the same grout gap as the surrounding tiles. The gap allows for minor movement and helps prevent tiles from pressing against each other, which can lead to cracking or debonding.
4) How long before I can walk on a repaired tile?
Wait for the adhesive to cure for the period specified in the product instructions before walking on or loading the repaired tile. The required time can vary depending on the adhesive and site conditions.
5) Why do tiles sound hollow?
A hollow sound can indicate air gaps or insufficient adhesive contact beneath the tile. These unsupported areas can reduce the tile’s stability and may eventually contribute to cracking or loosening.