Check out the biggest trends of the season and our expert take on them.
How to Fix Tiles on a Wall: DIY Step-by-Step Guide
Key Takeaways
Ensure the surface is clean, dry, stable, and free from dust, grease, or loose paint before fixing tiles.
Use a suitable tile adhesive basis your surface’s requirement, and use a notched trowel to apply adhesive evenly.
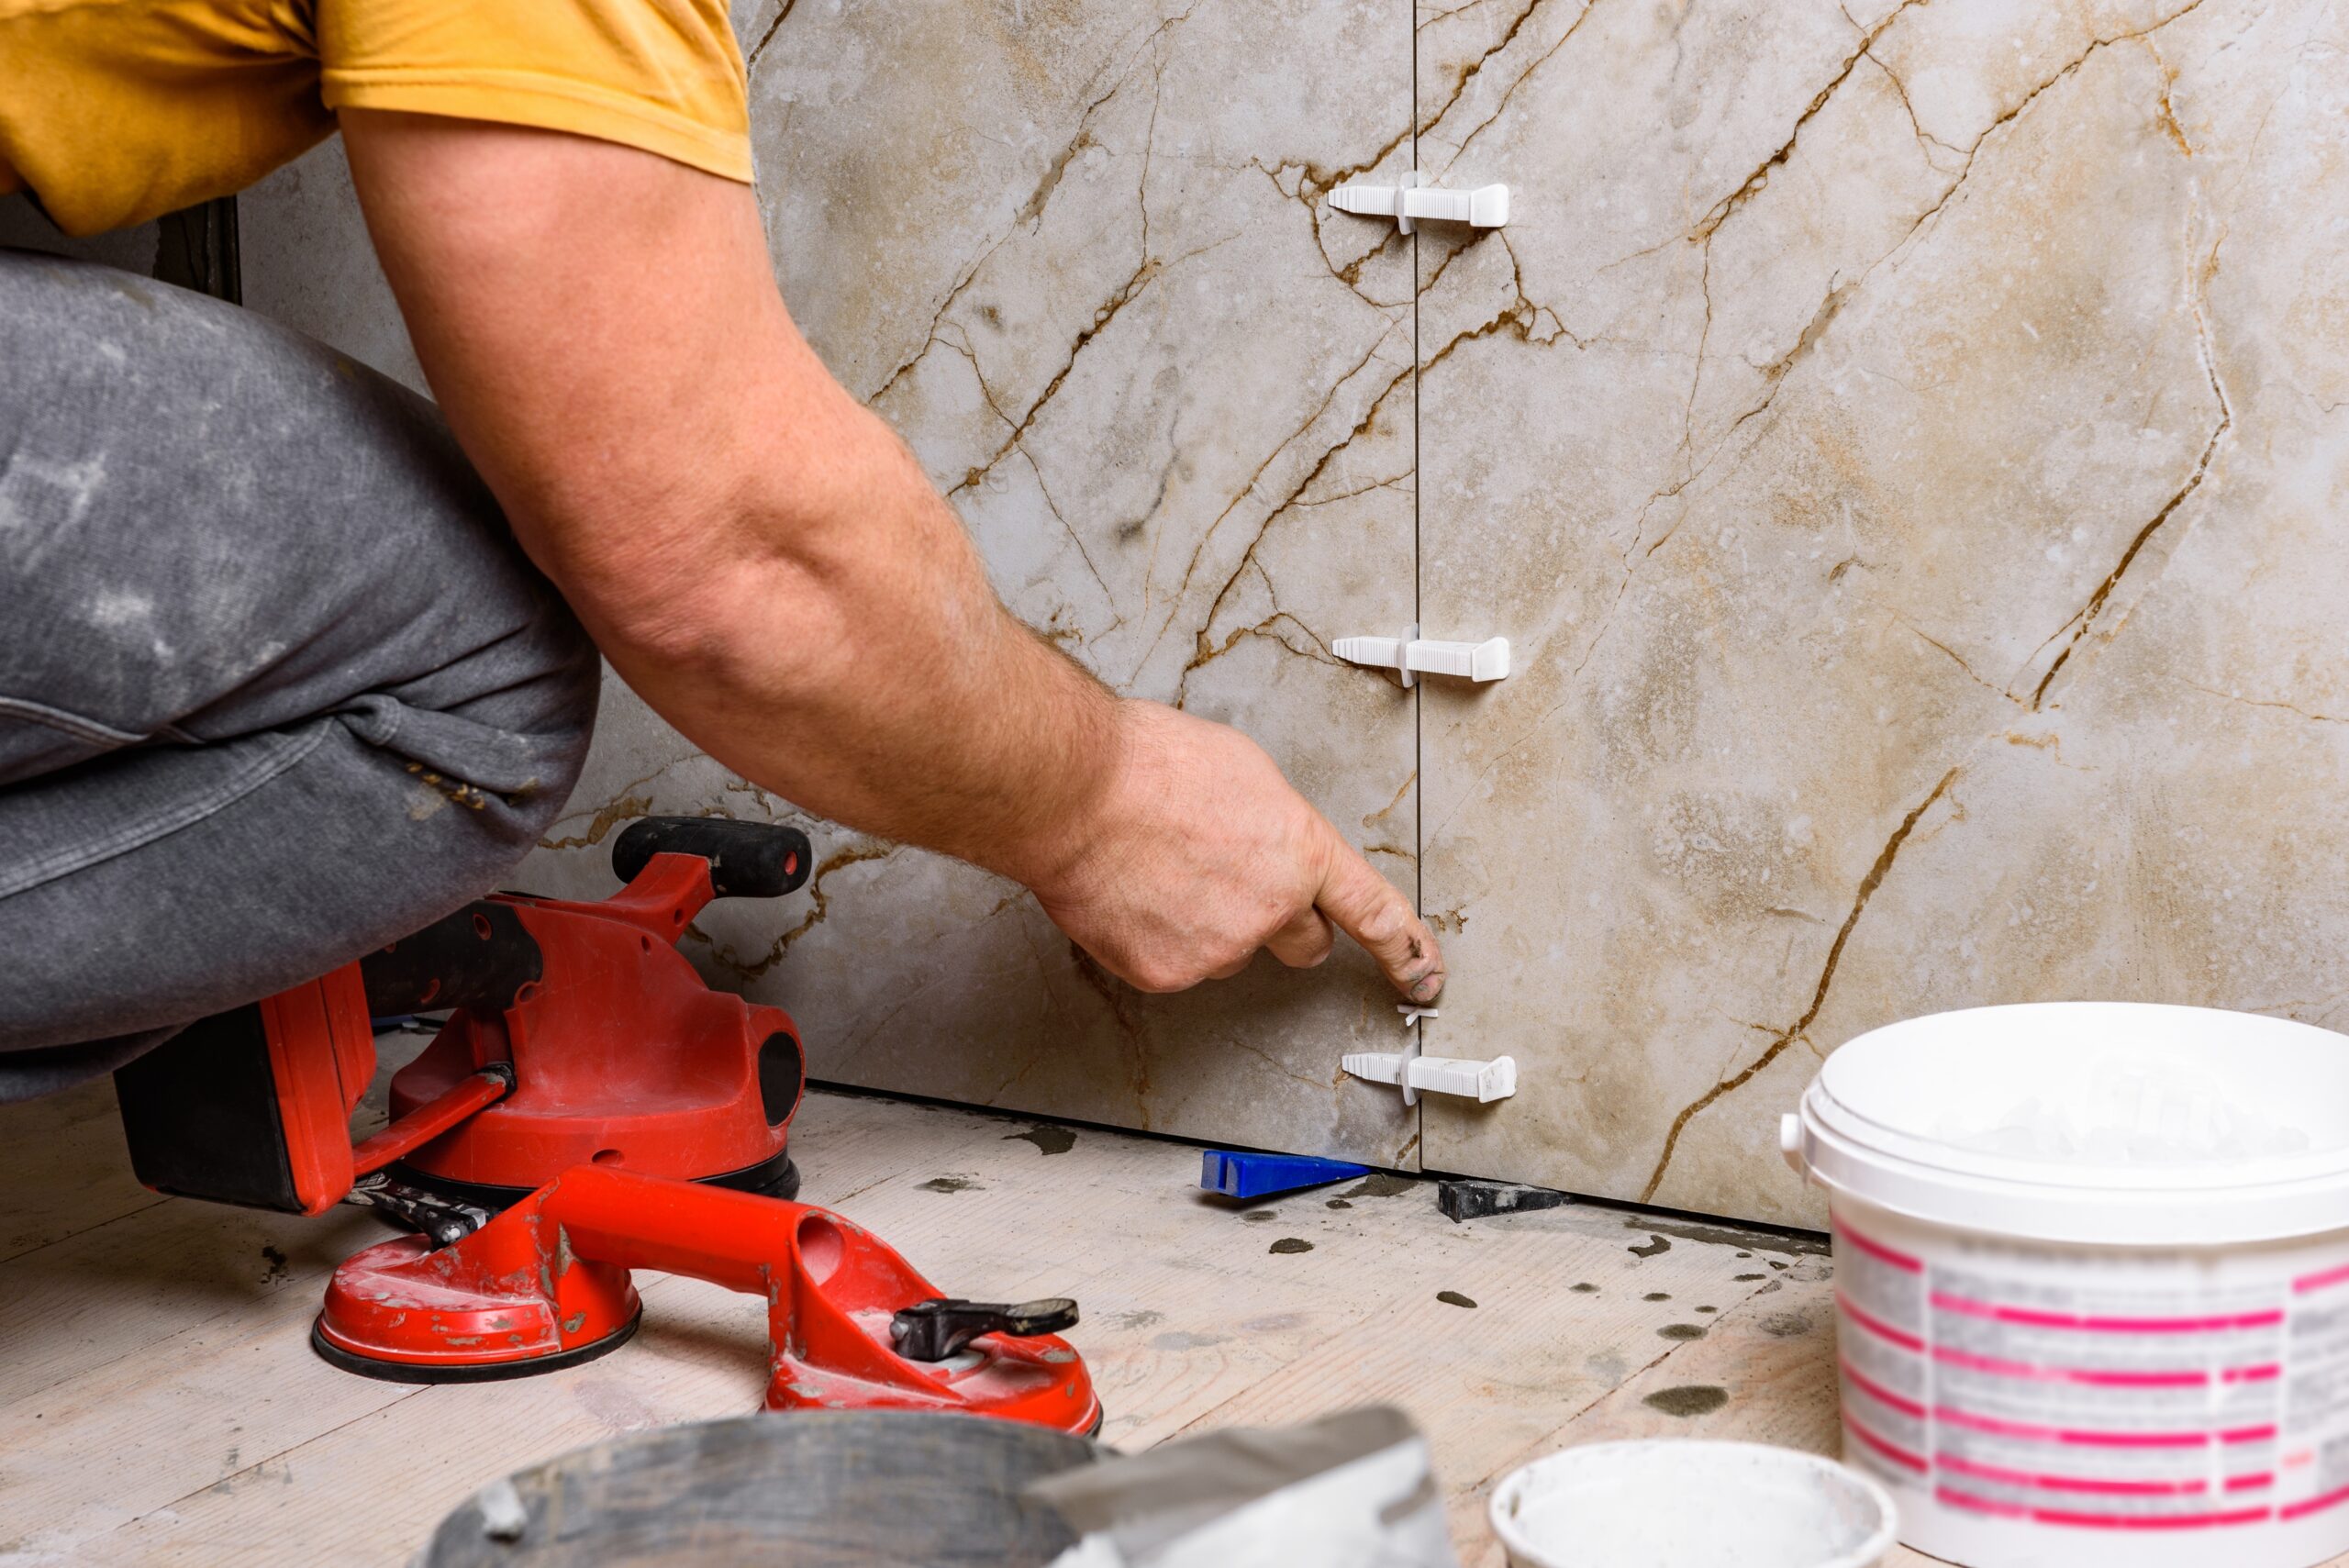
Use tile spacers and a spirit level to keep grout joints consistent, rows straight, and the finish neat.
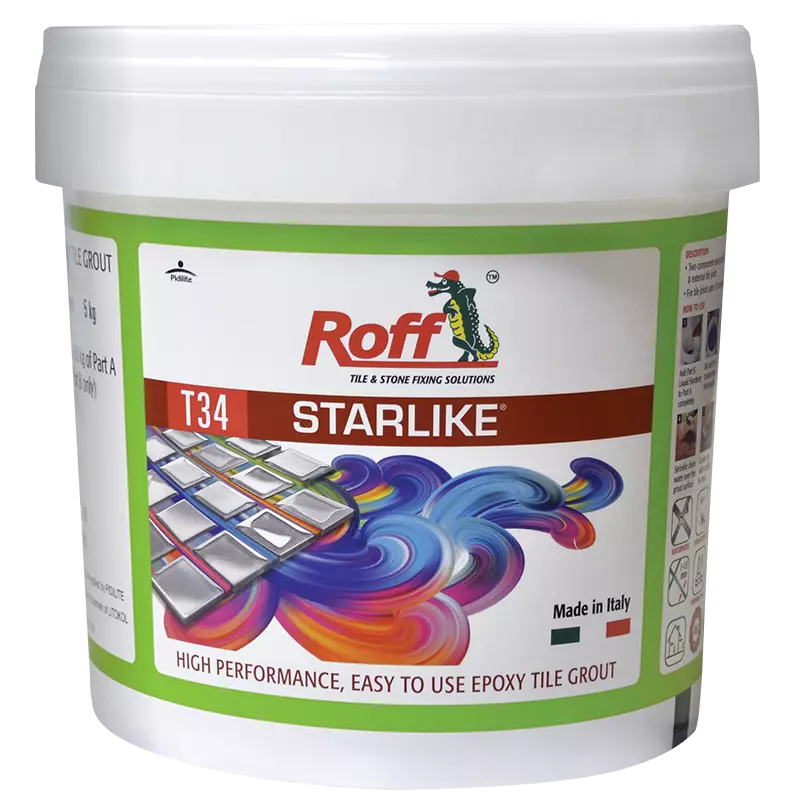
Let the adhesive cure as recommended before applying a suitable grout, such as Roff Starlike, for a durable and attractive finish.
Fixing wall tiles yourself is possible with the right tools and a suitable tile adhesive. Whether you’re tiling a kitchen backsplash or refreshing a bathroom wall, the key is to create a sound base, apply the adhesive evenly, and keep the tiles aligned as you work.
Tools & Materials
Before you start, gather your tools and materials so you can work steadily without leaving adhesive exposed for too long. Check that the tiles, adhesive, spacers, and grout suit the intended wall and environment.
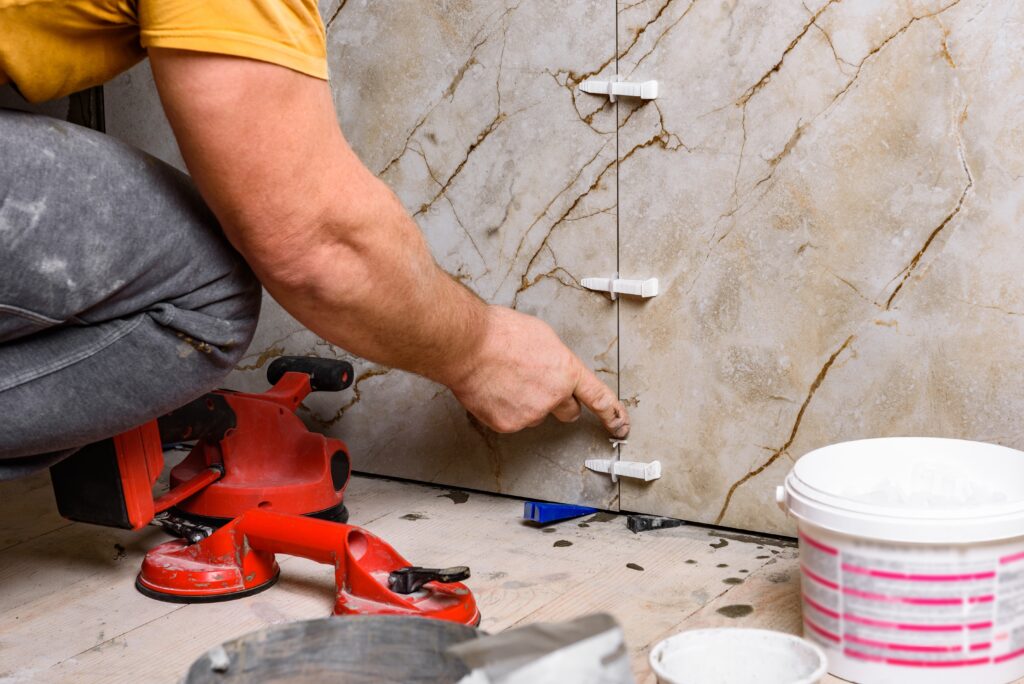
Adhesive, trowel, spacers
The quality of your installation largely depends on the products you use.
Essential materials include:
Tile adhesive
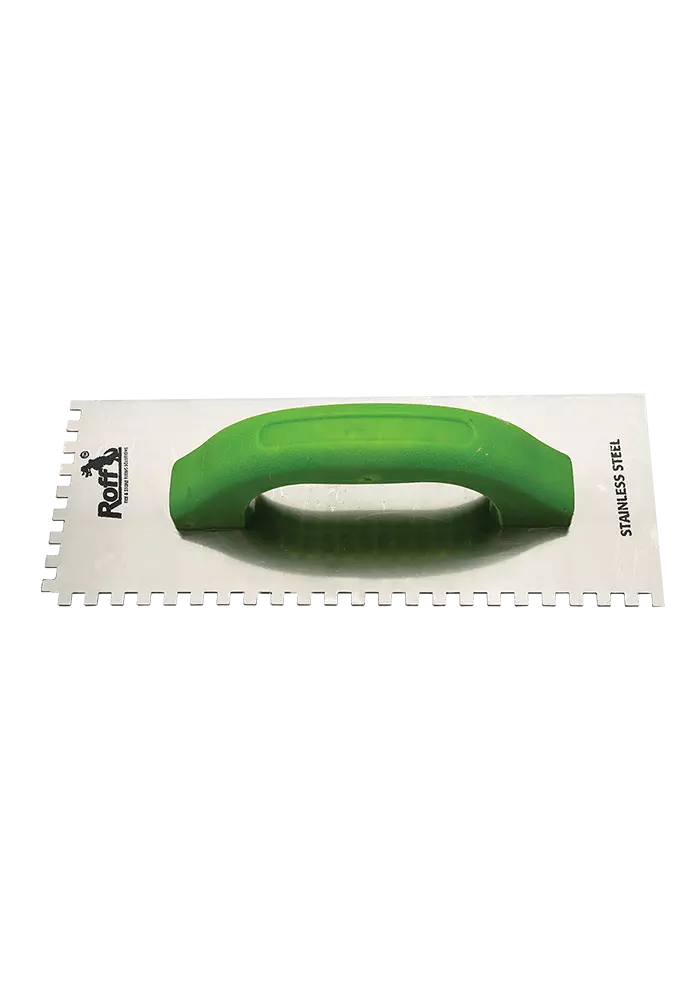
Notched trowel
Mixing machine
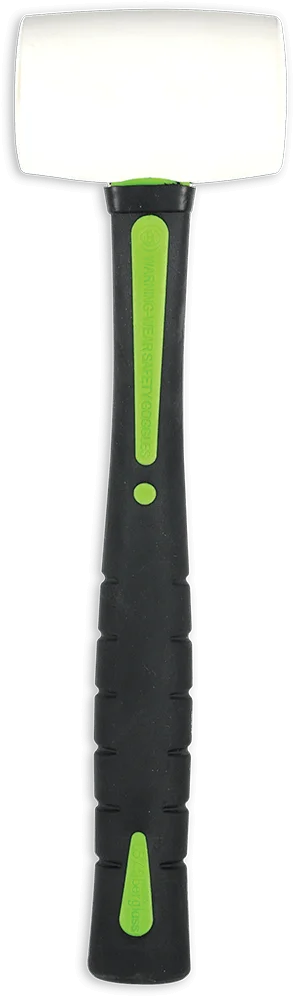
Rubber mallet or electric vibrator
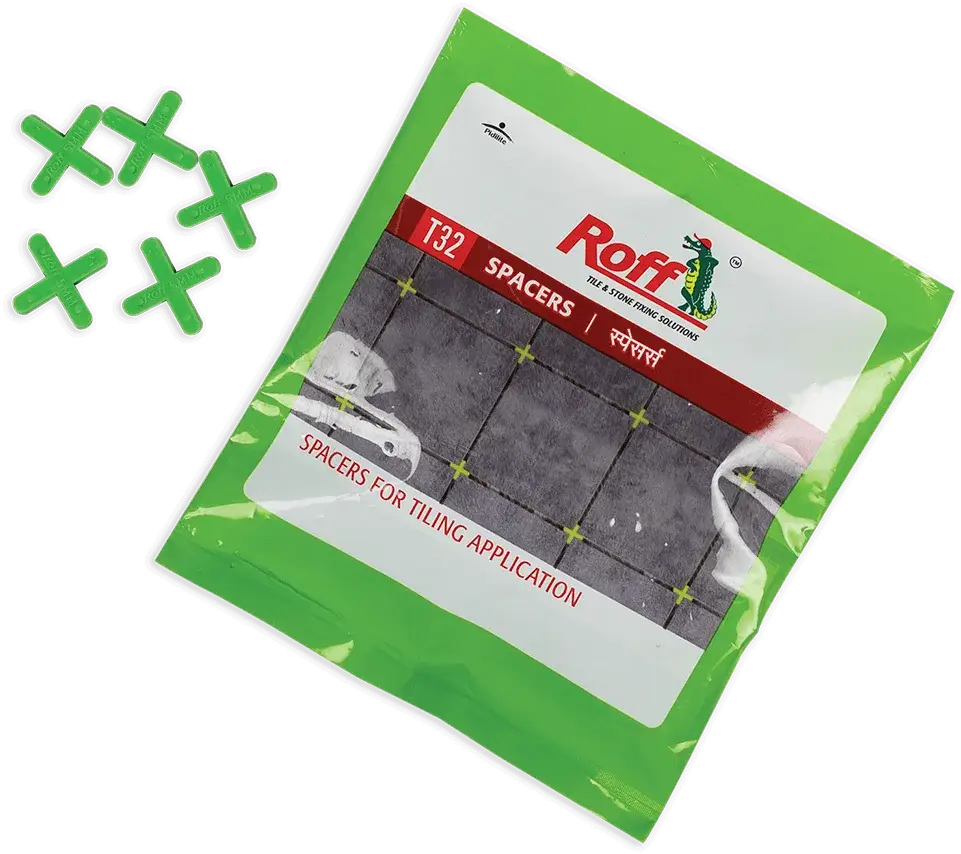
Tile spacers
Mixing bucket
Measuring tape
Pencil or marker
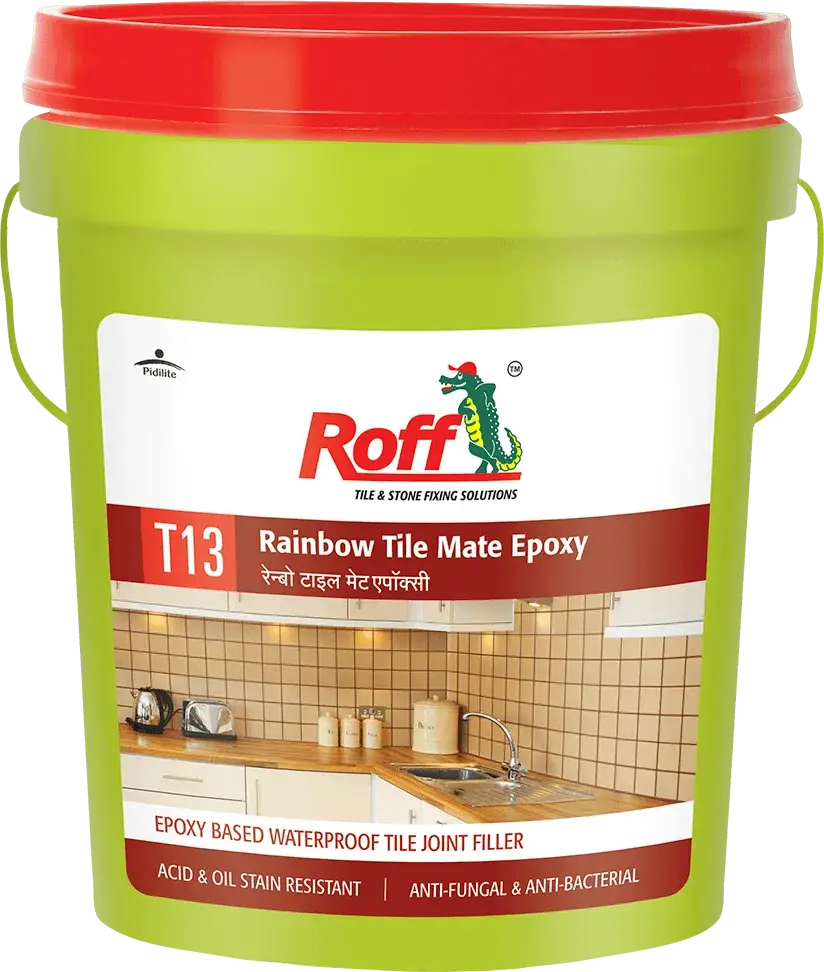
Epoxy tile grout
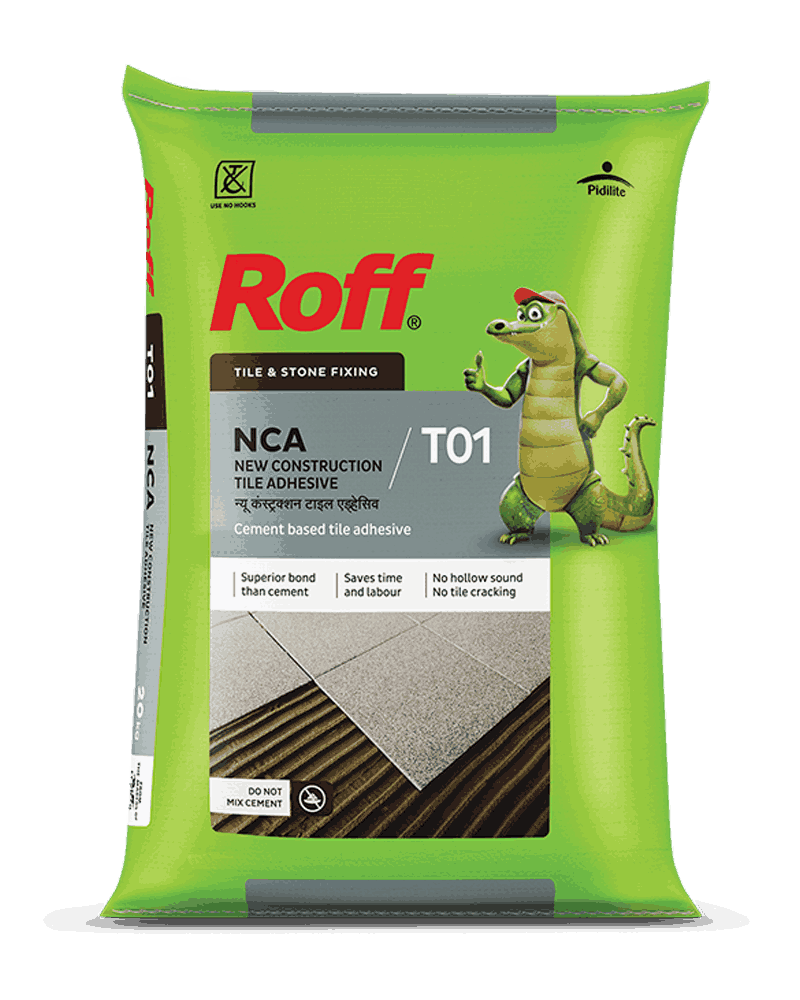
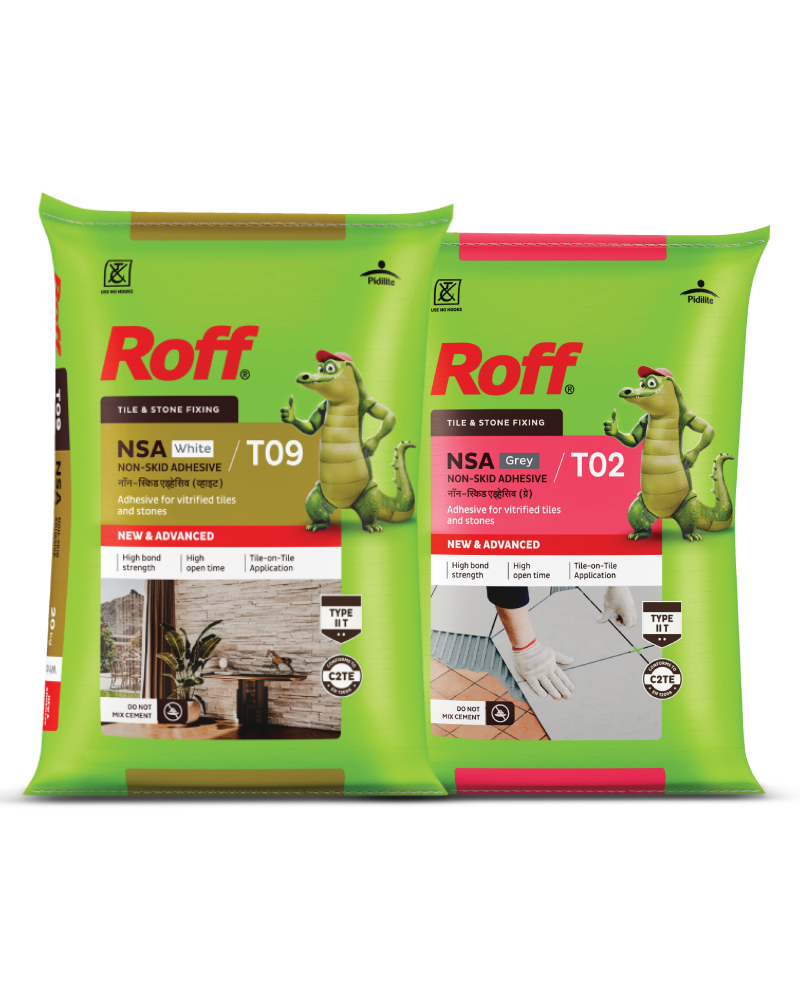
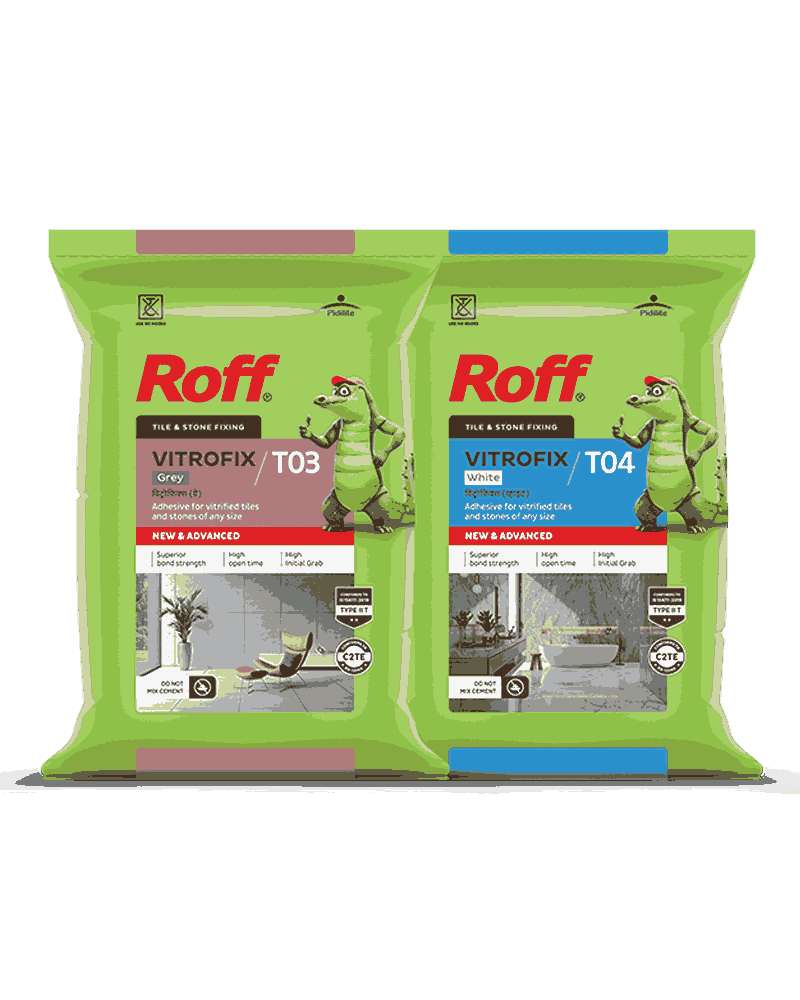
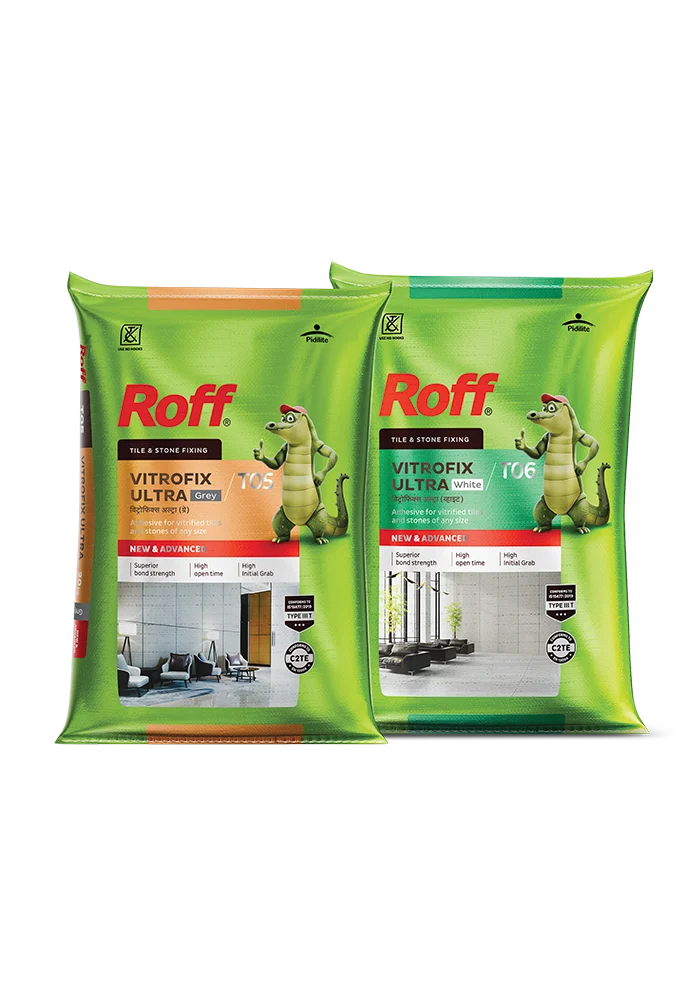
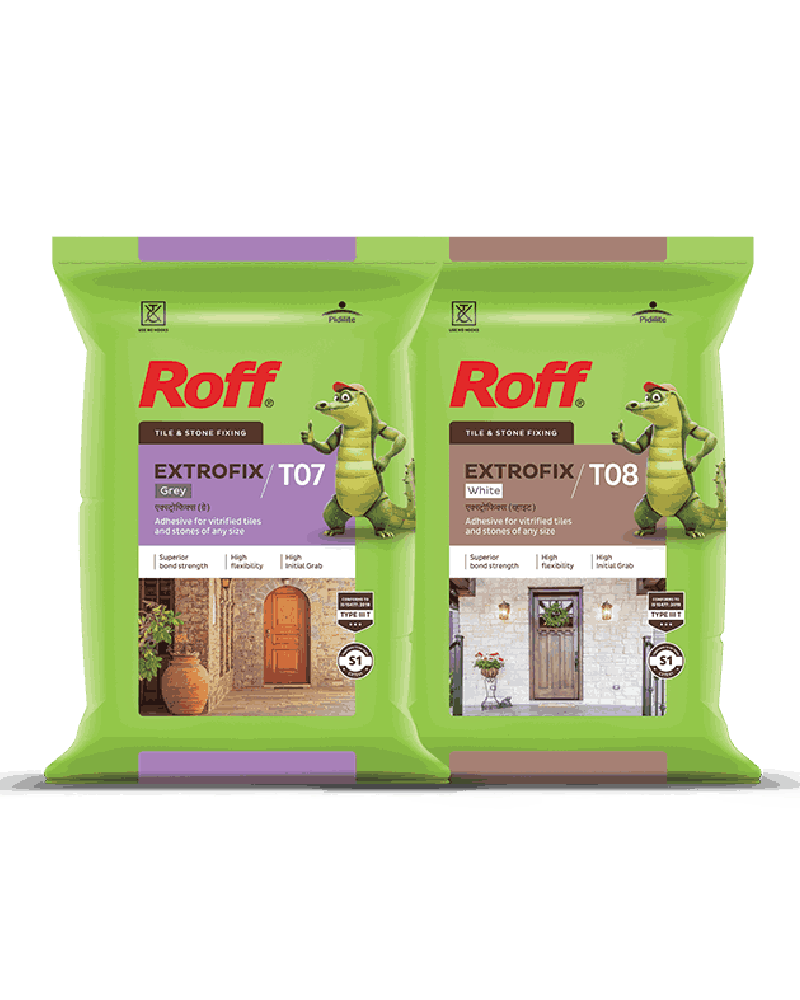
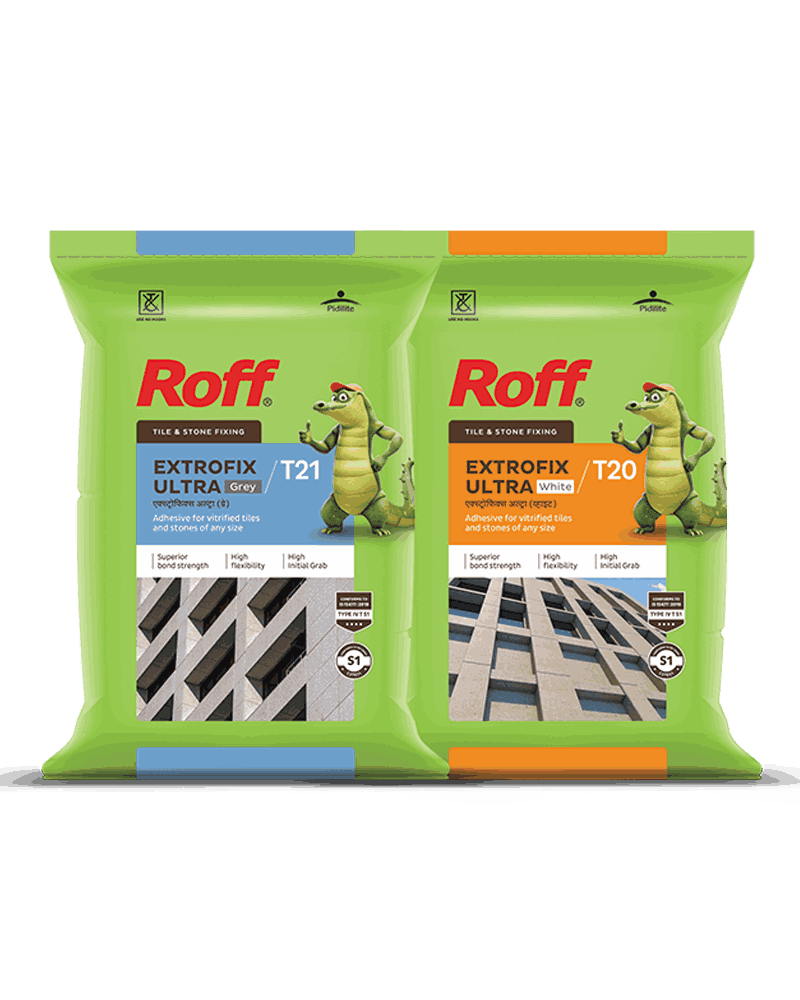
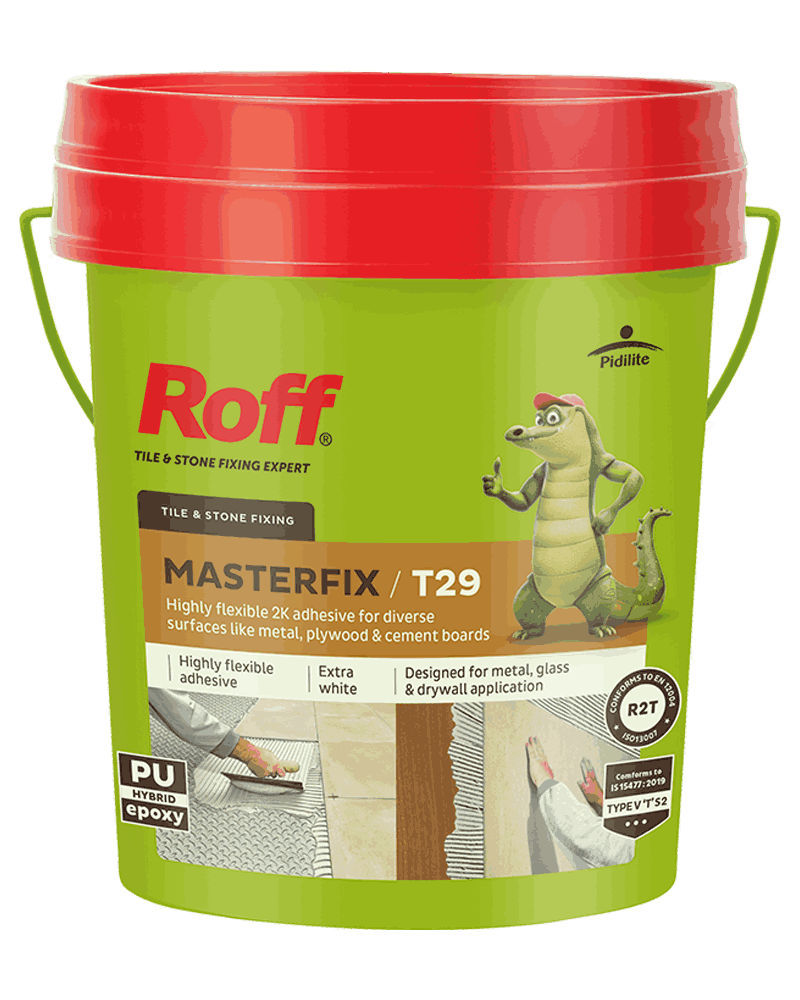
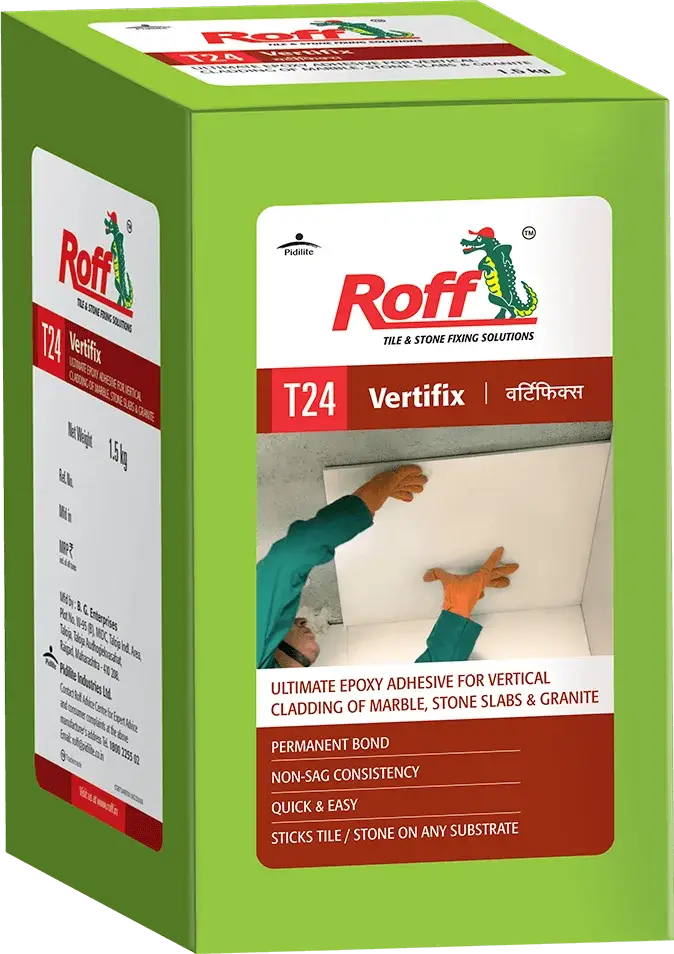
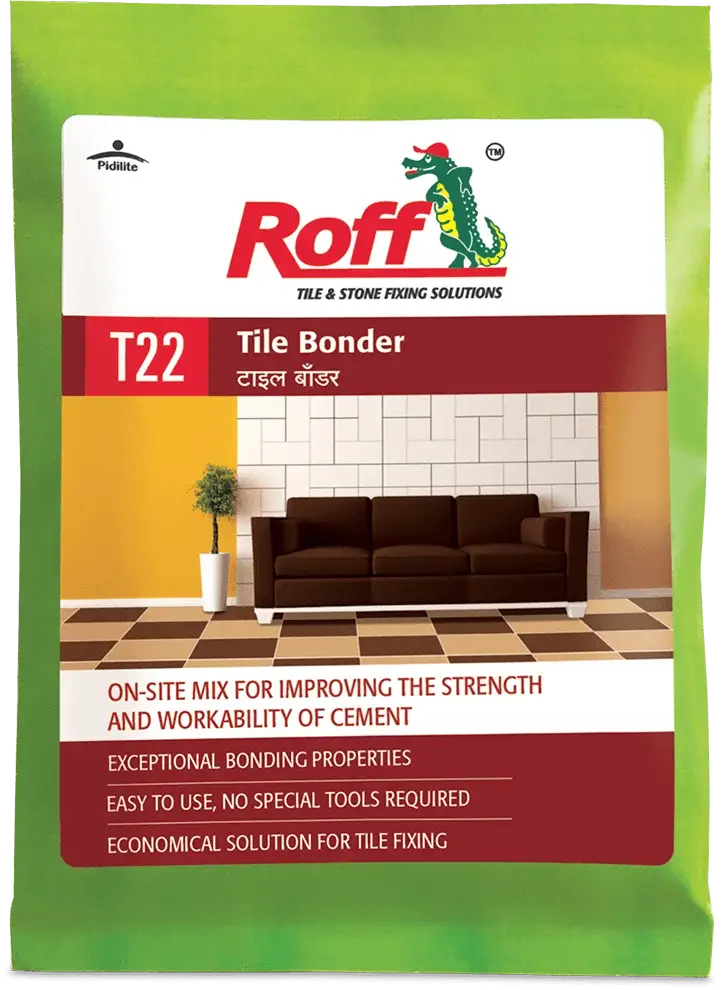
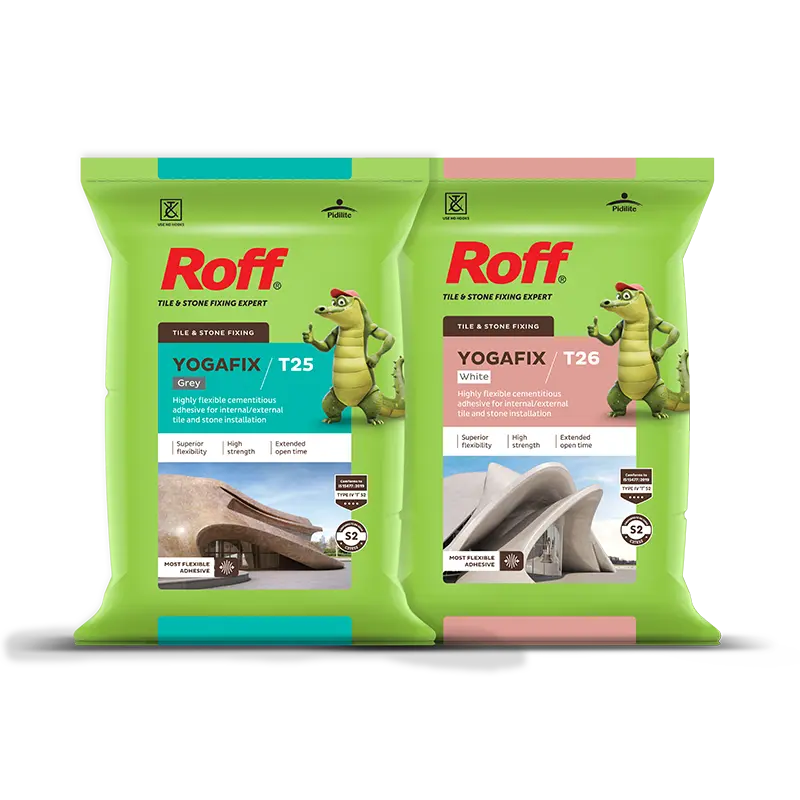
For cementitious walls, Roff Vitrofix is a suitable tile adhesive designed to provide strong bonding for tiles. For drywall, metal or plywood, use Roff Mater Fix instead. Pair it with a Roff Notch Trowel to achieve the correct adhesive bed thickness and even coverage. To keep grout joints consistent, use spacers between the tiles. Apply a suitable grout, such as Roff Starlike, only after the adhesive has cured.
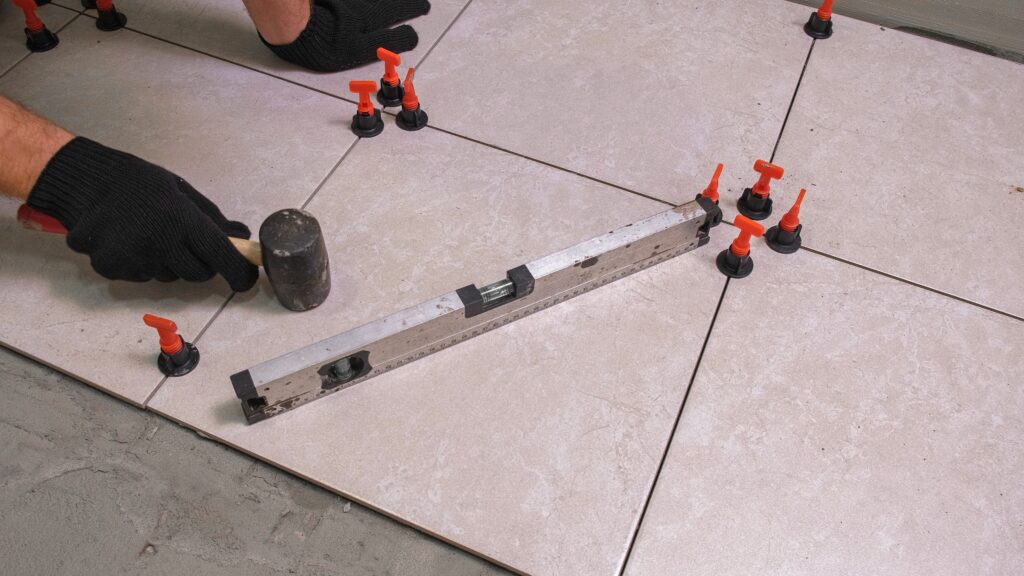
Mallet & level
Proper alignment is critical for achieving a professional finish.
Keep the following tools ready:
Spirit level
Rubber mallet
Straight edge
Tile cutter
Safety gloves and goggles
A spirit level helps ensure tiles remain straight and even throughout the installation. A rubber mallet or electric vibrator lets you make gentle adjustments without damaging the tile surface.
How to Fix Wall Tiles (Step by Step)
A successful wall-tile installation depends on proper surface preparation and following the adhesive manufacturer’s instructions. Work in small sections, and don’t spread more adhesive than you can cover within its open time.
How to fix tiles on a wall:
Prepare and clean the wall surface.
Mark guidelines using a level.
Mix the tile adhesive with an electric mixter as per the product instructions.
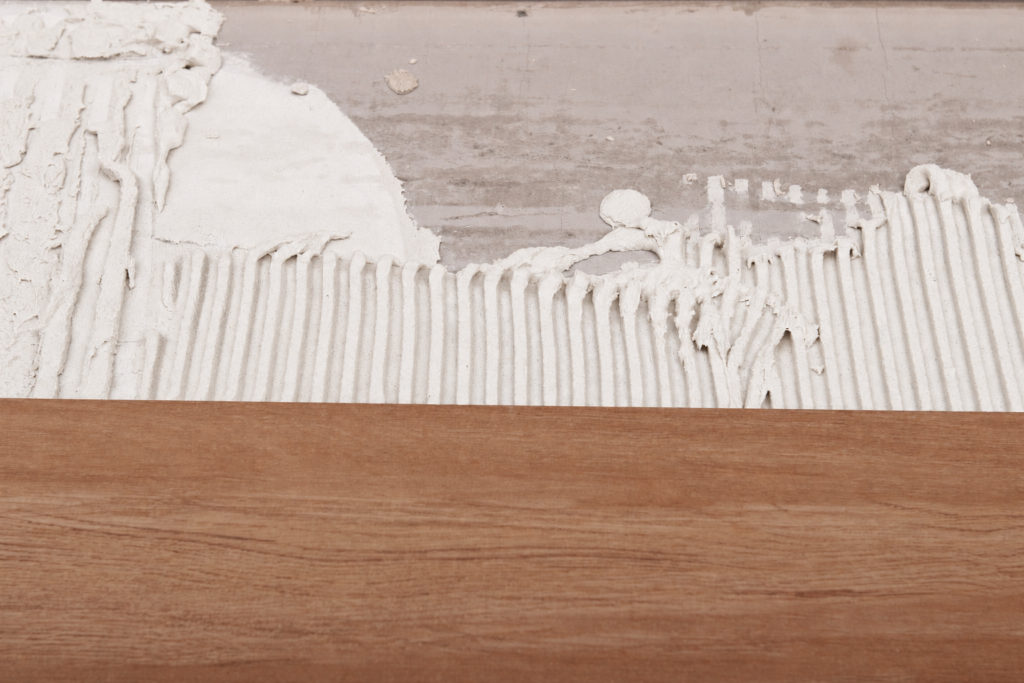
Apply adhesive using a notched trowel.
Fix tiles onto the adhesive bed with a rubber mallet or electric vibrator.
Insert spacers between tiles.
Check alignment regularly with a spirit level.
Allow the adhesive to cure.
Apply grout between tile joints.
Clean and finish the tiled surface.
Comb, press, space
Follow these steps to install wall tiles in order:
Prepare the wall by removing dust, grease, loose paint, and other contaminants. Ensure the substrate is sound and suitable for tiling.
Mark reference lines using a level and measure the wall to minimise awkward cuts at edges and corners.
Prepare the adhesive by mixing it according to the product instructions.
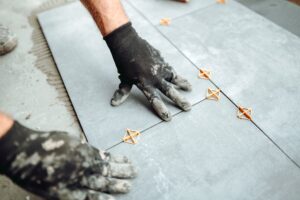
Apply adhesive to a manageable section and comb it with the appropriate notched trowel.
Press each tile firmly into the adhesive, then make a slight adjusting movement to ensure good contact.
Maintain consistent joints between tiles and check that each row remains aligned.
Remove adhesive from the joints while it is workable, then allow the installation to cure as directed before grouting.
Spacing & Levelling
Consistent spacing and careful levelling help create a neat, professional-looking finish. Plan cuts before applying adhesive, particularly around corners, electrical fittings, and plumbing fixtures.
Spacers & level checks
Use spacers to keep joint widths uniform, and check each row with a spirit level. Correct misaligned tiles while the adhesive is still workable, following the product instructions. Avoid pressing individual tiles too deeply, as this can create uneven surfaces.
Grouting & Finishing
Grouting completes the installation by filling the joints between tiles and helping create a uniform finish. However, grout should be applied only after the adhesive has cured sufficiently.
When/how to grout
Follow the adhesive manufacturer’s recommended waiting period before grouting, as the timing depends on the product and installation conditions. Use a suitable grout, such as Roff Starlike. Roff Starlike offers over 33 shades, and its greatest feature is that it maintains its colour for years, ensuring your tiles continue to look beautiful year after year.
Apply the grout according to its instructions and clean the tile surface without washing grout out of the joints. Allow the grout to cure as directed before exposing the wall to water or regular use.
Frequently asked questions (FAQs)
1) How do I fix tiles on a wall myself?
Prepare the wall, mark the layout, apply a suitable adhesive with a notched trowel, press tiles into place, use spacers, check alignment, and grout after the adhesive has cured.
2) What adhesive is best for wall tiles?
Choose an adhesive suitable for the tile and installation conditions. Roff Vitrofix is an option for appropriate wall-tile applications; check its technical data sheet before use.
3) Do I need spacers for wall tiles?
Spacers are recommended to maintain consistent grout joints and keep rows aligned. Select a spacer size that matches the intended joint width.
4) How long before I can grout?
The waiting time depends on the adhesive and site conditions. Follow the product’s technical instructions rather than assuming one curing period applies to every installation.
5) Can I tile over painted walls?
No, tiles should not be fixed on painted walls. Ensure that the surface has been properly roughened and cleaned before the adhesive is applied. Tile fixing should be done only once the surface has been properly prepared.