Check out the biggest trends of the season and our expert take on them.
Tile Adhesive: A Complete Guide to Choosing and Applying It Correctly Keywords
Key takeaways
Choose the adhesive based on the project. Tile type, substrate, location, moisture exposure, traffic, and environmental conditions all matter.
Surface preparation is critical. Clean and dry substrates are essential for preventing weak bonds, hollow tiles, and debonding.
Correct application technique improves durability. Proper mixing, adequate coverage, and following the open time can help create a stronger bond.
Installation discipline matters more in the long-term. Follow the adhesive manufacturer’s specifications as accurately as possible.
Installing tiles involves much more than selecting an attractive design. The strength, durability, and longevity of your installation depend largely on choosing the right adhesive for tiles. Whether you are renovating a bathroom, upgrading a kitchen, or installing flooring in a commercial space, selecting the correct adhesive helps prevent tile failures.
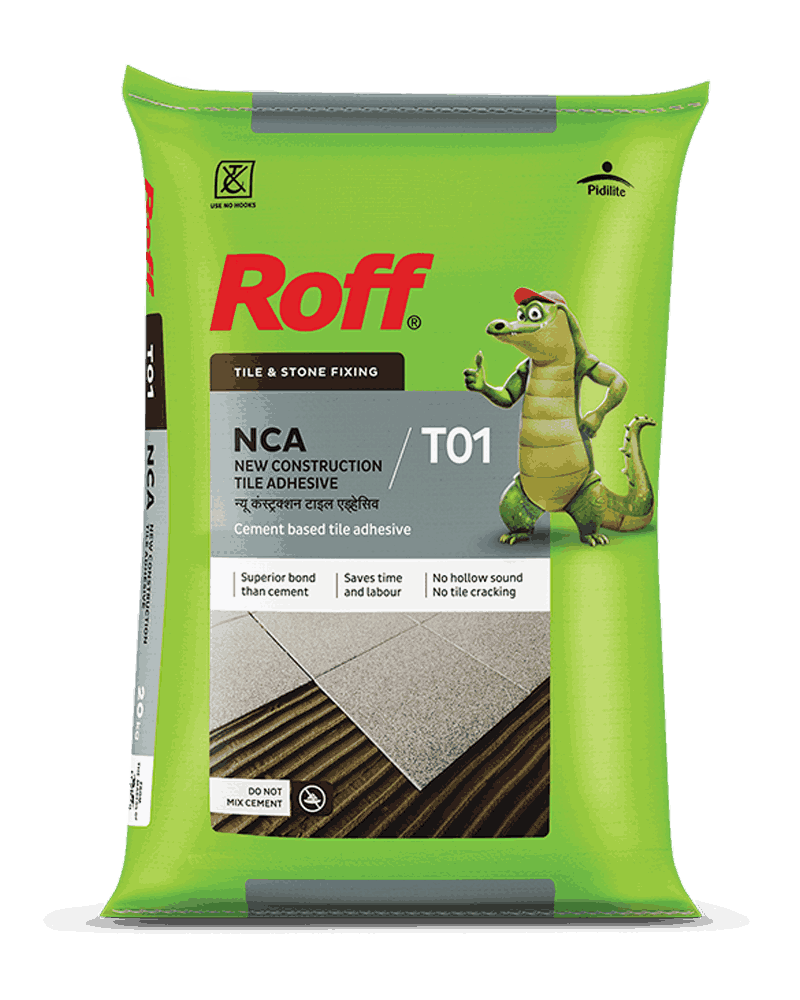
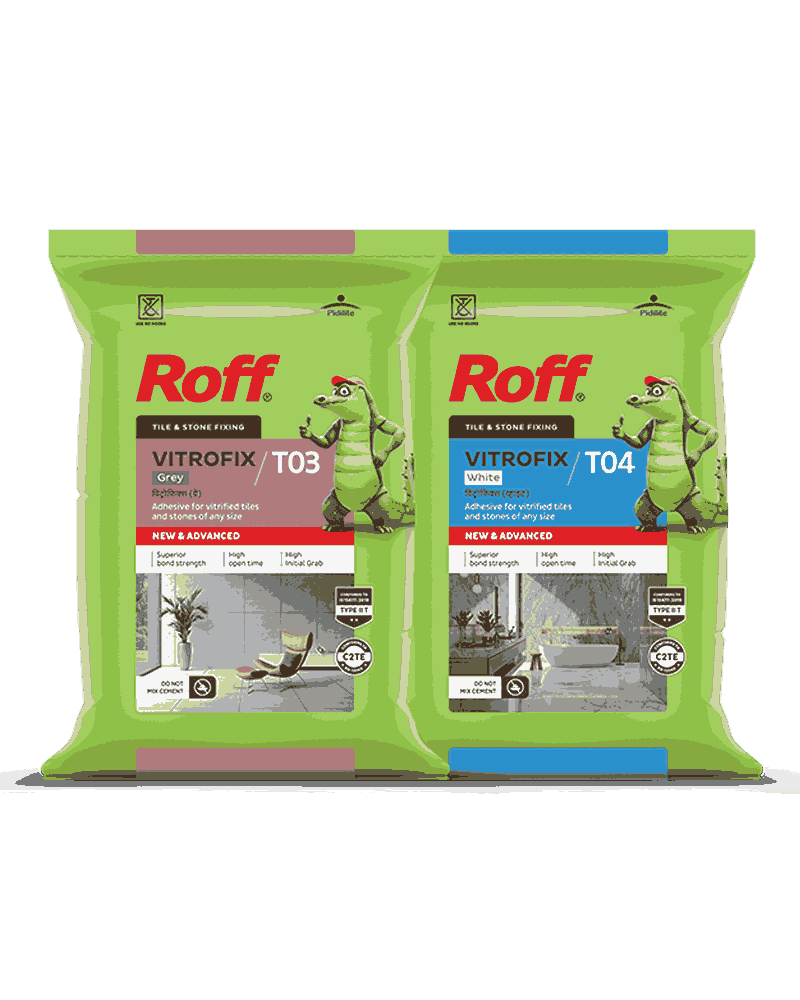
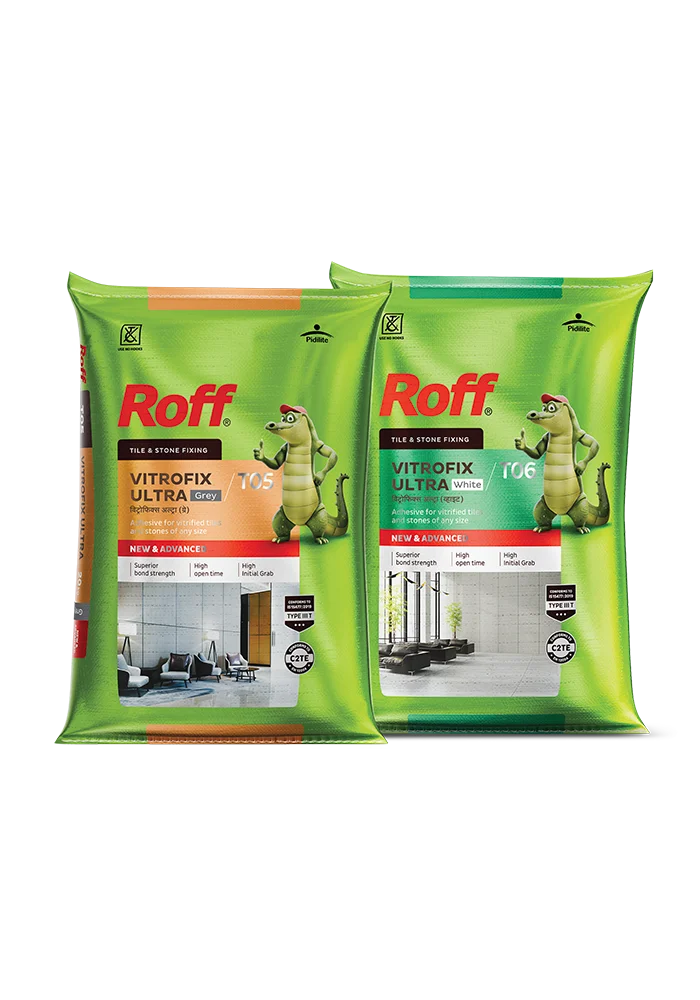
Understanding tile adhesive types and knowing how to apply tile adhesive correctly helps you make informed decisions before installation begins. With Roff, you gain access to specialised tile adhesives designed for different materials, installation conditions, and performance requirements.
Understanding Tile Adhesive: What It Is and Why It Matters
How Tile Adhesive Works
Tile adhesive creates a strong bond between the tile and the underlying surface. Unlike traditional cement fixers, modern adhesives are formulated to provide consistent bonding strength while accommodating slight movements caused by temperature changes or structural shifts.
A high-quality adhesive on tile will evenly distribute weight across the tile’s surface. This reduces stress that could potentially damage tiles over time.
The Evolution from Traditional Mortar to Modern Adhesive
Traditional cement mortar is loose, porus, and forms weak bonds, which leads to tiling issues in the long run. It often resulted in inconsistent adhesion, which causes hollow sounds and uneven tile placement.
Modern tile adhesives have transformed the installation process by offering:
Better bond strength
Improved flexibility
Faster installation
Long-term durablity
Better moisture resistance
Reduced material wastage
These advantages have made specialised tile adhesives the preferred choice for residential and commercial projects alike.
Key Properties That Define Quality Adhesive
Several properties determine the performance of an adhesive:
High bonding strength
Excellent workability
Slip resistance for wall tiles
Flexibility under movement
Moisture resistance
Open time
Stickiness and adjustability
Choosing the correct adhesive for tile helps ensure these properties match your installation requirements.
Types of Adhesive for Tile Applications
Different projects require different tile adhesives. Understanding the available tile adhesive types helps you select the most suitable product.
Cement-based adhesives remain the most commonly used solution for residential and commercial tiling.
Standard Thin-Set vs. Modified Thin-Set
Standard thin-set adhesives are suitable for small sized tiles or non-critical applications such as floor tile fixing.
Modified thin-set adhesives include polymer additives that improve:
Flexibility
Adhesion
Water resistance
Open time
Modified products are recommended for demanding environments.
Best Applications and Limitations
Cement-based adhesives work well for:
Ceramic tiles
Vitrified tiles
Natural stones
Cement based surface like concrete/plaster/mortar
Interior and exterior installations using appropriate grades
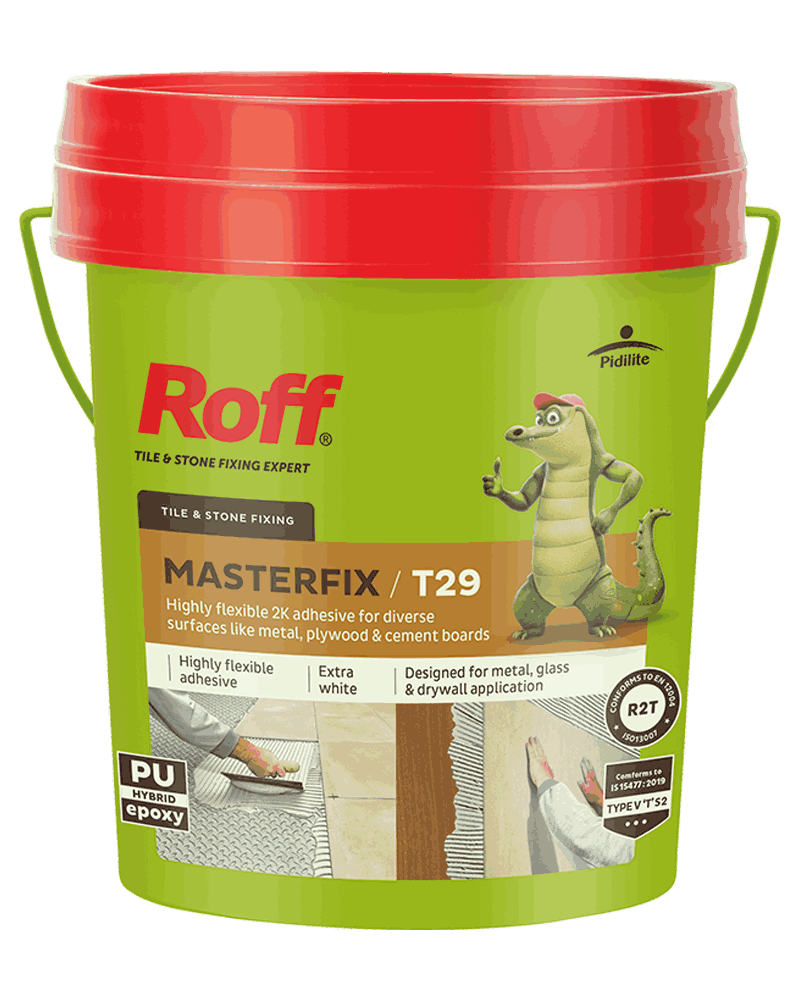
However, they may not be suitable for critical surfaces like metal, drywall, composites, engineered stone, etc.
Epoxy-Based/Resin Based Adhesives
Epoxy adhesives provide outstanding bonding and flexibility with various substrates, and results in a durable and long-lasting tile installation.
When to Choose Epoxy/Resin Based Adhesives for Maximum Durability
Epoxy and resin-based adhesives are suitable when installations require:
Drywall surfaces
Composite and engineered stone
Existing epoxy based/non-cementitious
Glass/metal/other critical surfaces
Chemical Resistance and Moisture Protection
Epoxy adhesives resist:
Chemicals
Oils
Acids
Moisture
These properties make them ideal where durability is critical.
Choosing the Right Adhesive for Tiles: Matching Adhesive to Your Project
Every installation presents unique challenges. Selecting the correct adhesive for tile depends on several important factors. If you are unsure which product suits your project, Roff’s Adhesive Selector can help identify the most appropriate solution.
Tile Type Consideration
Different tile materials require different adhesive characteristics.
Ceramic and Vitrified Tiles
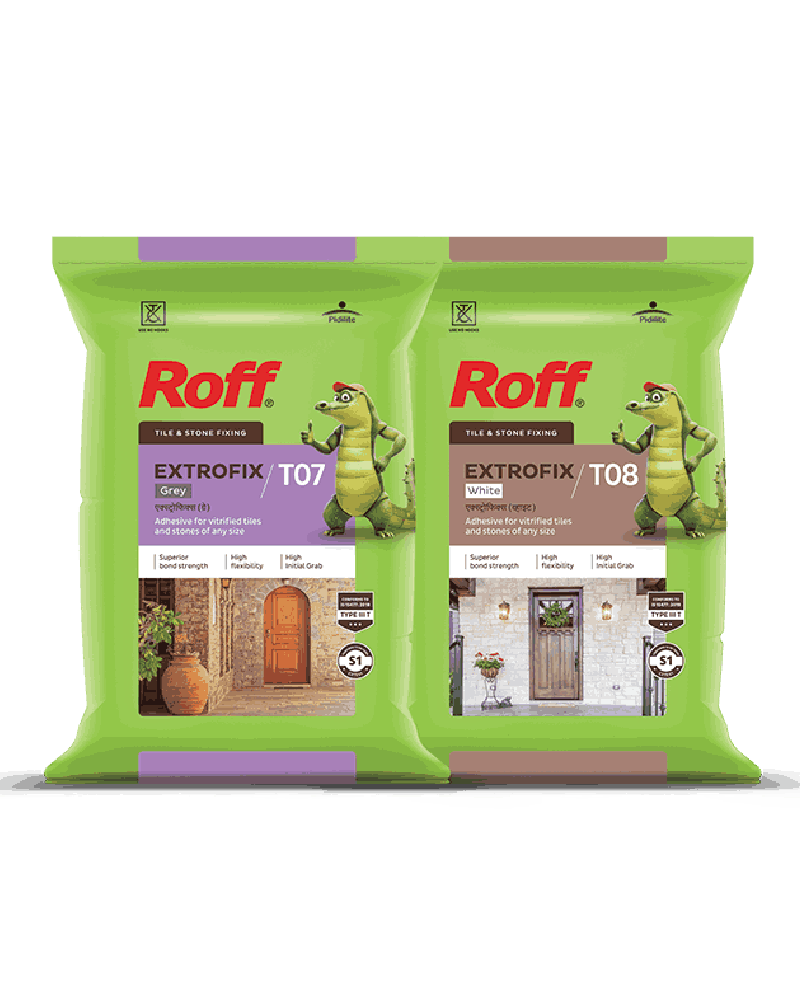
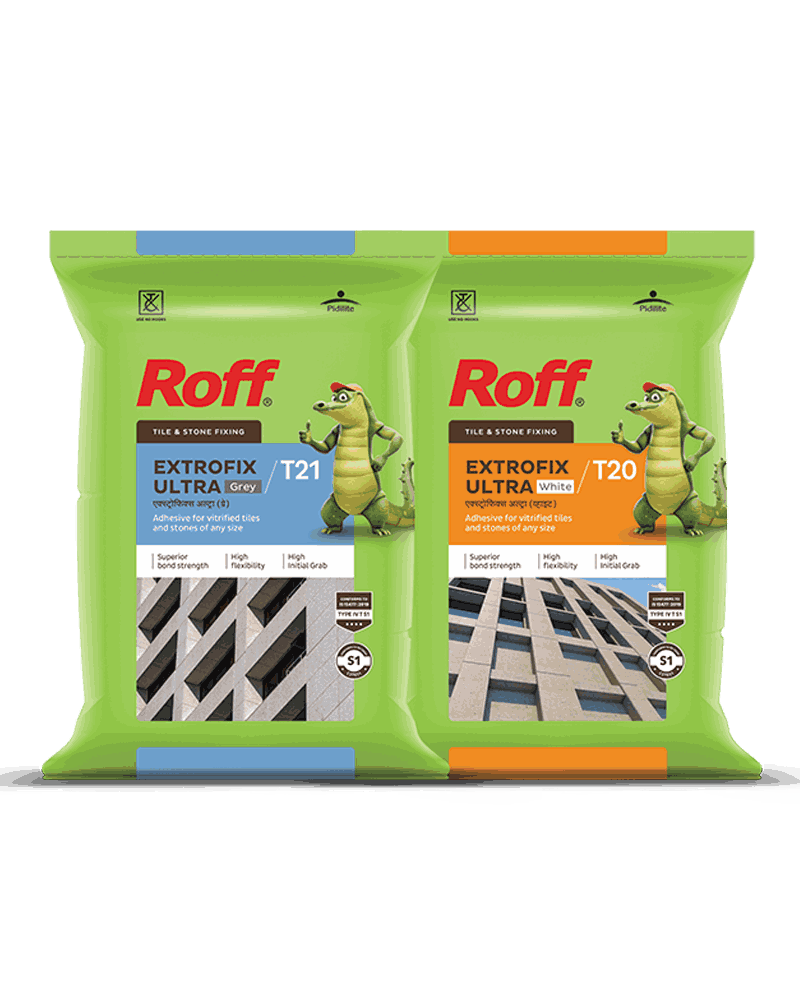
Ceramic tiles generally work well with standard cement-based adhesives. Vitrified tiles absorb very little water. They often require polymer-modified adhesives that provide stronger bonding.
Natural Stone (Marble, Granite, Travertine)
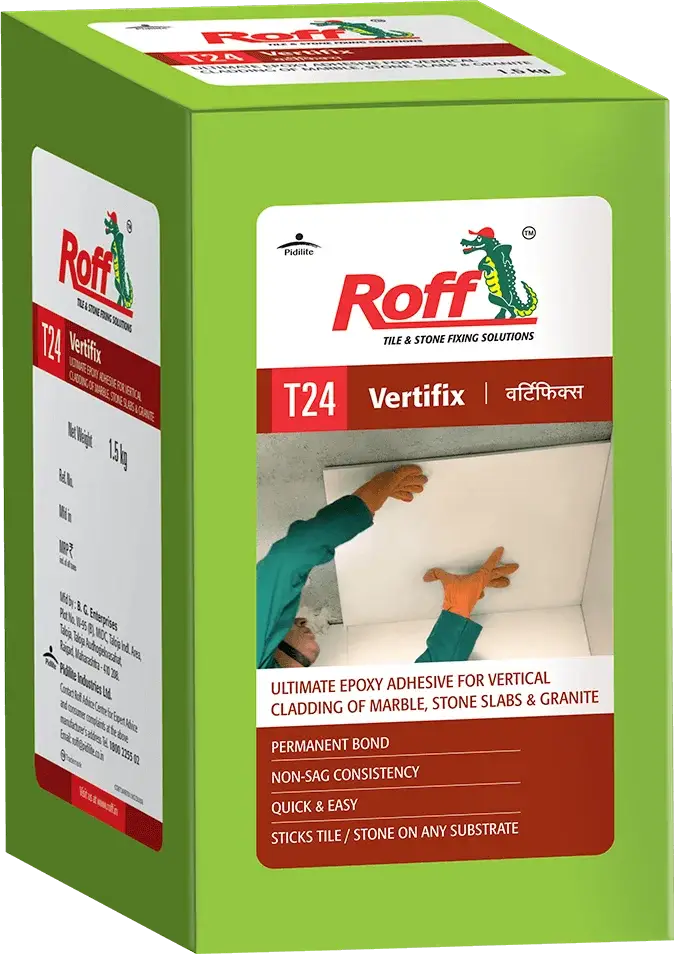
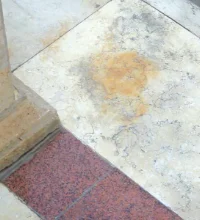
Natural stones such as marble, granite, and travertine vary in porosity and weight. These materials require specialised adhesives that minimise staining while supporting their heavier weights. For natural stones, white cement- or resin-based adhesives are preferred.
Glass and Mosaic Tiles
Glass tiles demand excellent adhesion and colour consistency. White adhesives are usually preferred here, as they maintain the allure of translucent glass without clashing with the aesthetic texture.
Large Format and Heavy Tiles
Large-format tiles place greater stress on the adhesive layer. High-performance adhesives with enhanced flexibility and bonding strength help reduce the risk of tile movement and hollow areas. Adhesives with higher open time are preferable, as they allow the workers to take the required time during installation.
Substrate Compatibility
The substrate underneath the tile significantly influences the performance of any installation:
Concrete and Plasterboard
These provide stable surfaces and are compatible with many cement-based adhesive systems after proper preparation.
Drywall
Drywall is a critical surface where cement-based adhesive is not recommended. It requires high flexibility because it has the tendency to vibrate, and it should not come in contact with water.
Plywood and Particle Board
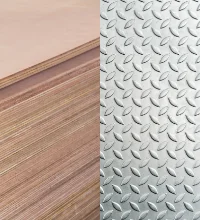
Timber-based substrates experience constant micro-movement due to changes in temperature and moisture absorption. Flexible adhesives designed to accommodate this movement drastically improve installation performance.
Existing Tiles and Non-Porous Surfaces
Installing new tiles over existing ones requires specialised preparation and high-performance bonding systems. Proper surface cleaning and adhesion testing are essential before applying any adhesive to tiles.
Location and Environmental Factors
Environmental exposure always influences your adhesive choices:
Interior vs. Exterior Applications
Exterior installations experience:
Rain
Temperature changes
UV exposure
Freeze-thaw cycles in some regions
These conditions require adhesives specifically designed for outdoor use.
Wet Areas: Bathrooms, Showers, and Pool Surrounds
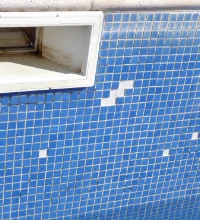
Bathrooms, showers, balconies, and pool surrounds require moisture-resistant adhesive systems that maintain long-term bond strength. Proper waterproofing beneath the tile assembly also plays an important role in protecting the substrate and improving installation durability.
High-Traffic Zones and Commercial Spaces
Shopping centres, offices, airports, and public buildings require adhesives capable of supporting repeated foot traffic without compromising tile stability.
Temperature and Humidity Considerations
Hot weather may reduce adhesive open time, while cooler conditions may extend curing. Always follow the manufacturer’s installation recommendations to achieve consistent results regardless of environmental conditions.
Essential Tools and Materials for Applying Tile Adhesive
Using the right tools is just as important as selecting the correct adhesive for tile. Professional installation depends on accurate preparation and consistent tile placement.
Application Tools You'll Need
Every tiling project requires a basic set of tools to ensure uniform adhesive coverage and accurate tile alignment.
Notched Trowels: Size Selection Guide
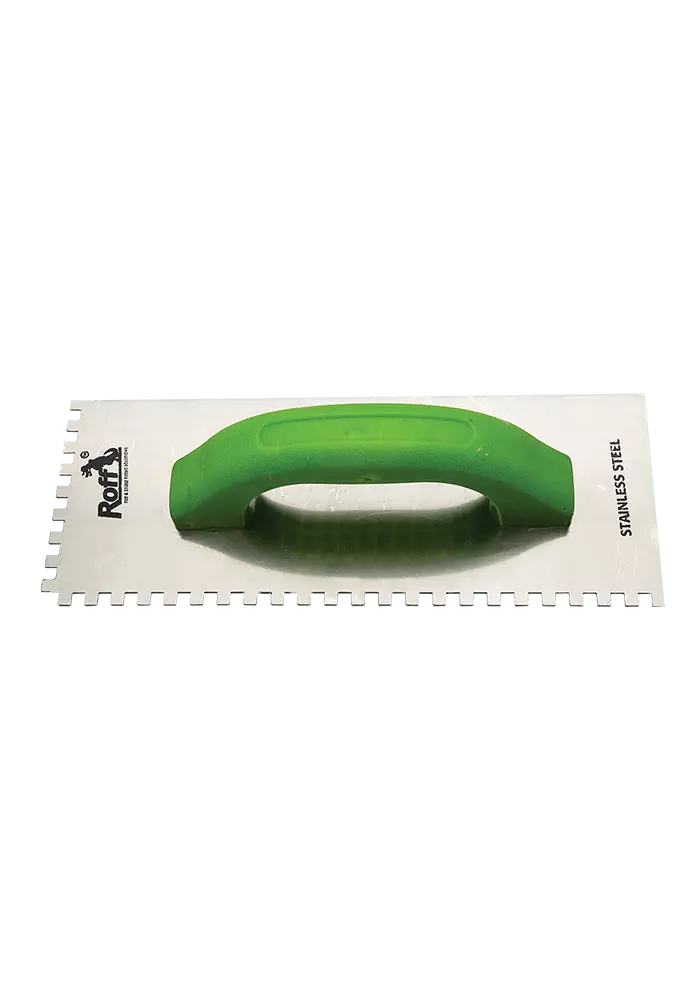
A notched trowel distributes adhesive evenly across the surface. The notch size should match the tile dimensions and the manufacturer’s recommendations.
As a general guide:
Small mosaic tiles require smaller notches
Standard ceramic tiles use medium-sized notches
Large-format tiles require larger notches for improved coverage
Using an incorrect notch size may leave insufficient adhesive behind the tile, resulting in hollow spots or weak bonding.
Mixing Equipment and Paddles
Adhesives should always be mixed using a mechanical paddle mixer at a controlled speed. This produces a lump-free mixture with consistent performance. Avoid mixing by hand, as uneven consistency may affect bond strength.
Levelling Systems and Spacers
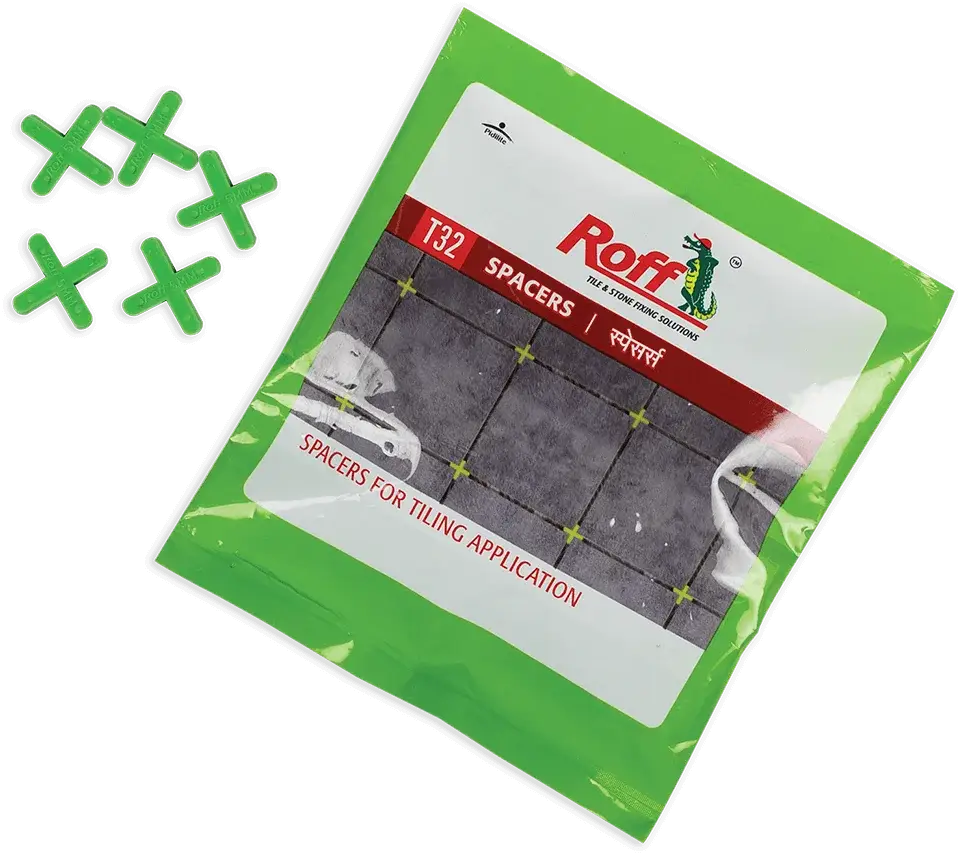
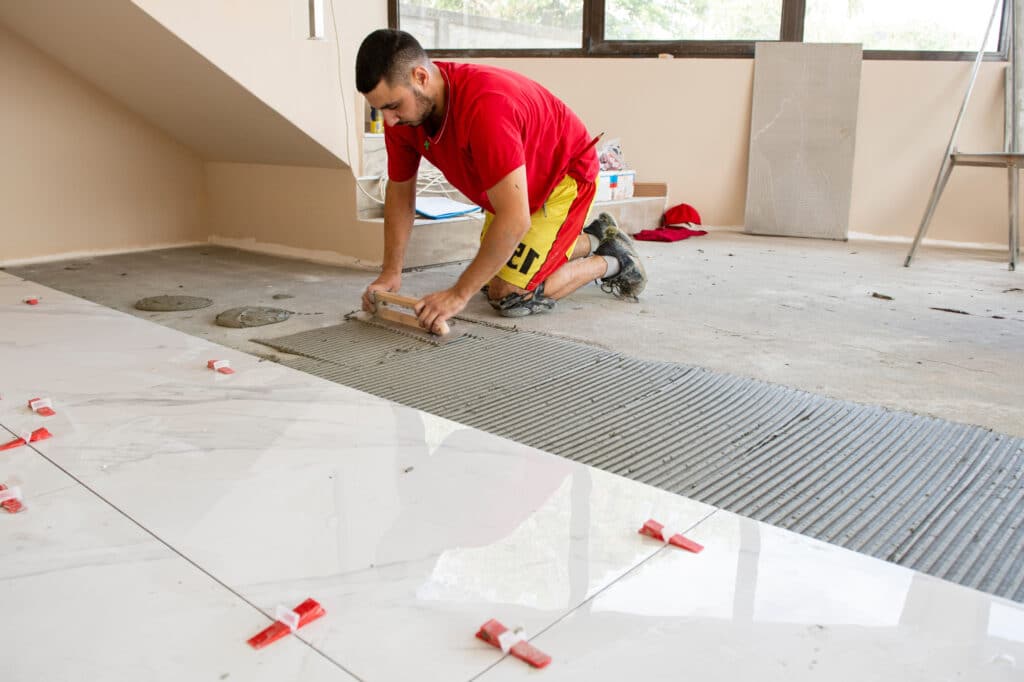
Tile spacers maintain uniform grout joints, while levelling systems minimise tile lippage, especially when installing large-format tiles. These accessories improve both the appearance and long-term performance of the installation.
Preparation Materials
Surface preparation materials help create the ideal conditions for a durable bond:
Surface Cleaning Products
Dust, grease, oil, wax, curing compounds, and loose particles reduce adhesion. Use suitable cleaning products to remove contaminants before beginning the tile installation process.
Safety Equipment and Protective Gear
Although tile adhesive installation is straightforward when completed correctly, appropriate safety equipment remains essential.
Wear:
Safety gloves
Protective eyewear
Dust mask when mixing powder adhesives
Safety footwear
Knee pads for extended floor installations
Following recommended safety practices helps create a safer working environment throughout the installation.
Surface Preparation: The Foundation for Strong Adhesive Bonds
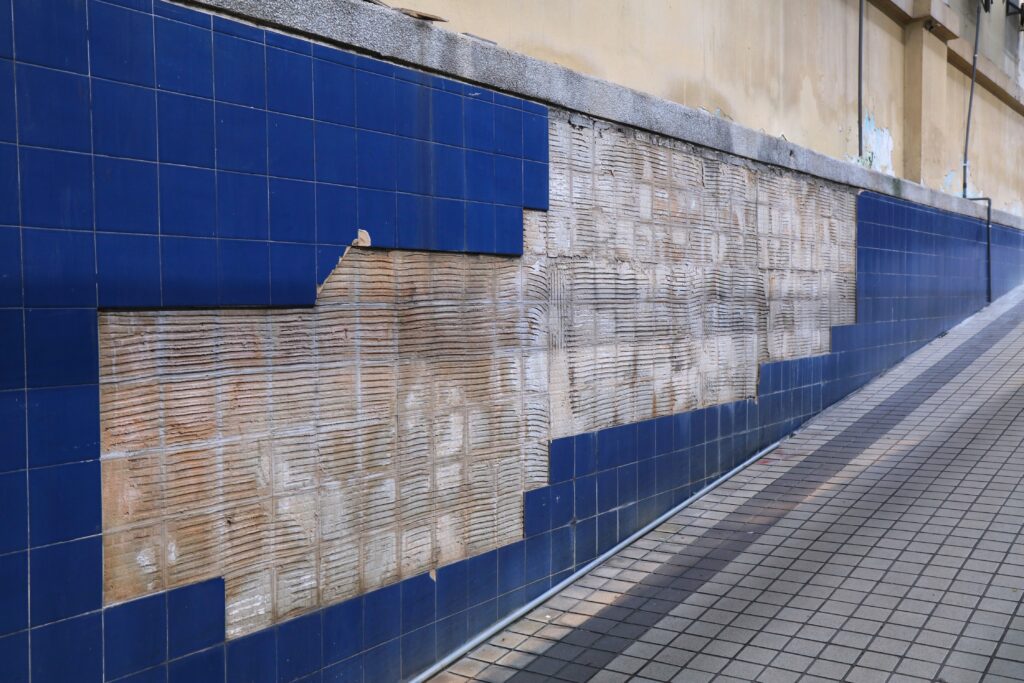
Even the highest-quality adhesive behind the tile cannot compensate for poor surface preparation. Most tile failures originate from unsuitable substrates rather than defective adhesive. Preparing the surface properly helps maximise bond strength and installation durability.
Cleaning and Degreasing Existing Surfaces
Every substrate should be clean, dry, and structurally sound before adhesive application.
Remove:
Dust
Dirt
Oil
Grease
Loose paint
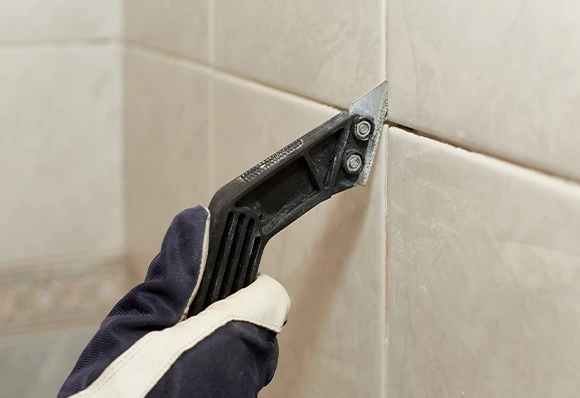
Existing adhesive residue
Wax and sealers
Even small amounts of contamination can weaken the adhesive bond.
Repairing Cracks and Imperfections
Inspect the substrate carefully before installation.
Repair:
Surface cracks
Holes
Uneven patches
Loose concrete
Damaged plaster
Large imperfections should be corrected before tiling begins. Attempting to compensate with excessive adhesive usually produces uneven bonding rather than a level surface.
Testing for Moisture and Structural Stability
Moisture trapped beneath tiles may lead to adhesive failure, staining, or tile debonding.
Before installation, verify that the substrate:
Is fully cured
Has acceptable moisture levels
Is structurally stable
Shows no signs of movement
Where moisture concerns exist, appropriate waterproofing should be completed before tile installation. Proper substrate protection contributes to long-term tile performance and helps preserve the integrity of the underlying structure.
Step-by-Step Guide to Applying Adhesive on Tile
Once preparation is complete, the installation process can begin. Applying adhesive correctly helps achieve full tile support, strong bonding, and a professional finish.
Calculating Adhesive Coverage and Quantities
Estimating adhesive requirements before starting the project reduces waste and avoids unnecessary interruptions during the installation.
Coverage depends on several factors, including:
Tile dimensions
Notched trowel size
Surface condition
Adhesive type
Thickness of the adhesive bed
It is always advisable to include a small allowance for wastage, particularly on larger projects. To estimate material requirements more accurately, use Roff’s online adhesive coverage calculator before buying any adhesive.
Correct mixing directly influences adhesive performance. Always follow the manufacturer’s instructions for water quantity and mixing time. Use a mixing machine to properly mix the adhesive.
Water-to-Powder Ratios
Adding too much water weakens the adhesive and increases shrinkage, while using too little water makes the mixture difficult to spread and may reduce bond strength. Measure water accurately rather than estimating by eye.
Achieving the Right Consistency
Properly mixed adhesive should be:
Smooth
Lump free
Easy to spread
Able to hold trowel ridges without collapsing
After the initial mix, allow the adhesive to stand for the recommended slake time before remixing briefly. This process activates the cement and polymer components, helping achieve optimum performance.
Application Technique: The Back-Buttering Method
Back-buttering involves applying a thin layer of adhesive on back of the tile before placing it onto the prepared substrate.
This technique is especially recommended for:
Large-format tiles
Natural stone
Exterior installations
Heavy floor tiles
Back-buttering helps improve adhesive contact, reduce voids beneath the tile, and enhance overall bond strength. Proper adhesive coverage becomes increasingly important in areas exposed to moisture, heavy loads, or frequent temperature changes.
Using the Notched Trowel for Even Coverage
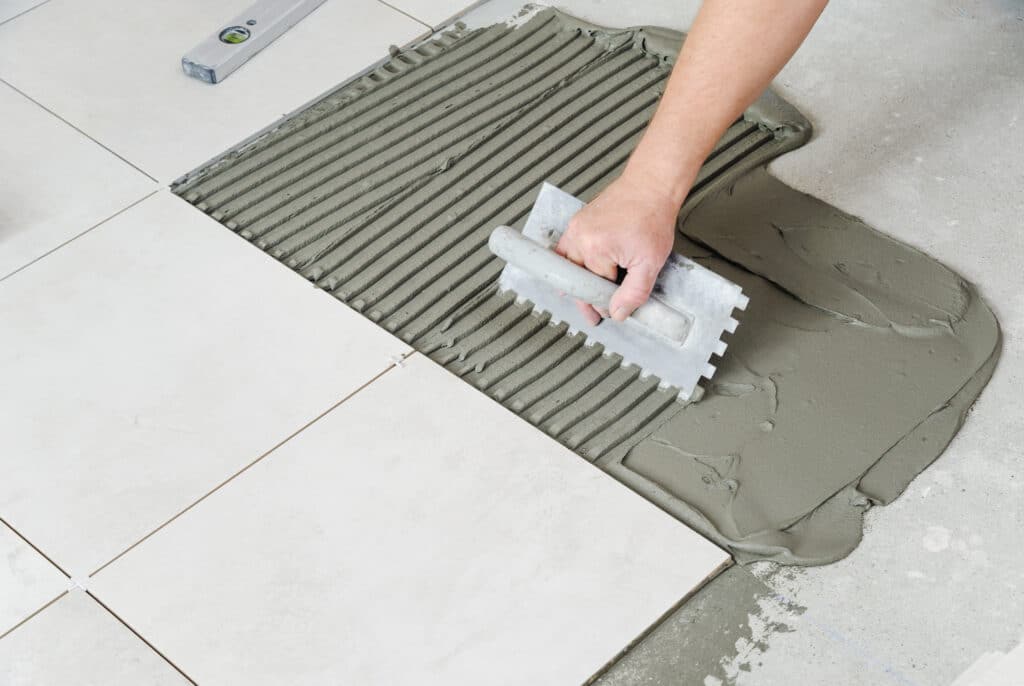
Spread the adhesive on tile evenly across the prepared substrate using the flat edge of the trowel first. Then comb the adhesive with the notched edge to create uniform ridges.
Consistent ridges help achieve full adhesive contact once the tile is pressed into place.
Trowel Angle and Pressure
Hold the notched trowel at an angle of approximately 45 degrees while combing the adhesive. Apply steady pressure to produce uniform ridges across the entire surface. Changing the angle during application may result in inconsistent adhesive thickness.
Creating Proper Ridges
Straight, continuous ridges allow trapped air to escape when the tile is pressed into position. This improves adhesive transfer and reduces the likelihood of hollow spots beneath the tiles.
Working with Open Time and Pot Life
Every adhesive has two important working periods:
Pot life- Refers to the length of time the mixed adhesive remains usable in the bucket. Use the mixed material within the pot life as mentioned by the manufacturer.
Open time– Refers to how long the adhesive remains workable after being spread on the substrate.
Avoid adding water to adhesive that has begun to harden. Instead, prepare fresh material according to the manufacturer’s recommendations. Chances of failure increase if adhesive is applied post the pot life or open time specified by the manufacturer.
Setting Tiles: Pressure, Twisting, and Positioning
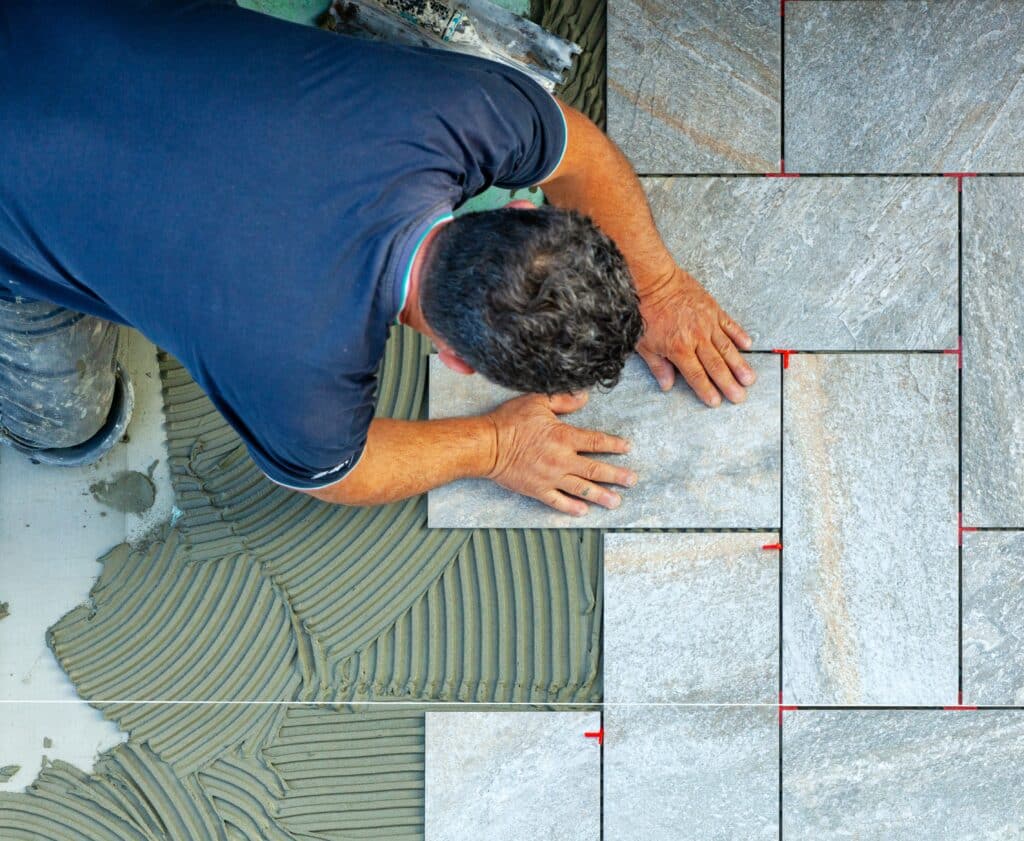
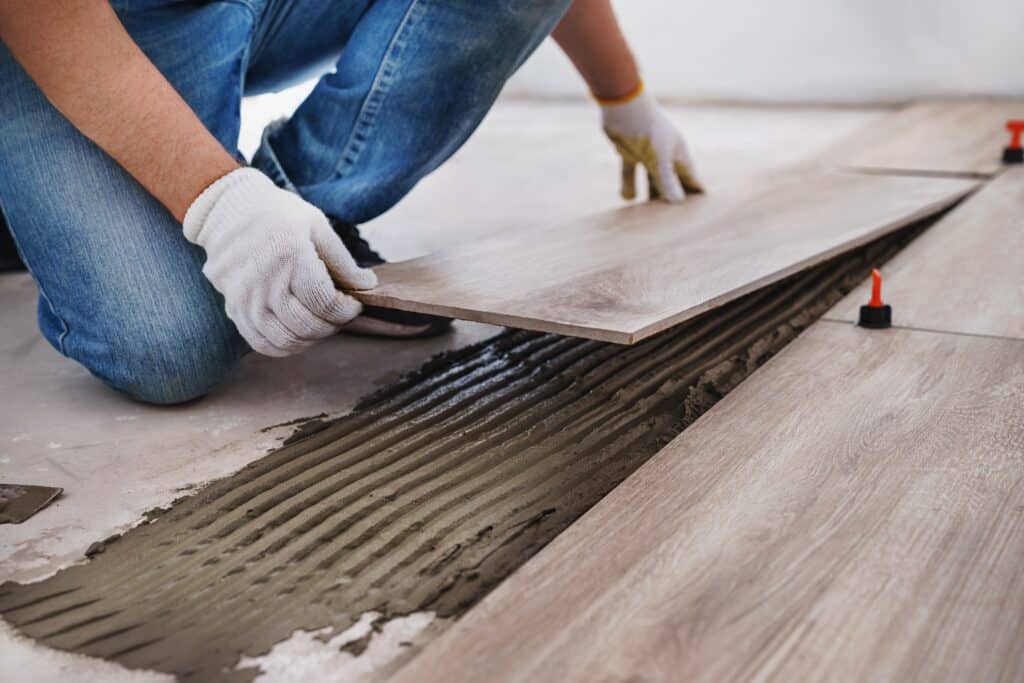
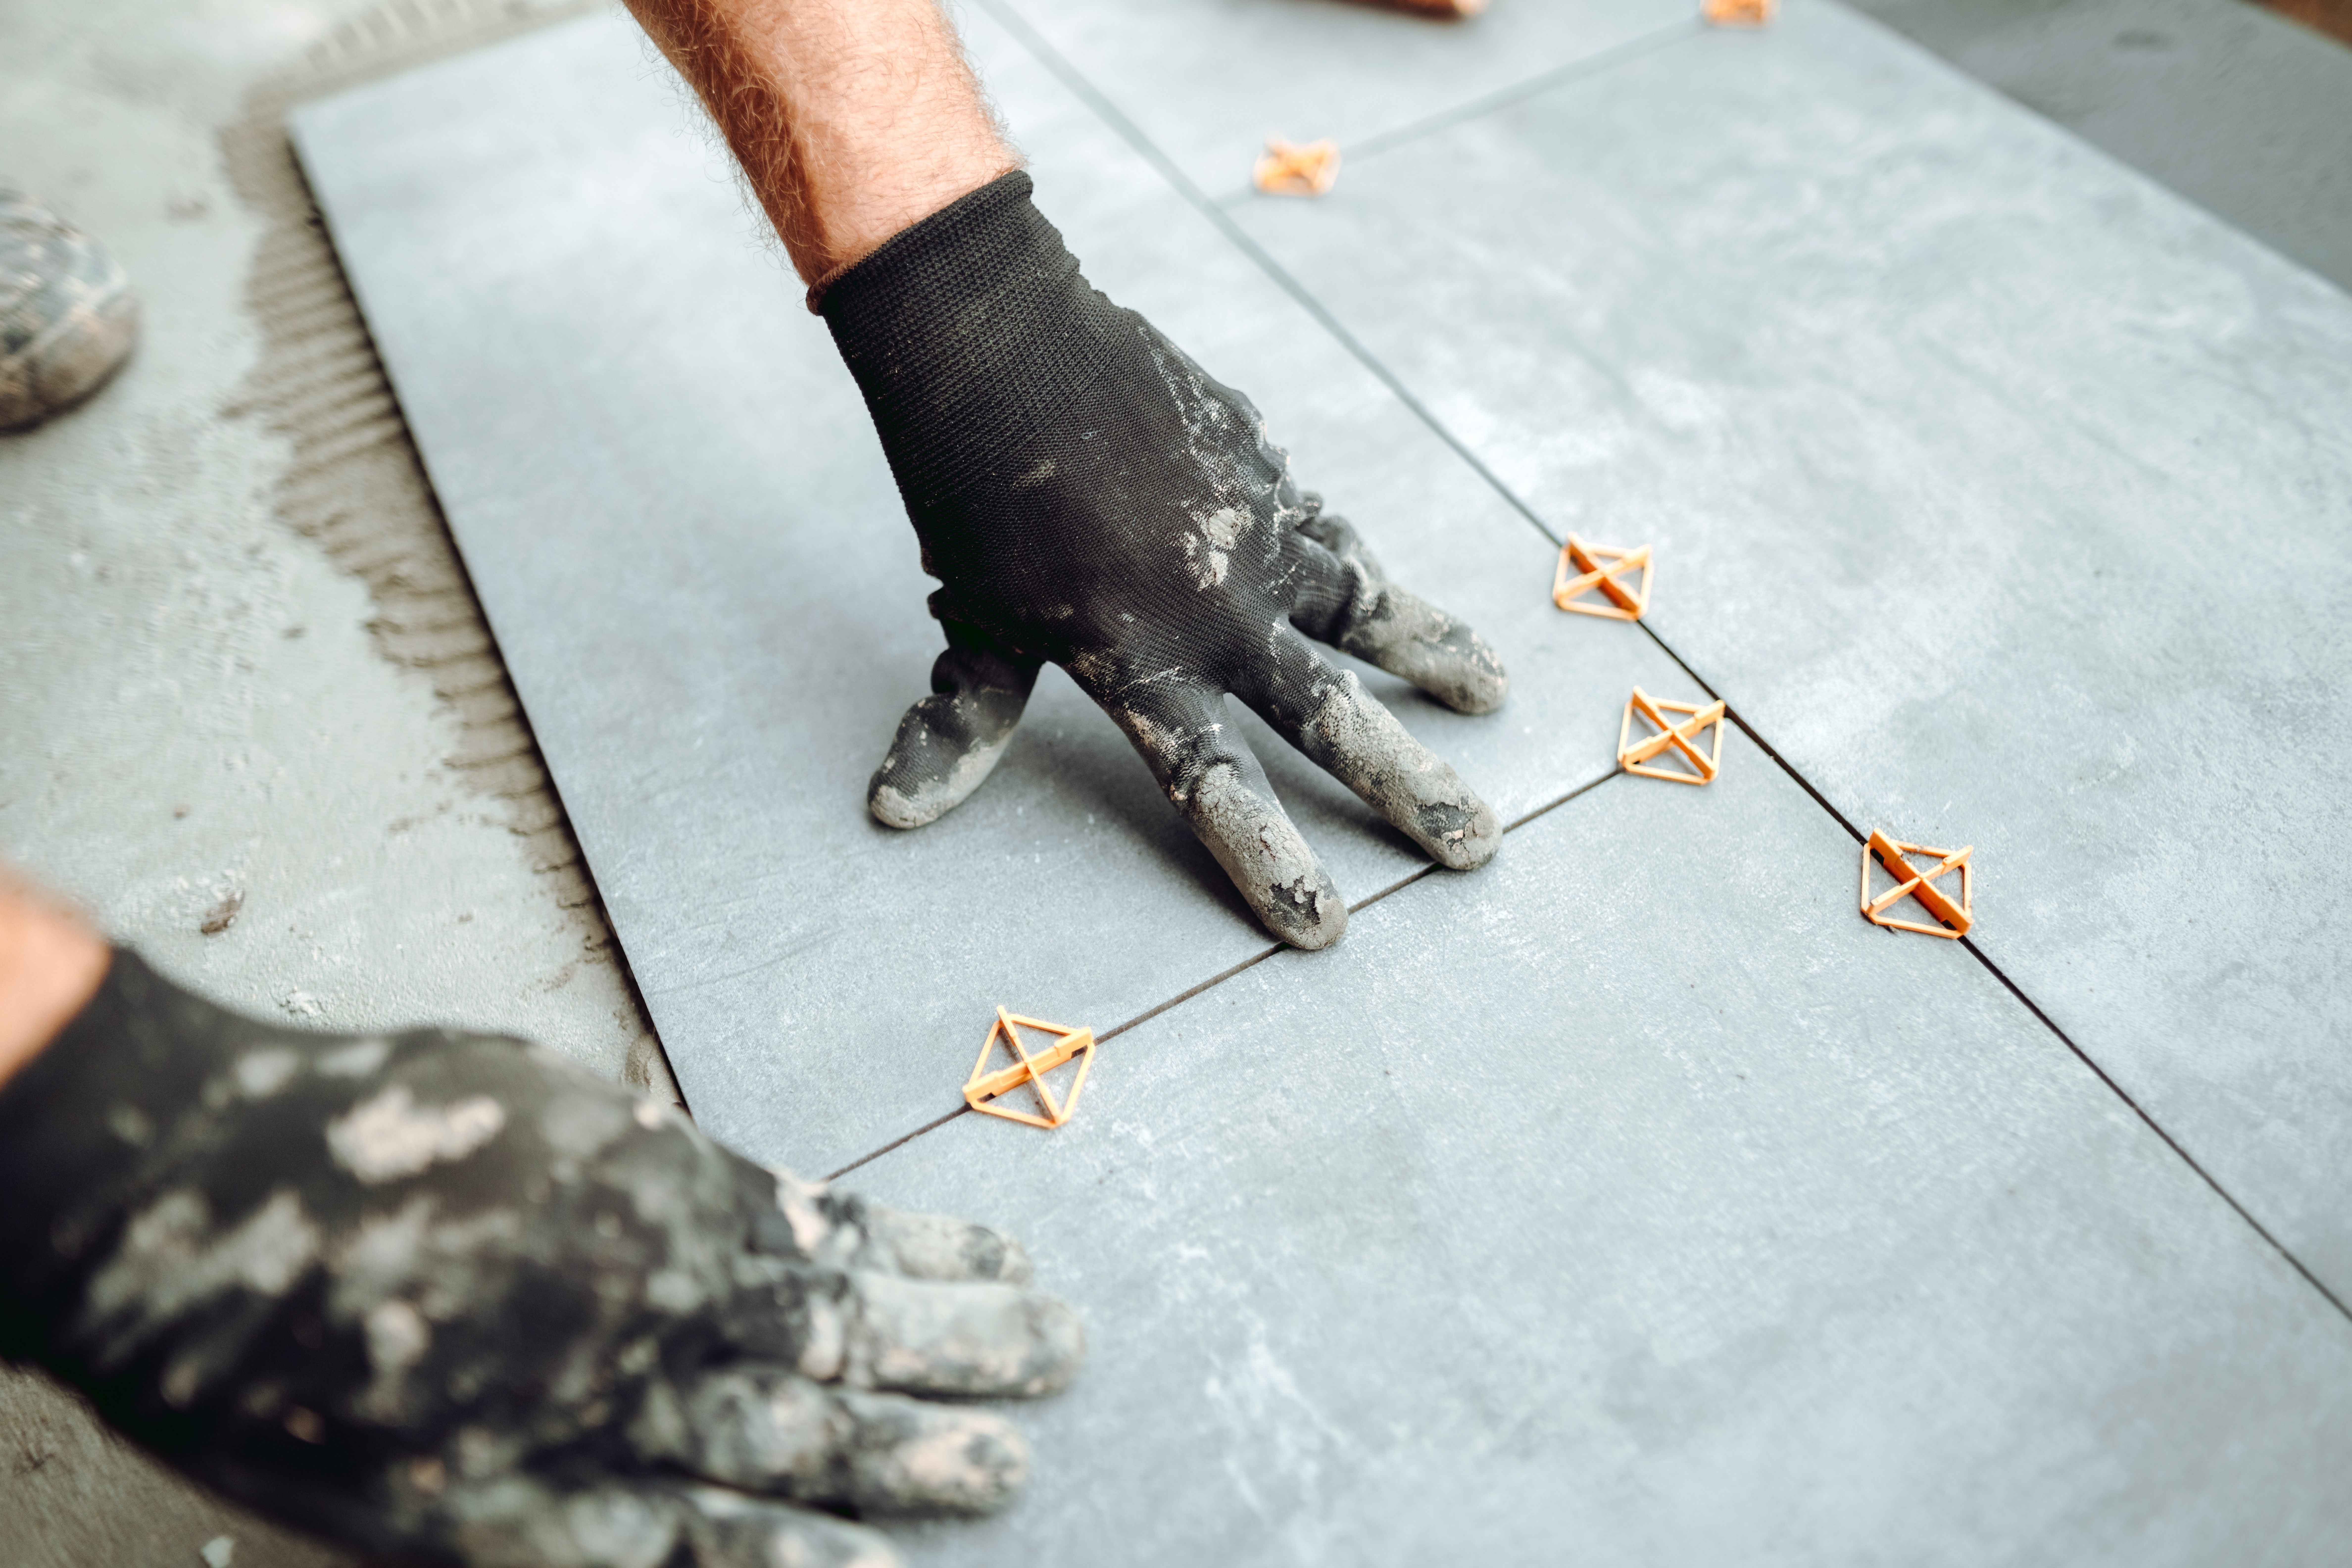
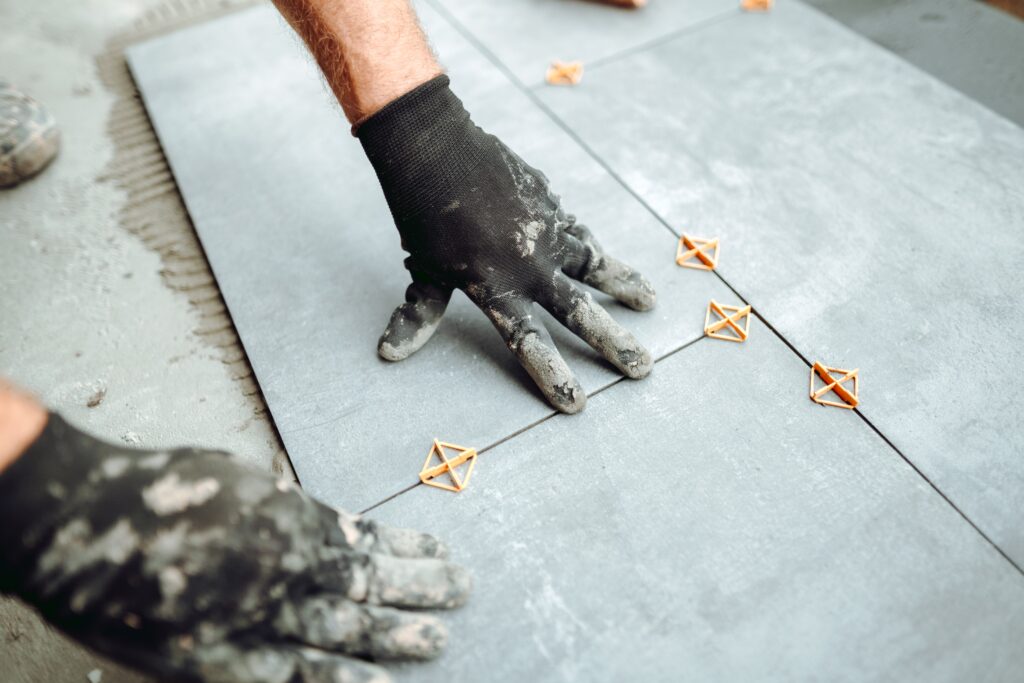
After spreading the adhesive on the surface, place each tile carefully before the adhesive begins to skin over. Press the tile firmly into position while giving it a slight twisting motion. This helps collapse the adhesive ridges and improves coverage beneath the tile.
Maintaining Proper Joint Spacing
Uniform joints contribute to both appearance and performance. Use tile spacers throughout the installation to maintain consistent spacing. Correct joint widths allow grout to perform effectively while accommodating minor movement within the tiled surface.
Special Application: Tiling Over Existing Tiles
Renovation projects sometimes involve installing new tiles over existing tiled surfaces. While this can save time, success depends on proper assessment and preparation.
When Tiling Over Tiles Is (and Isn't) Recommended
Tile-on-tile installation may be suitable when the existing tiles are:
Firmly bonded
Structurally sound
Free from significant cracks
Properly level
Loose or damaged tiles should always be removed before installing new ones.
Preparing Old Tiles for New Adhesive Application
Existing tiles should be thoroughly cleaned to remove grease, soap residue, polish, and dirt. Smooth glazed surfaces may require mechanical abrasion or a suitable bonding primer to improve adhesion. Never apply adhesive on tile over loose or contaminated surfaces.
Choosing the Right Adhesive for Tile-on-Tile Projects
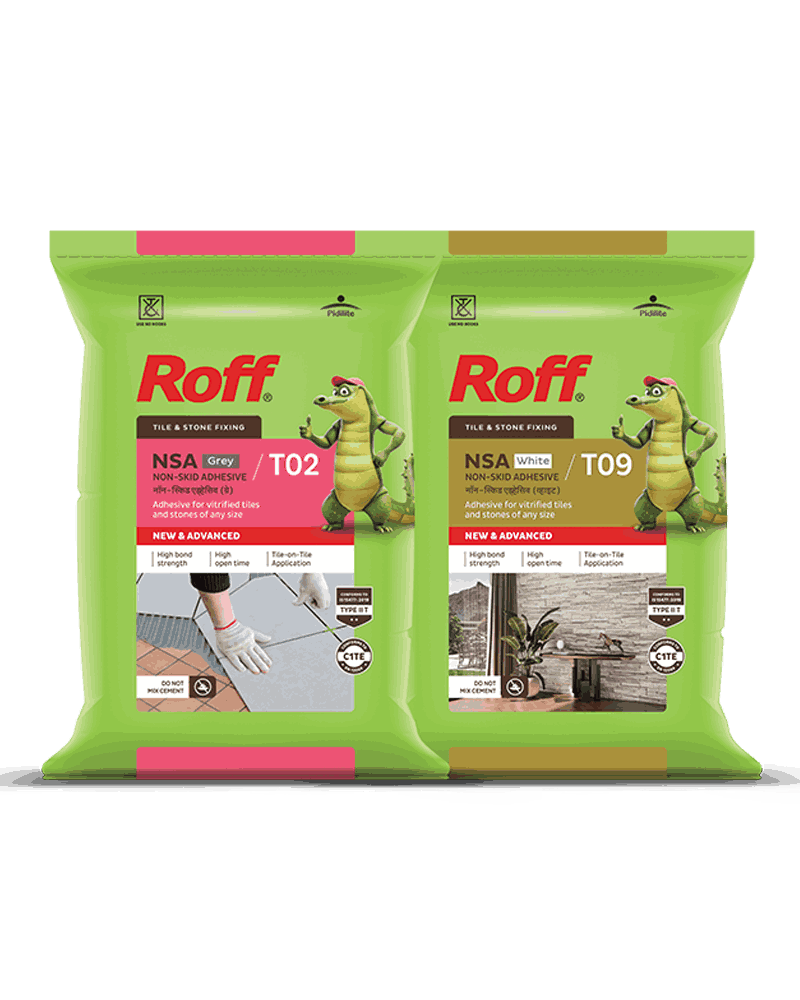
High-performance polymer-modified adhesives are commonly recommended for tile-on-tile installations because they provide stronger adhesion to non-porous surfaces. Selecting the correct product, such as Roff Non-Skid Adhesive (NSA), significantly improves installation reliability.
Height and Weight Considerations
Adding another layer of tiles increases floor height and structural load.
Before beginning the project, check:
Door clearances
Threshold levels
Stair transitions
Structural capacity
Fixture compatibility
Professional assessment is recommended for large renovation projects.
Curing, Drying Times, and Post-Application Care
Proper curing allows the adhesive to develop its full bonding strength.
Understanding Set Time vs. Cure Time
Set time refers to the period required before the tiles become stable enough for light handling, while cure time is the period needed for the adhesive to reach its intended strength. These durations vary depending on adhesive type, tile size, substrate, and environmental conditions.
Environmental Factors Affecting Drying
Drying time may be influenced by:
Temperature
Humidity
Ventilation
Tile size
Substrate absorbency
Always follow the manufacturer’s guidance before proceeding with grouting or opening the tiled area for use.
When to Grout After Applying Adhesive
Grouting should begin only after the adhesive has cured sufficiently. Applying grout too early may disturb tile alignment and weaken the bond. However, grouting should not be delayed for too long, and tiled floors should not be walked on until grouting is complete. Grouting should be done after at least 24 hours post installation.
Load-Bearing and Traffic Restrictions
Avoid heavy traffic, furniture placement, or equipment installation until the adhesive has fully cured. Premature loading may compromise the bond and reduce the installation’s long-term durability.
Common Mistakes to Avoid When Working with Tile Adhesive
Understanding common myths about tile adhesives can help you avoid mistakes and improve the overall lifespan of your tile installations.
Insufficient Surface Preparation
Dirty, damp, or unstable substrates frequently lead to poor adhesion and tile debonding. Proper preparation remains one of the most important installation steps.
Incorrect Adhesive Selection for the Project
Different projects require different adhesive formulations. Selecting the incorrect adhesive on tile may result in inadequate bond strength, cracking, or moisture-related failures. When in doubt, use Roff’s Adhesive Selector to identify the most suitable solution.
Poor Mixing Technique and Consistency Errors
Incorrect water proportions or inadequate mixing reduce adhesive performance. Always follow the manufacturer’s instructions precisely to avoid ruining the adhesive’s consistency.
Inadequate Adhesive Coverage and Hollow Spots
Insufficient adhesive coverage is one of the leading causes of hollow-sounding tiles. Use the appropriate notched trowel and apply back-buttering where recommended to improve adhesive transfer.
Ignoring Manufacturer Instructions and Working Times
Every adhesive has specific requirements for:
Mixing
Pot life
Open time
Curing
Environmental conditions
Following these recommendations helps achieve optimum performance.
Applying Adhesive in Unsuitable Conditions
Very high temperatures may shorten working time, while cold conditions may delay curing. Protect newly installed tiles from excessive moisture, direct sunlight, and adverse weather during installation.
Maintenance and Long-Term Performance of Tile Installations
A properly installed tiled surface still requires some maintenance. However, the overall frequency of repairs reduces significantly.
How Proper Adhesive Selection Affects Longevity
Selecting the correct adhesive on tile reduces the likelihood of movement, cracking, and debonding throughout the installation’s service life. Quality adhesive systems help maintain long-term structural performance.
Inspecting Tile Bonds Over Time
Periodically inspect tiled surfaces for:
Hollow sounds
Loose tiles
Cracked grout
Water ingress
Movement around joints
Early identification allows timely repairs before problems become more extensive.
Repairing Failed Adhesive Bonds
Where adhesive failure occurs, affected tiles should be carefully removed. The substrate should then be cleaned and repaired before installing replacement tiles using an appropriate adhesive system. Avoid applying fresh adhesive over deteriorated adhesive layers without proper surface preparation.
Conclusion:
Selecting the right adhesive for tiles is essential for achieving durable, attractive, and reliable tile installations. From understanding different tile adhesive types to learning how to apply tile adhesive correctly, every stage contributes to the finished result.
With Roff’s range of tile adhesives and expert guidance, you can confidently select the right product for your tiles and ensure their long-term durability.
Frequently asked questions (FAQs)
1) What type of adhesive should I use for bathroom wall tiles?
Bathrooms require moisture-resistant tile adhesives. Polymer-modified cement-based adhesives are commonly recommended because they provide strong bonding and improved water resistance. You can use Roff NSA for any demanding tile installation, including installations in bathrooms and other wet areas.
2) Can I apply new adhesive over old tile adhesive?
No, existing adhesive should generally be removed unless the manufacturer specifically recommends otherwise. A clean and properly prepared substrate provides the best bond.
3) How long does tile adhesive take to dry before grouting?
Drying time varies depending on the adhesive type, tile size, substrate, and environmental conditions. Always follow the manufacturer’s recommended curing period before grouting. As a general direction, adhesives take 24-48 hours to dry, and grouting should not be done during this period.
4) Is tile adhesive the same as tile mortar?
No, modern tile adhesives are specially formulated to provide improved bonding, flexibility, and ease of application compared with traditional cement mortar.
5) Can tile adhesive be used outdoors?
Yes, provided you choose an adhesive specifically designed for exterior applications. These products offer improved resistance to moisture, temperature changes, and weather exposure.
6) How much area does a bag of tile adhesive cover?
Coverage depends on tile size, substrate condition, adhesive type, and trowel notch size. Using an adhesive coverage calculator helps estimate material requirements more accurately.
7) Why are my tiles not sticking with the adhesive?
Poor adhesion may result from inadequate surface preparation, incorrect adhesive selection, improper mixing, insufficient adhesive coverage, or failure to follow the recommended installation procedure.