Check out the biggest trends of the season and our expert take on them.
How to Fix Tiles on a Wall: DIY Step-by-Step Guide
Key Takeaways
Proper surface preparation is essential when learning how to fix tiles on a wall, as tiles bond best to clean, firm, and level surfaces.
Choose the right tile adhesive, notched trowel, spacers, and levelling tools based on the tile type, wall surface, and application area.
Maintain consistent spacing and regularly check alignment while the adhesive is still workable to achieve an even, durable tile finish.
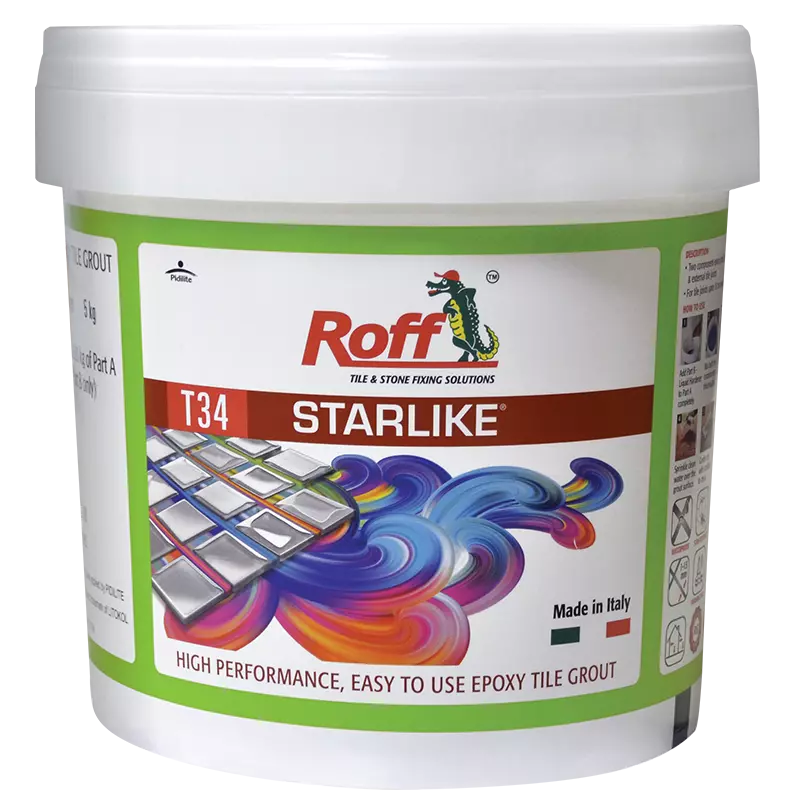
Allow the adhesive to dry fully before grouting, and use a suitable grout such as Roff Starlike to ensure long-term durability.
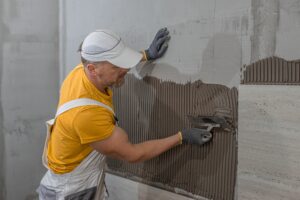
Learning how to fix tiles on a wall starts with good surface preparation. A clean, firm, and level surface helps tiles bond properly. You also need the right adhesive, trowel, spacers, and levelling tools.
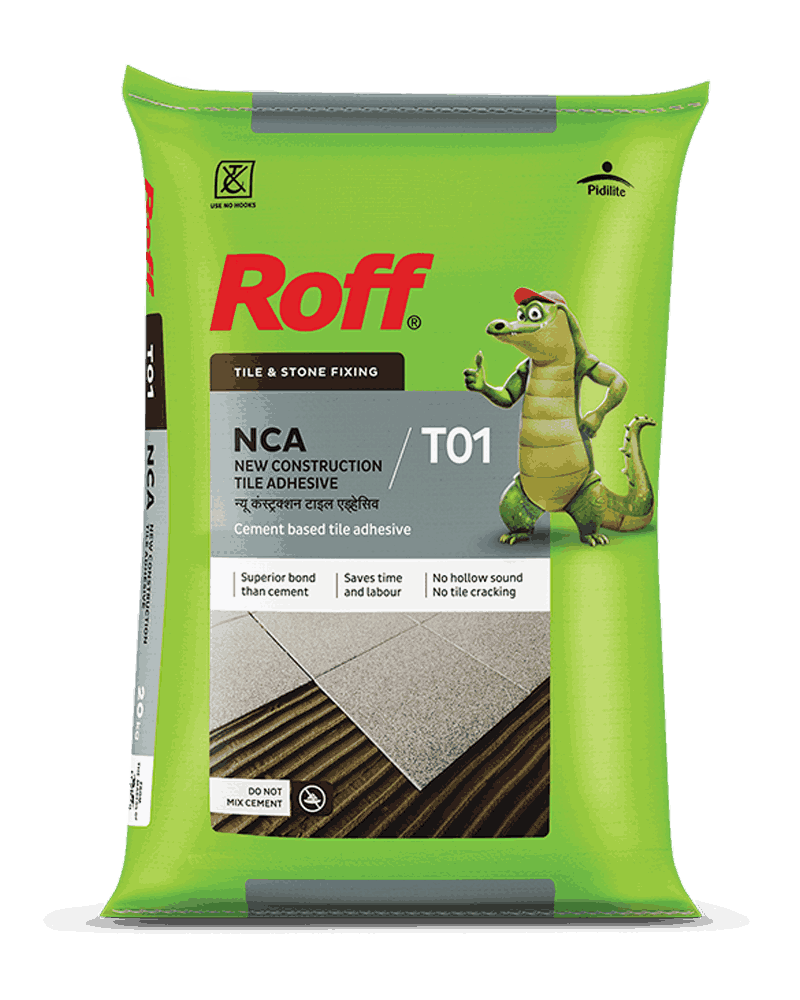
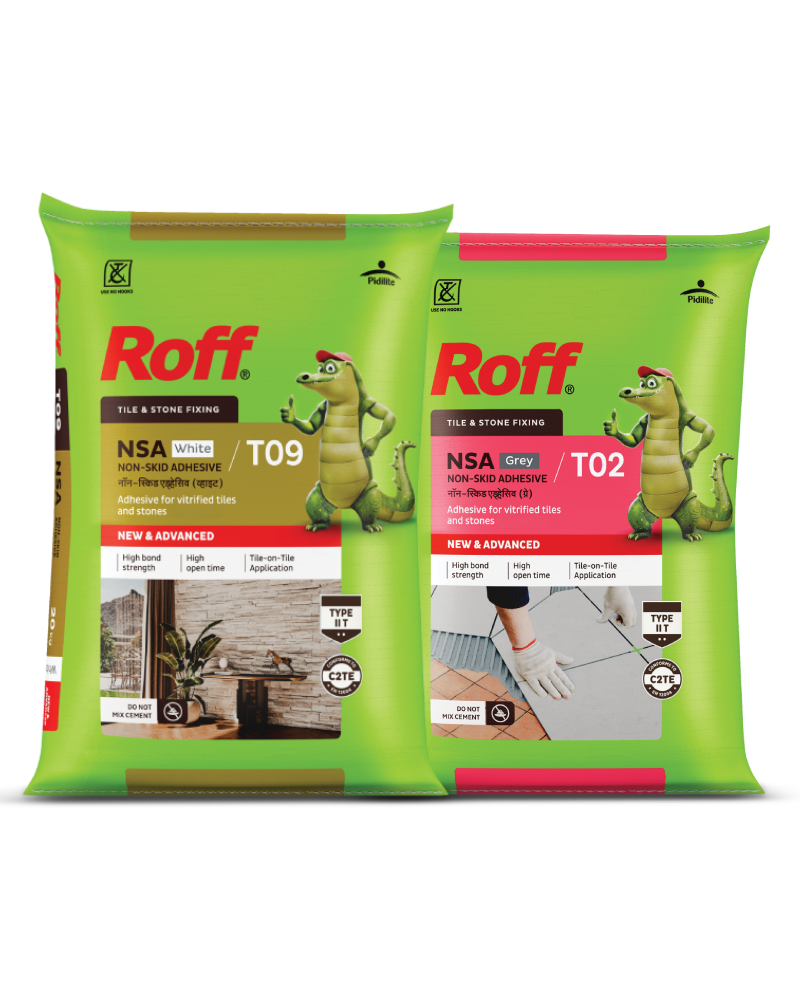
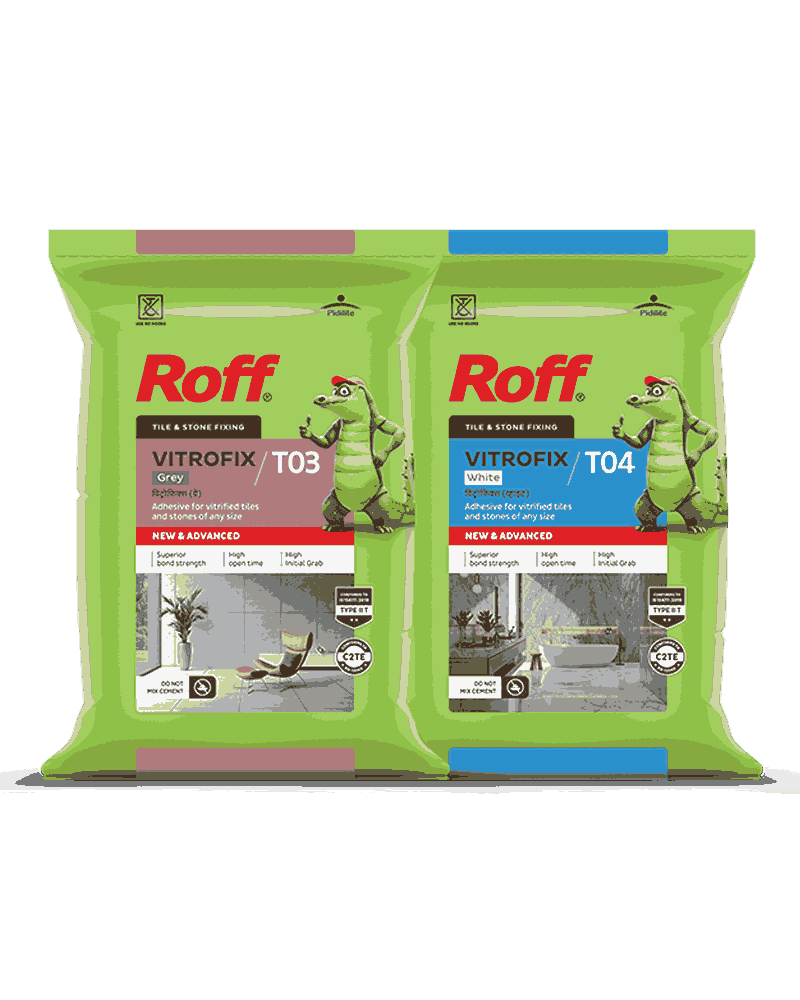
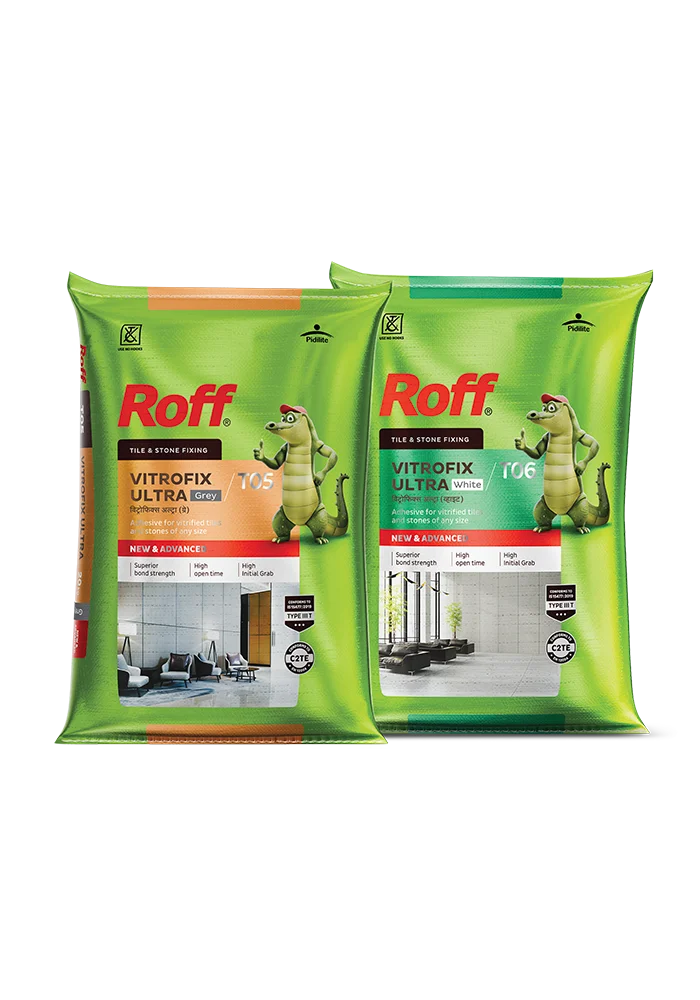
Always choose a suitable adhesive based on the surface and tile type, as the wrong choice can affect the durability of your wall tiles. For example, Roff Vitrofix and Roff NSA are designed for fixing tiles on internal walls and support a straightforward application process.
Tools & Materials
Before starting, keep these essentials ready:
Wall tiles
Suitable tile adhesive
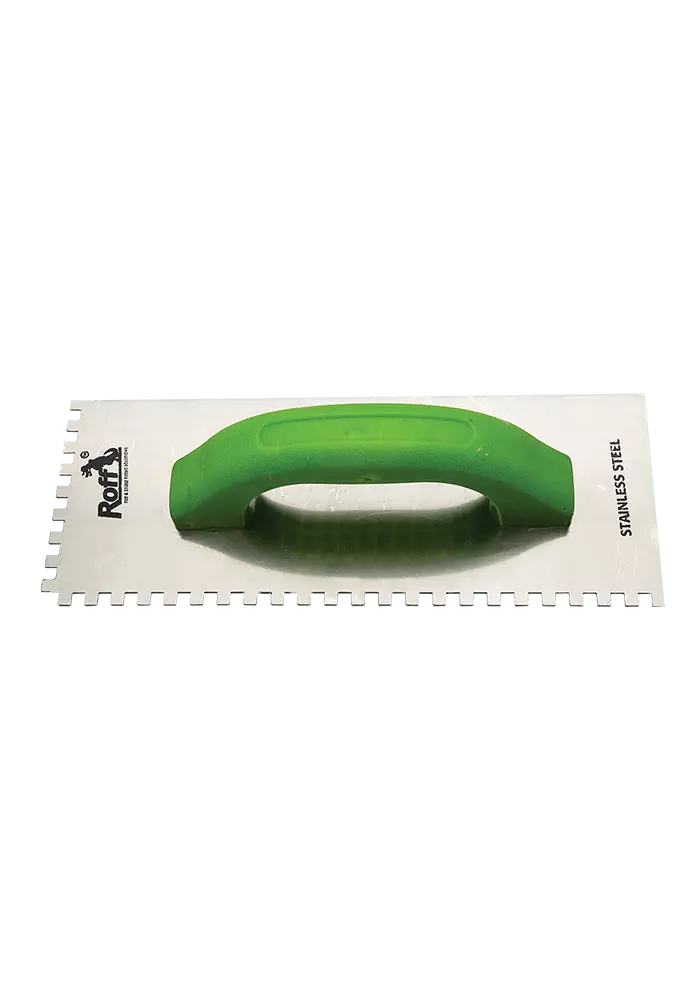
Notch trowel
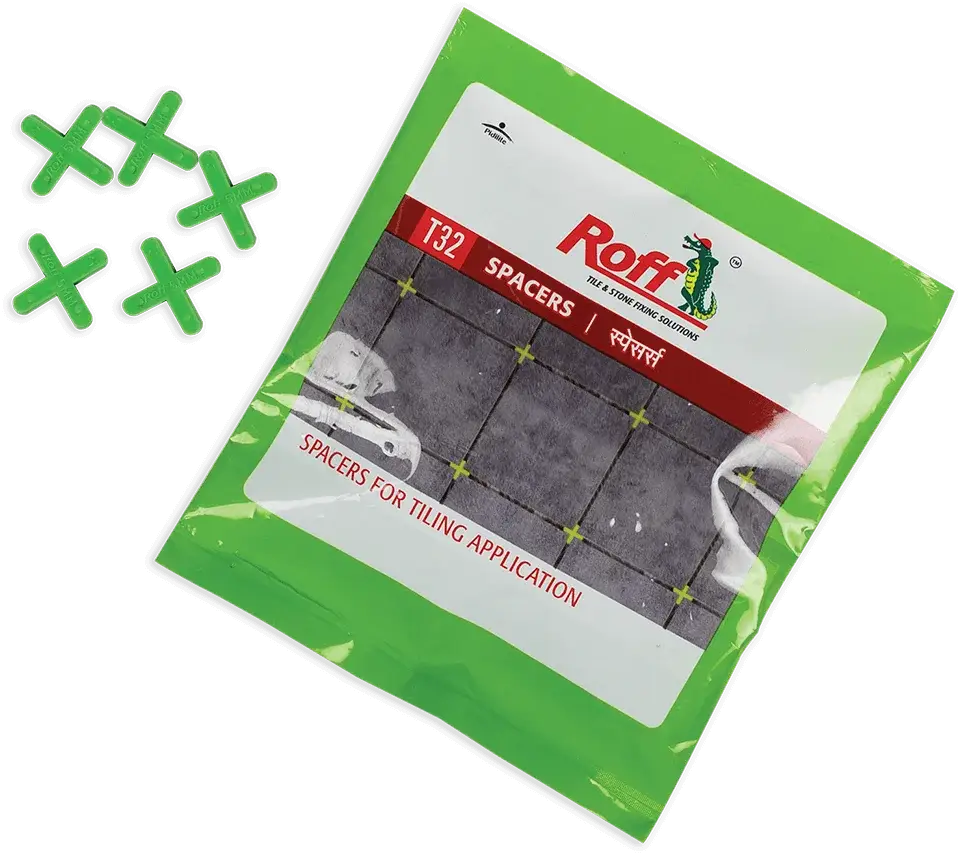
Tile spacers
Spirit level
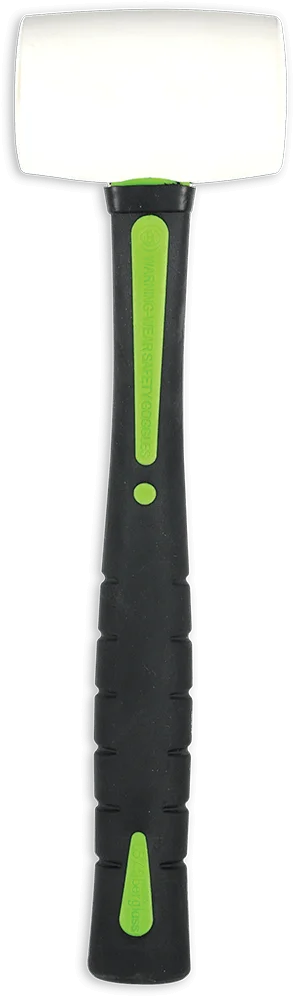
Rubber mallet
Tile cutter
Grout
Clean water
Sponge and cloth
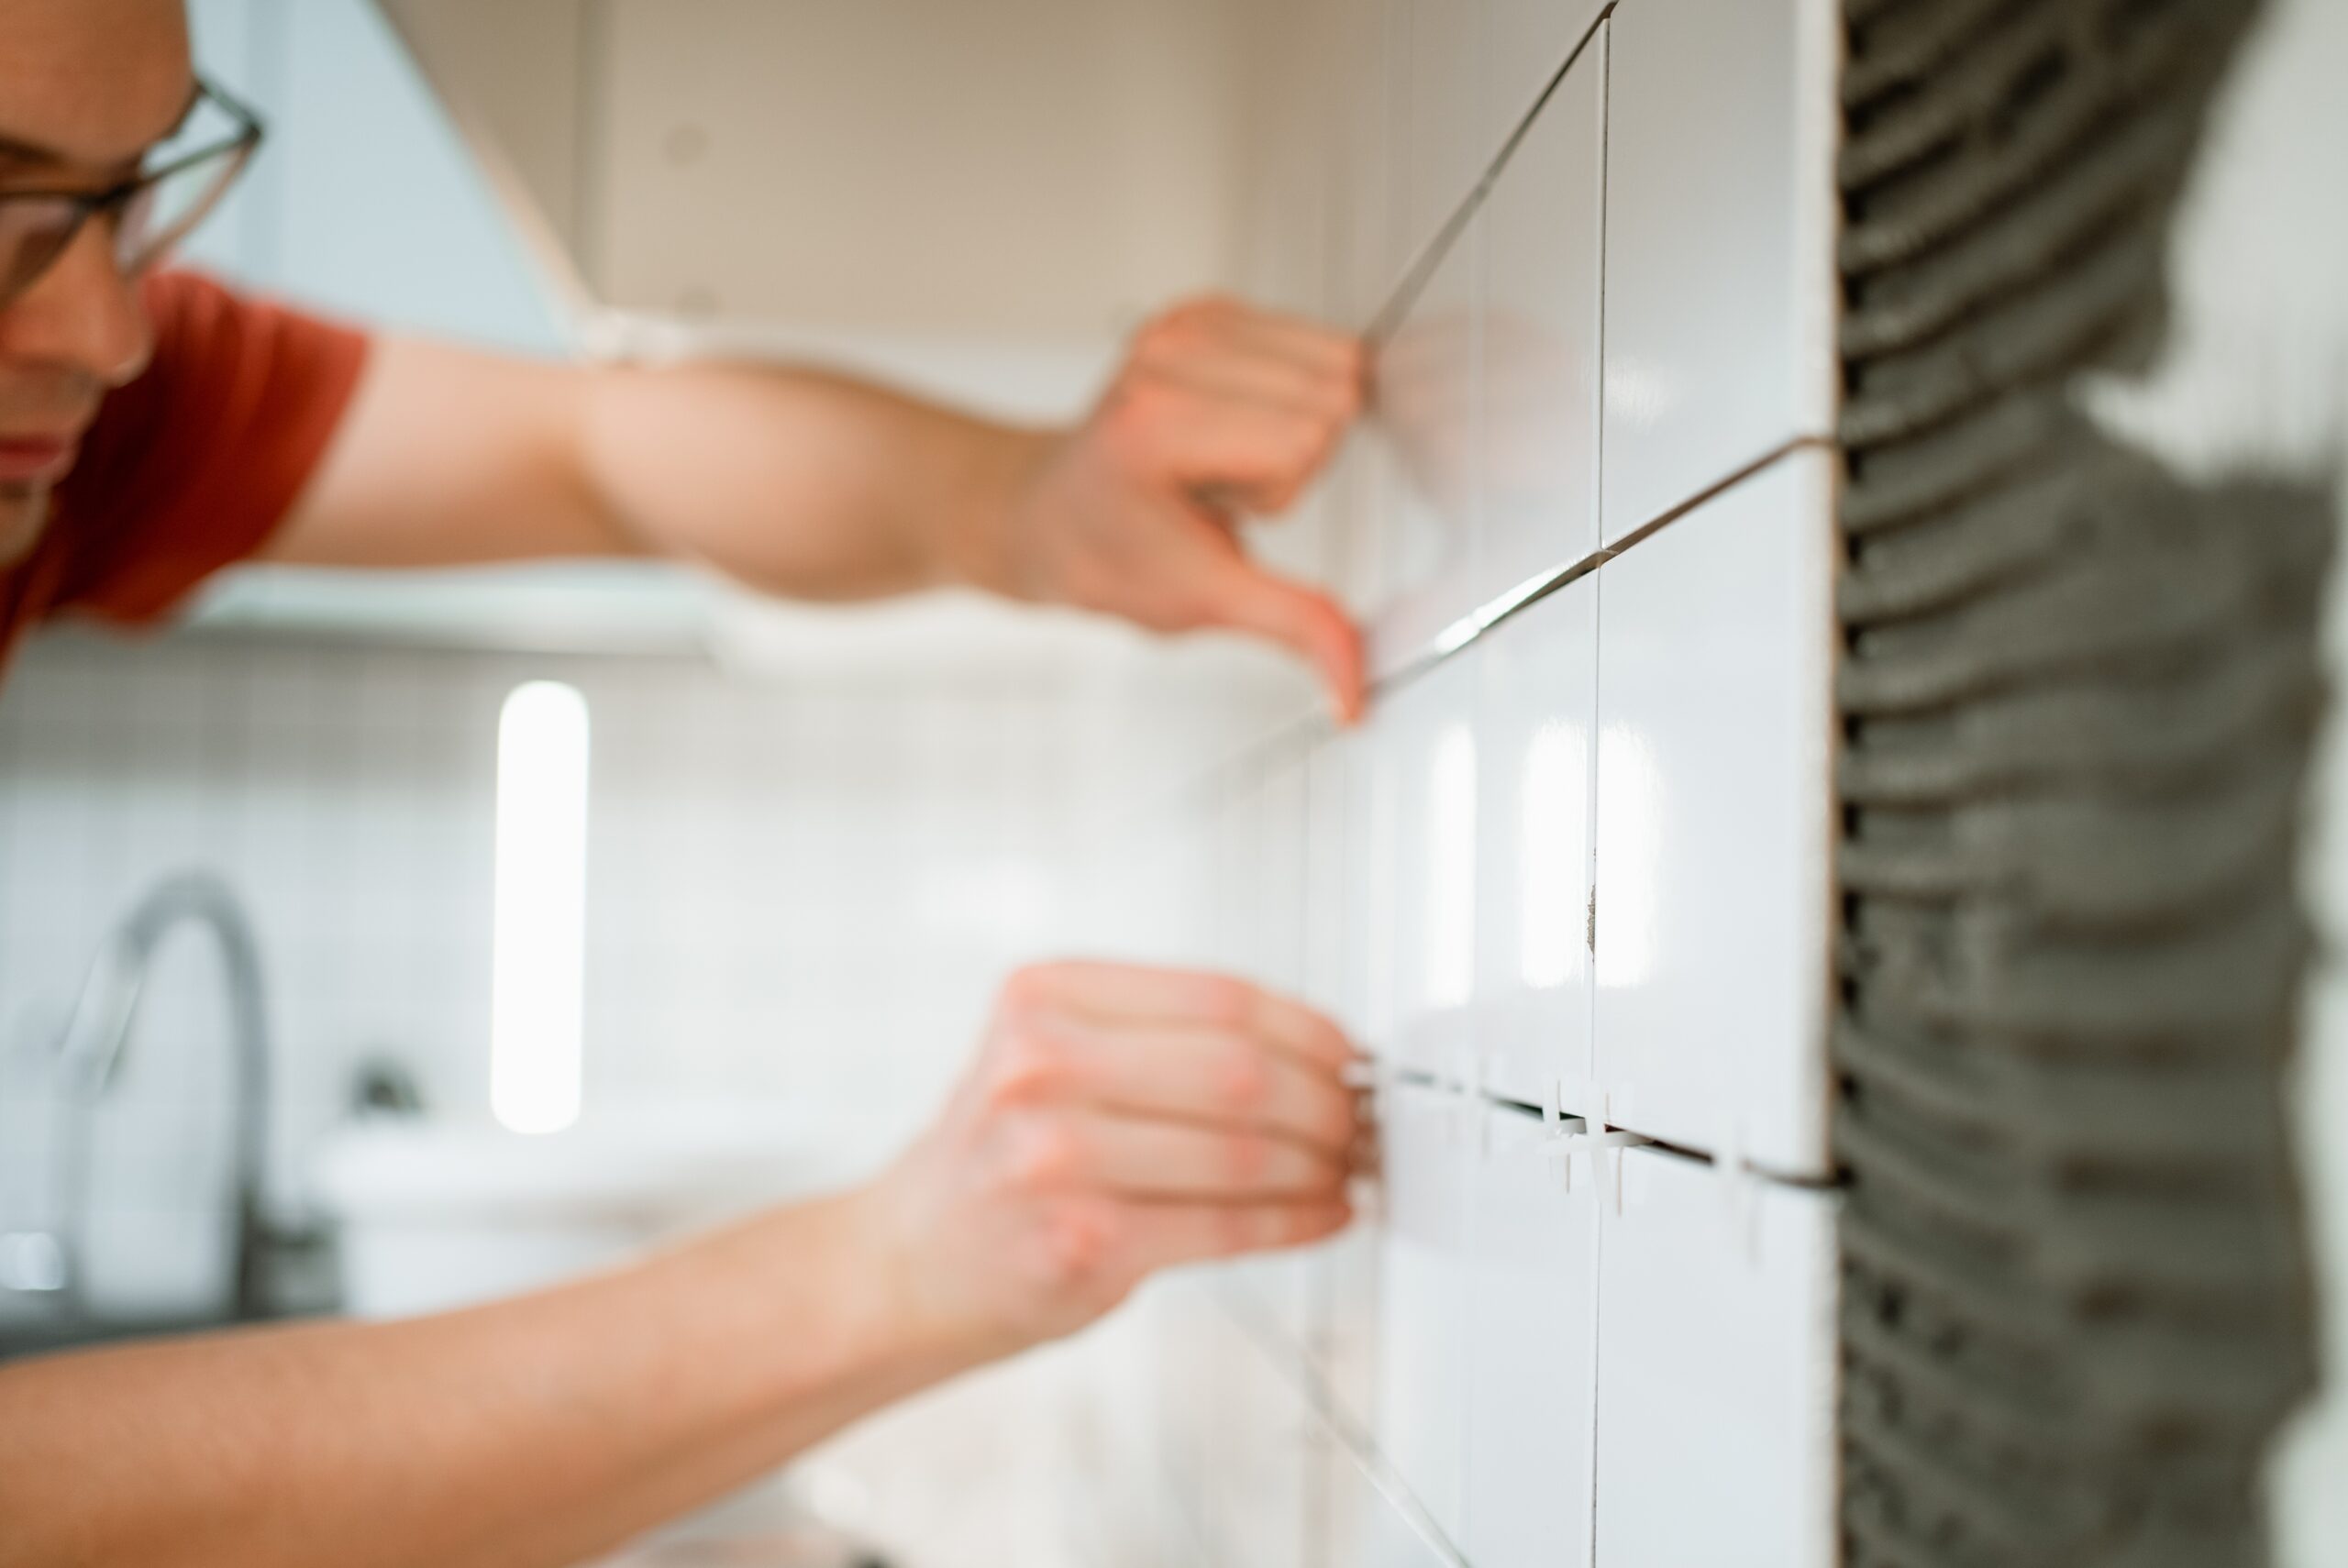
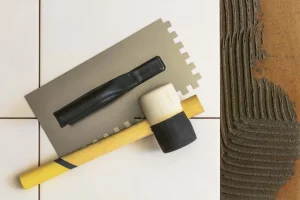
A suitable notched trowel helps spread adhesive evenly. Consider checking the Roff Notch Trowel if you need to apply adhesive for your tiling project. Additionally, tile Spacers maintain consistent gaps between adjoining tiles, ensuring they have adequate space to accommodate thermal expansion. Finally, spirit levels help keep tile rows straight, while rubber mallets help seat the tiles gently.
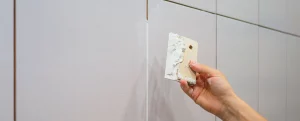
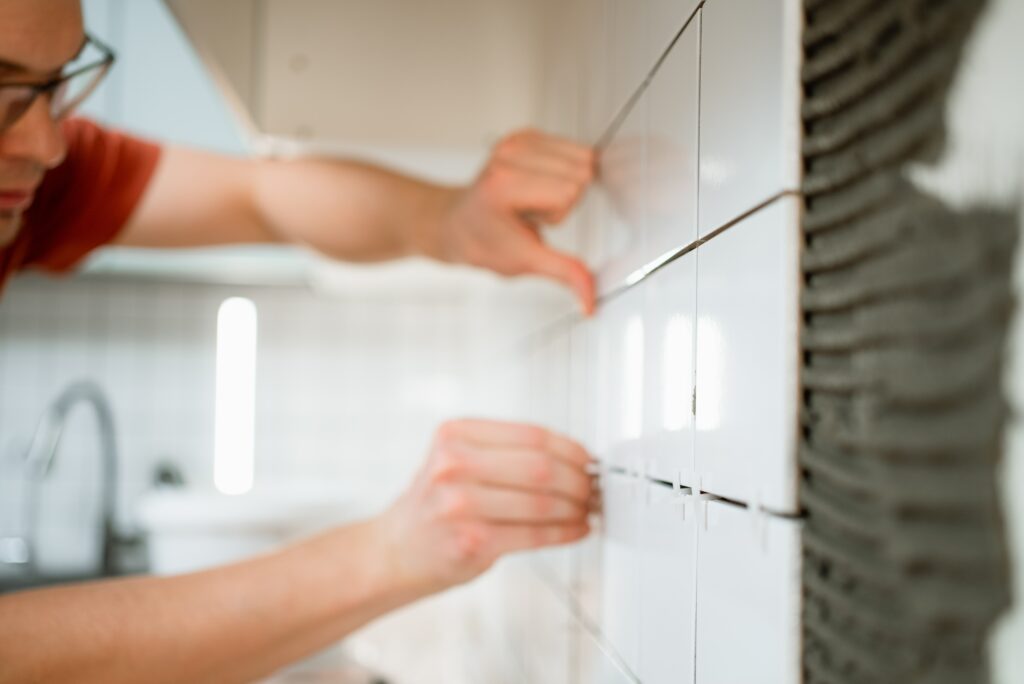
Check the alignment before moving to the next tile
Spacing, Levelling & Cutting
Good spacing improves the final appearance of your tiles while also leaving space for grout joints. Spacing is also essential for any tile installation, as tiles tend to expand slightly when exposed to heat. Without space between them, expanding tiles can rub into each other and crack under pressure
Spacers & level checks
Check each row using a spirit level
Do this before the adhesive sets
Look across adjoining tiles for uneven edges
Correct minor positioning issues while the adhesive remains workable
Avoid pressing one tile excessively against another
Edge cuts
Measure the available space carefully and account for the planned grout joint before cutting. Mark the tile clearly and use an appropriate tile cutter. Wear suitable protective equipment when cutting tiles. Plan edge cuts carefully around corners, fittings, and electrical points. Neat cuts can make the finished installation look more uniform.
Grouting & Finishing
Grouting completes the installation and is an integral part of any tiled surface. However, do not rush to this stage immediately after fixing your wall tiles.
When/how to grout
Wait until the adhesive has cured, as directed. The exact time can vary by product and site conditions. Apply grout across the joints using the recommended technique. Remove excess grout before it hardens. Clean the tiled surface with a wet sponge, but avoid excessive water usage during cleaning. Allow the grout to cure as recommended.
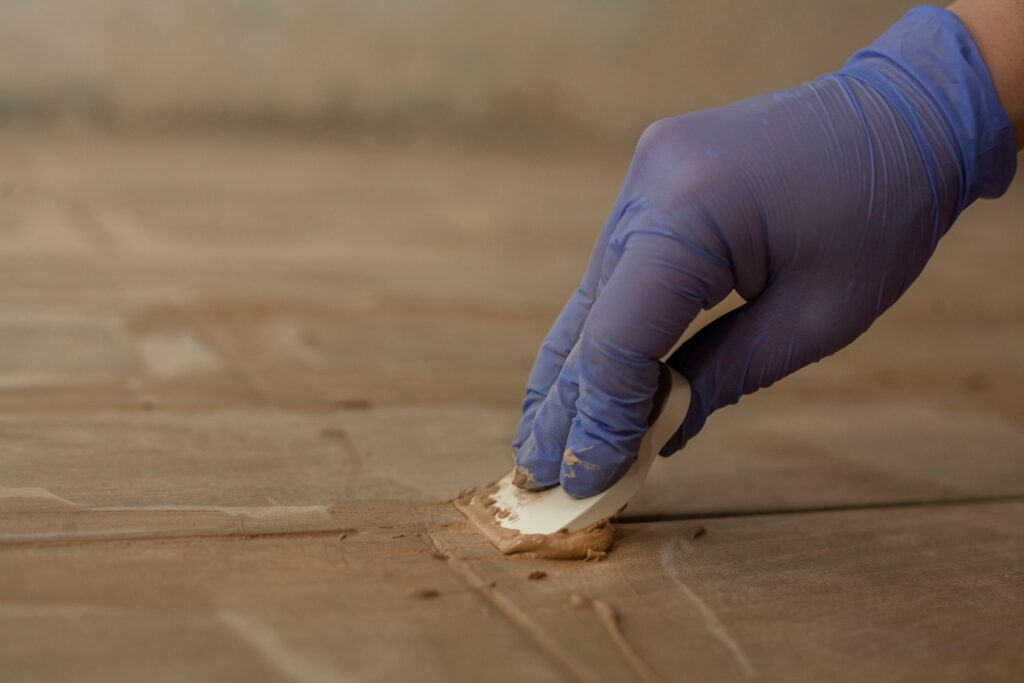
Roff Starlike is a high-performance epoxy grout that is resistant to water and stains, making it ideal for aesthetic tile installations. Moreover, Roff Starlike doesn’t blacken, fade, or crack over time like regular cement grouts, so your tiles maintain their beauty for years without constant maintenance.
Frequently asked questions (FAQs)
1) How do I fix tiles on a wall myself?
Prepare the wall, plan the layout, and apply suitable adhesive. Comb the adhesive, press tiles into place, and use spacers. Check levels regularly, and allow the adhesive to cure/dry before grouting.
2) What adhesive is best for wall tiles?
The right adhesive depends on the tile, substrate, and application area. Choose a product suited to your wall surface and tile type. Roff Vitrofix is one option for suitable wall tile applications.
3) Do I need spacers for wall tiles?
Yes, spacers help maintain consistent gaps between tiles. They also support a more uniform grout finish.
4) How long before I can grout?
Follow the adhesive manufacturer’s recommended curing time. Conditions such as temperature, humidity, and substrate can affect curing.
5) Can I tile over painted walls?
Do not tile directly over unstable or poorly bonded paint. The surface should be sound, clean, and suitable for adhesive application. Remove unsuitable coatings before tiling.
6) Why is waterproofing important before wall tiling?
Waterproofing helps protect moisture-prone areas from seepage and dampness. In bathrooms and similar spaces, address waterproofing requirements before installing the final tile finish.