Check out the biggest trends of the season and our expert take on them.
How to Tile a Bathroom Floor: Waterproof First, Then Fix Tiles
Key Takeaways
Waterproof the bathroom floor before tiling, as adhesive bonds, it doesn’t waterproof.
Let the waterproofing system fully cure before applying tile adhesive.
Add a protective layer over the waterproofing membrane before applying tile adhesive.
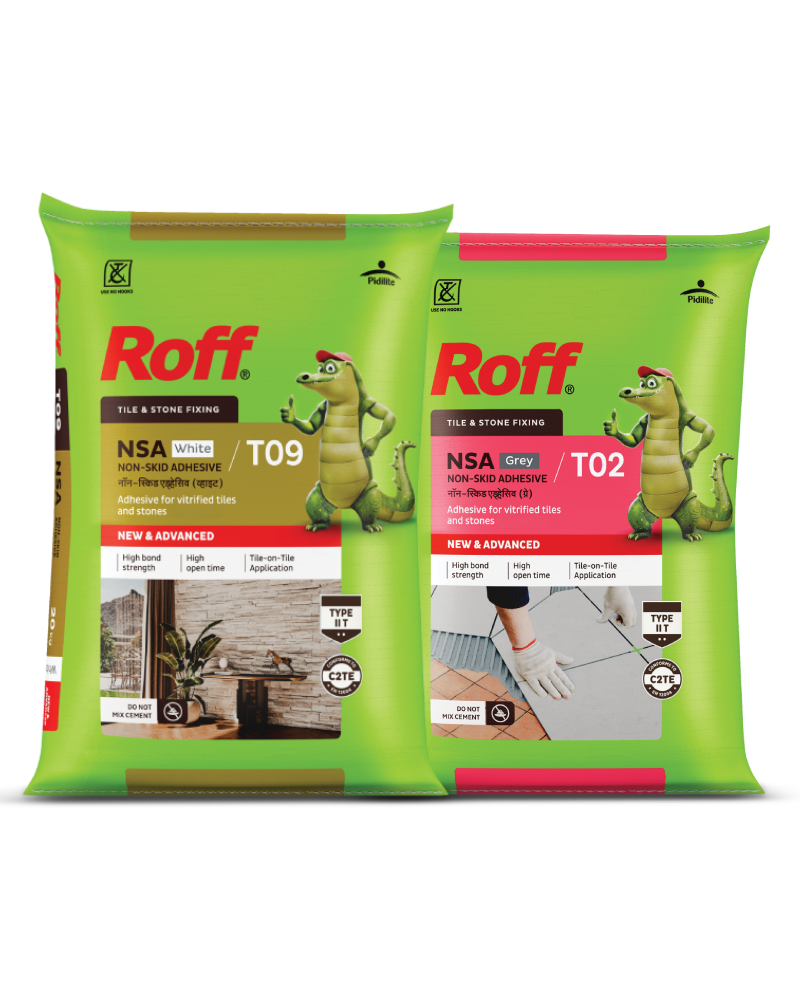
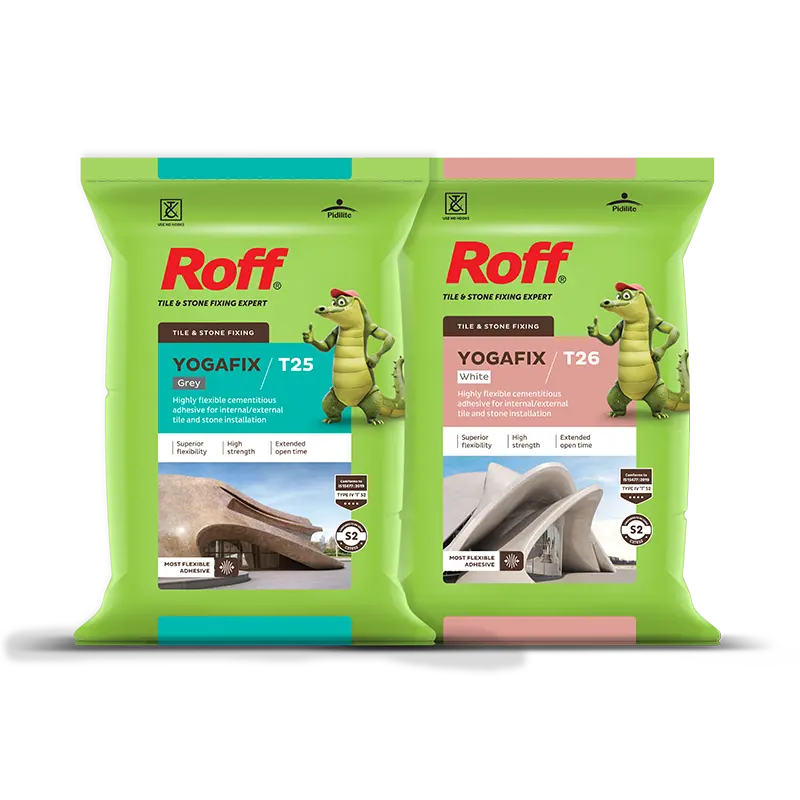
Use a suitable Roff wet-area adhesive and ensure full adhesive contact beneath the tiles.
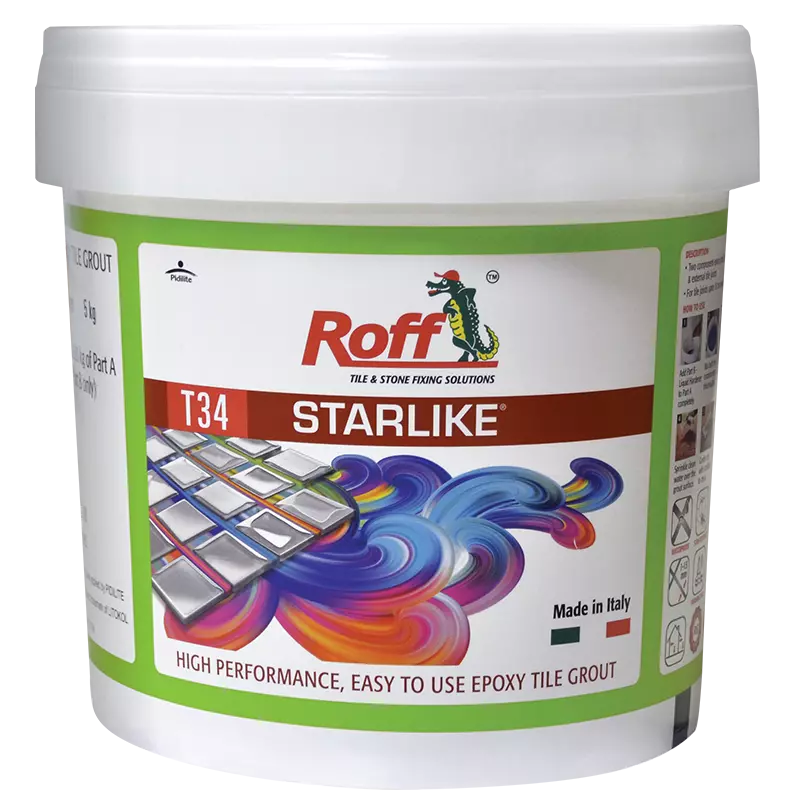
Finish the installation with a water- and stain-resistant epoxy grout such as Roff Starlike.
A durable bathroom floor depends on the right installation sequence. Waterproof the floor first, let the waterproofing layer cure, add a protective layer over the membrane, then fix the tiles with a suitable Roff adhesive. The adhesive holds the tiles in place, but it is not a substitute for a dedicated waterproofing membrane. A properly prepared surface, effective drainage slope, suitable adhesive and water-resistant grout all work together to create a bathroom floor that can withstand regular water exposure.
Step 1: Waterproof the Floor First (Non-Negotiable)
Bathroom floors are constantly exposed to water, so complete waterproofing before you start installing tile. Dr. Fixit offers waterproofing products designed specifically for bathrooms and wet areas.
Why waterproof before tiling
Tile adhesive is not a waterproofing membrane. Even a water-resistant adhesive is designed primarily to bond the tile to the substrate; it should not be treated as the layer that prevents water ingress. A dedicated waterproofing layer helps protect the floor and surrounding structure from water penetration, particularly around high-risk areas such as drains, pipe penetrations, corners and wall-floor junctions.
Apply & cure the Dr. Fixit coating
Prepare the floor as specified for the selected Dr. Fixit waterproofing system, then apply the recommended number of coats. For example, Dr. Fixit Pidifin 2K requires two coats, with the second coat applied perpendicular to the first after the specified interval. Its guidance states that the completed coating should air-cure for 3–5 days in bathroom/internal applications before proceeding.
Do not rush this stage. The waterproofing layer must cure properly before applying tile adhesive. Additionally, you must always apply a protective layer over the waterproofing membrane before proceeding with adhesive application.
How to Fix Bathroom Floor Tiles With Adhesive
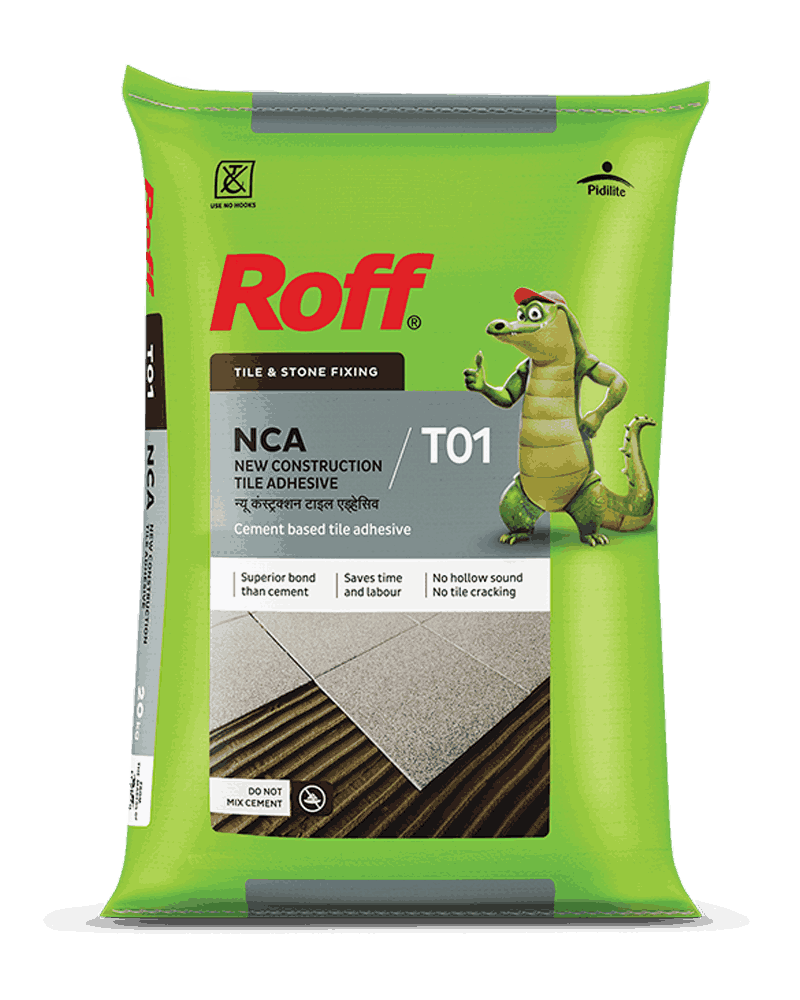
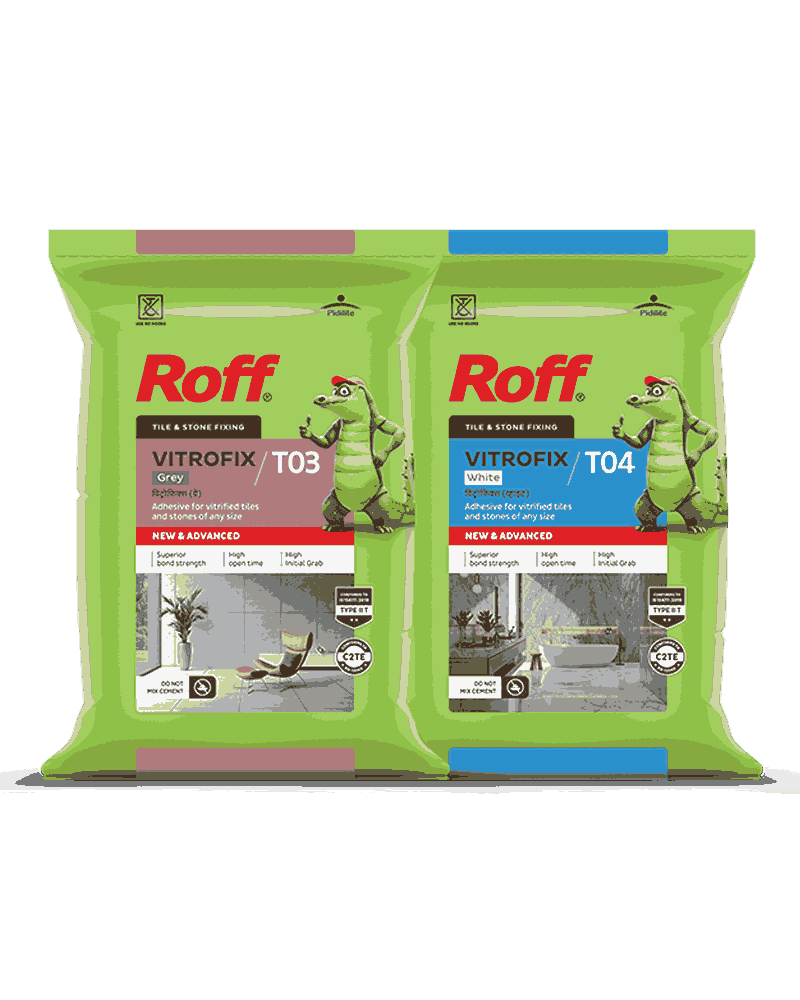
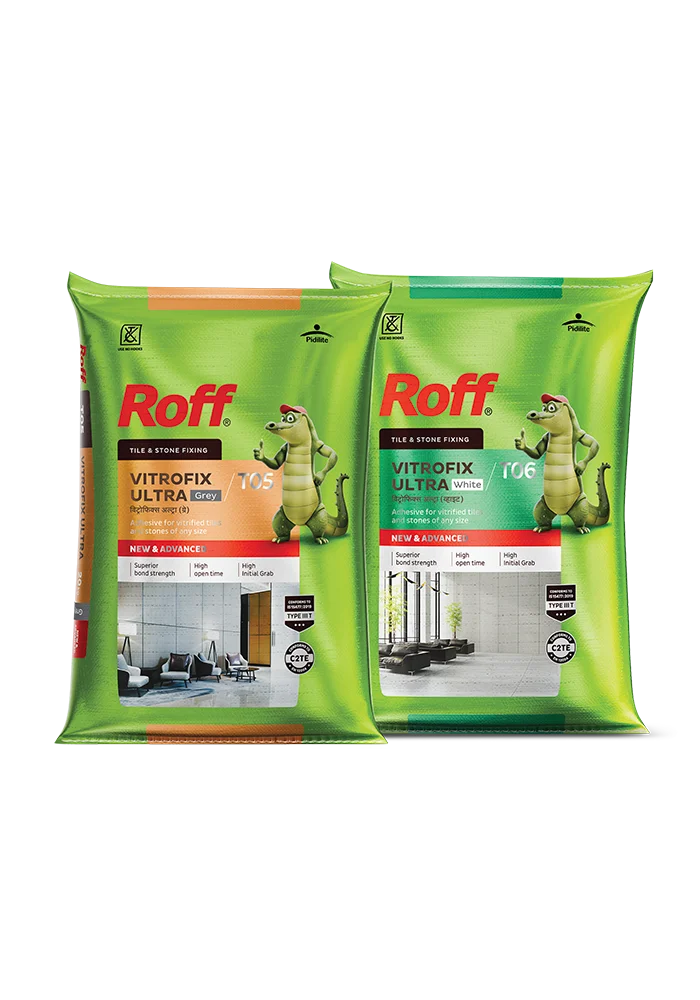
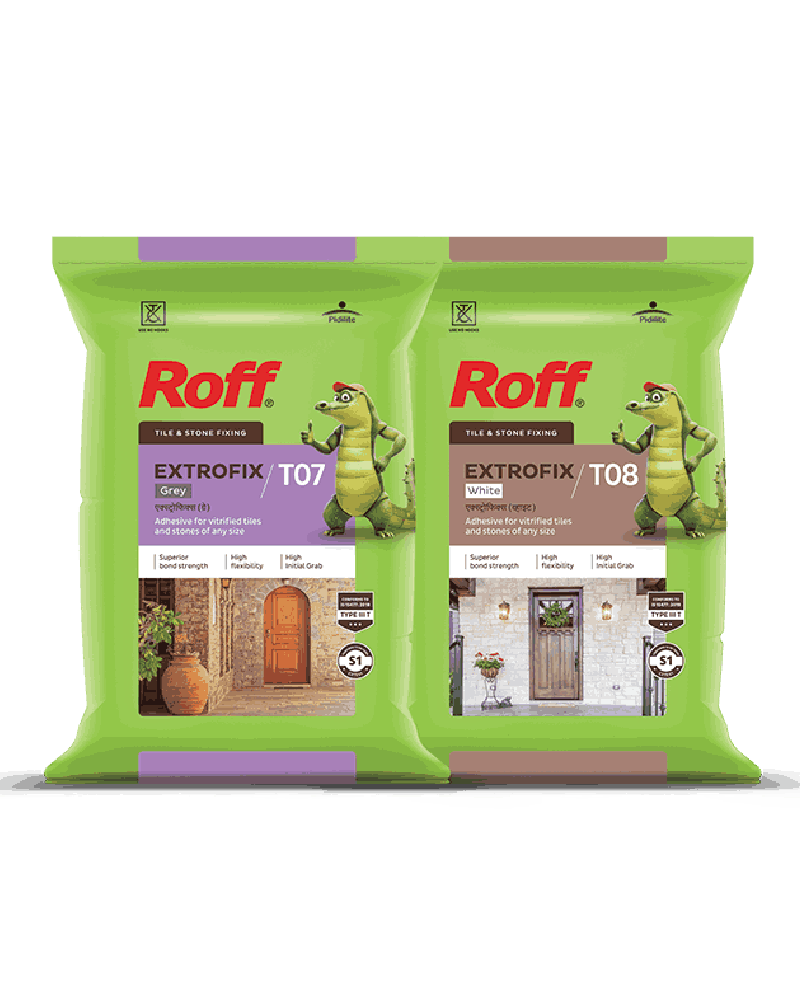
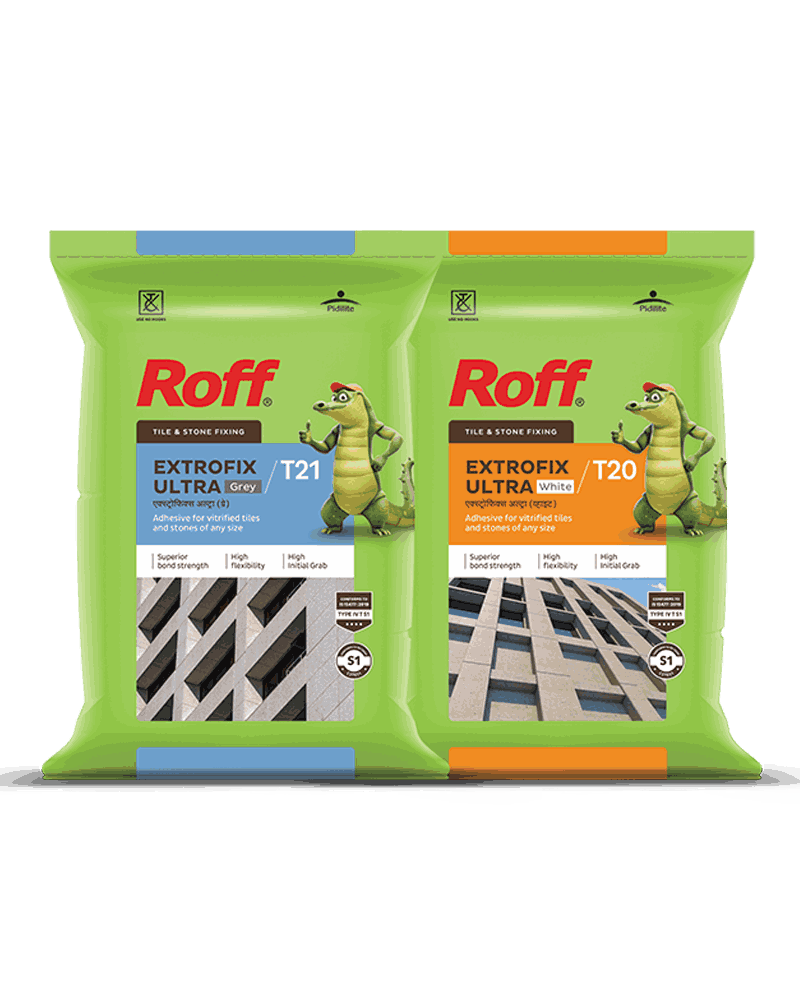
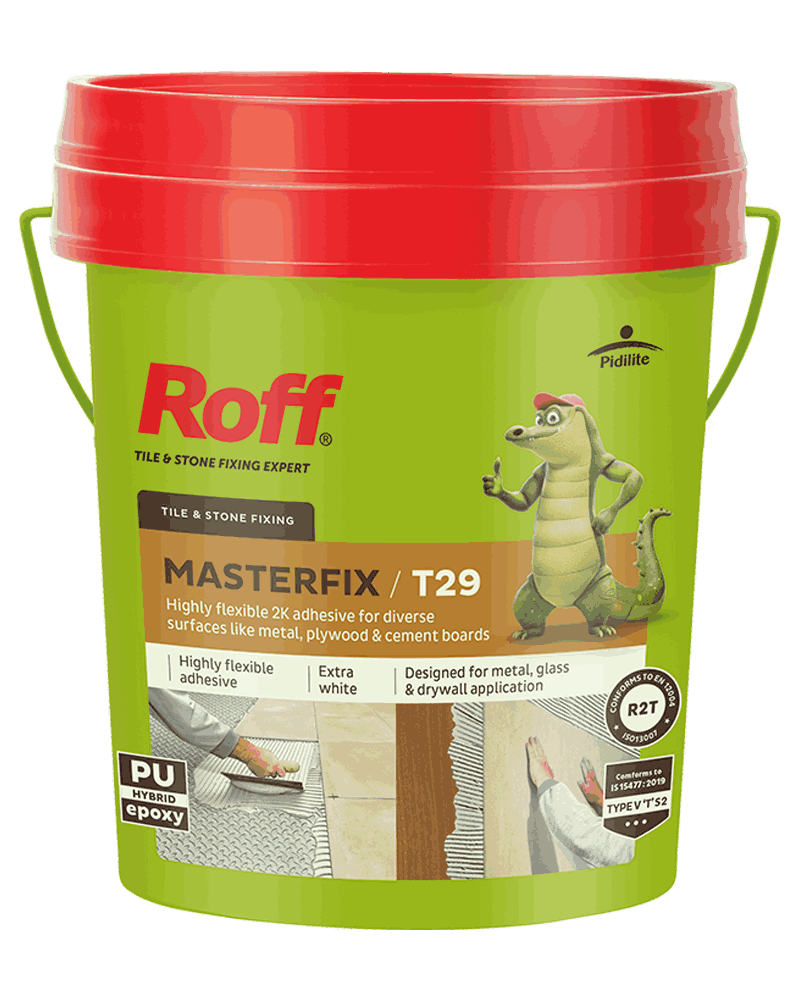
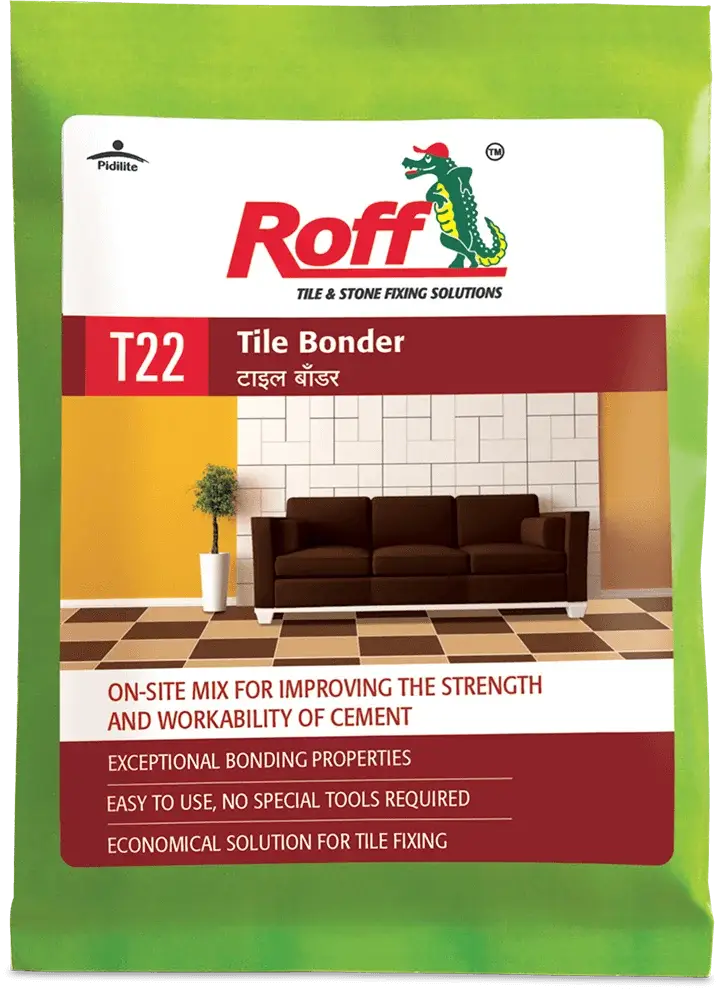
Once the Dr. Fixit waterproofing membrane has cured, you can begin tiling. Use a Roff adhesive suitable for wet-area floor applications, maintain the planned slope towards the drain and preserve the required tile joints. Roff Vitrofix, for example, suits wet and dry areas and is designed to fix ceramic, vitrified, and natural-stone tiles on appropriate substrates.
Prepare and clean the bathroom floor.
Apply the specified Dr. Fixit waterproofing system.
Allow the waterproofing coating to cure fully.
Apply a suitable Roff wet-area tile adhesive.
Comb the adhesive and bed the tiles with full contact.
Maintain the planned fall towards the drain and consistent grout joints.
Allow the adhesive to cure before grouting and exposing the floor to water.
This sequence separates the waterproofing function from the tile-bonding function and helps create a more reliable wet-area installation. Follow these steps to keep your tile installation leak-free for years to come.
Comb, set & space
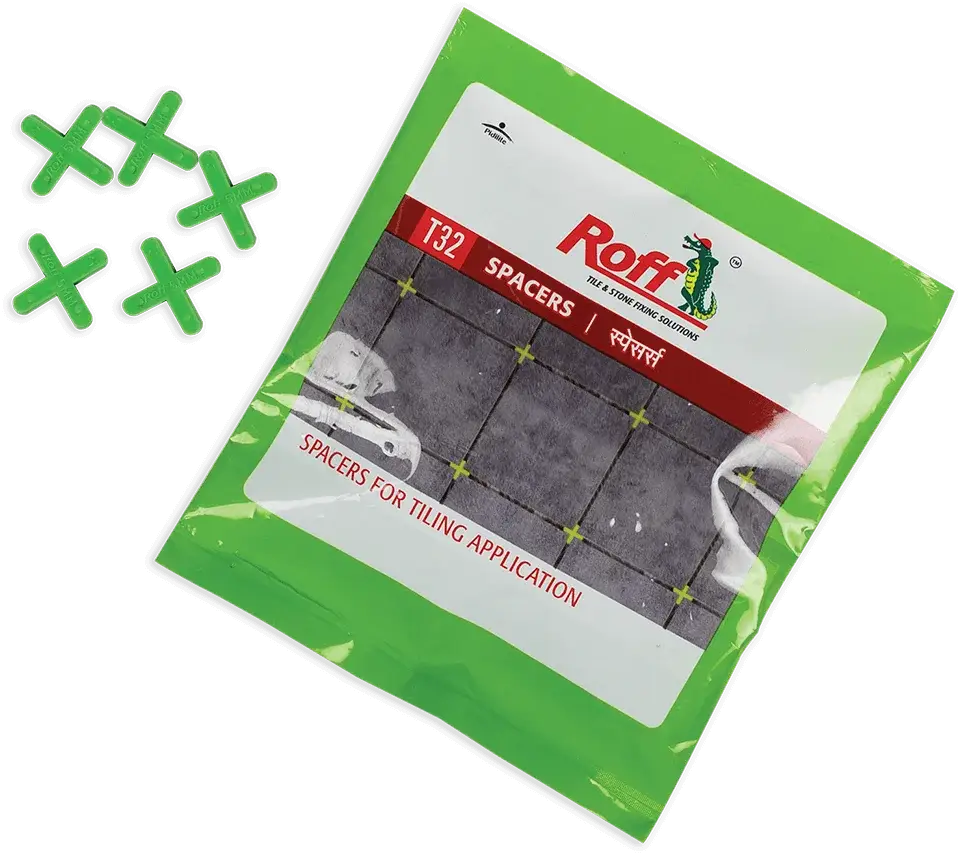
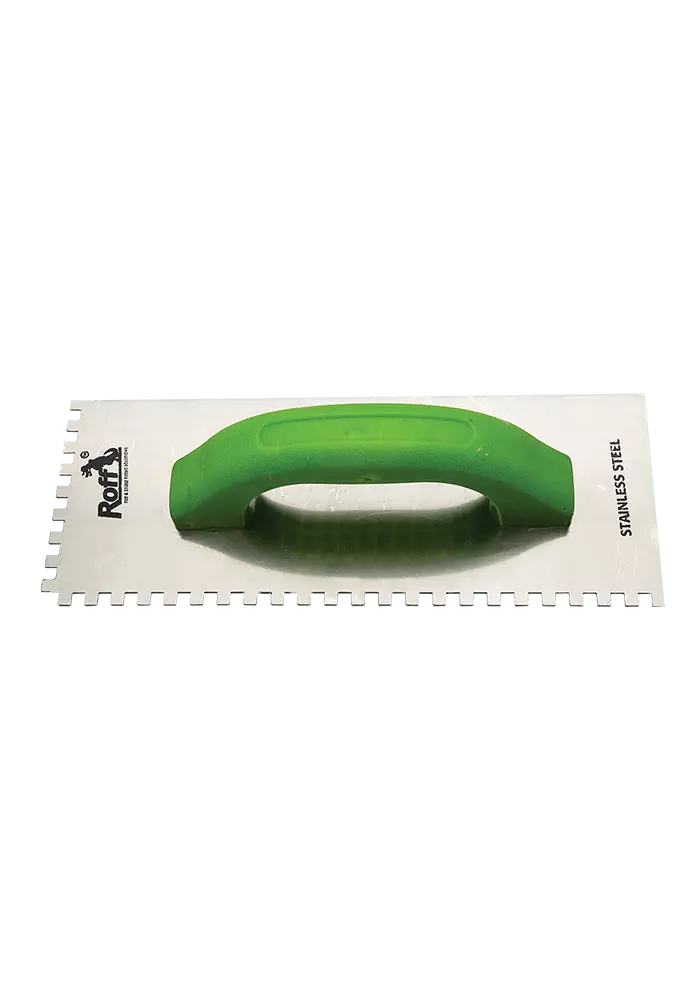
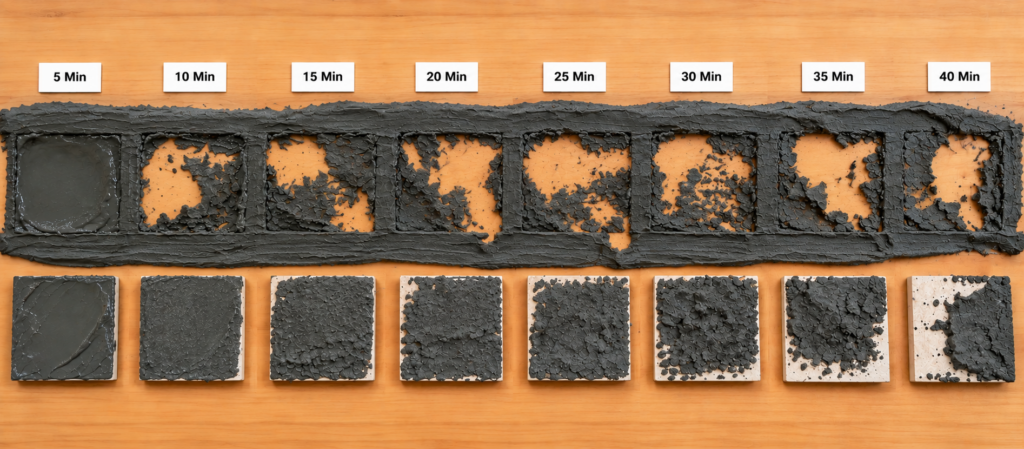
Spread the adhesive using the recommended notched trowel rather than applying it in isolated spots. Comb the adhesive consistently and press each tile into the bed to achieve good contact. For larger tiles, you may also need to back-butter to improve adhesive coverage. Set the tiles according to the planned layout while maintaining consistent joints between them. Avoid trapping hollow areas beneath the tiles, particularly in areas exposed to regular foot traffic or impact.
Maintain the Slope to the Drain
Setting the fall
The bathroom floor should have a consistent fall towards the floor drain so water flows away rather than collecting in low spots. It is also recommended to form a slope towards the floor drain as part of the bathroom waterproofing process. Set the slope during floor preparation rather than trying to create it through uneven adhesive thickness. Check the fall before waterproofing and tiling; ensure the tile layout follows the drainage direction. Fix any low spots before applying the waterproofing layer.
Grout With Epoxy for Wet Areas
Why epoxy over cement grout
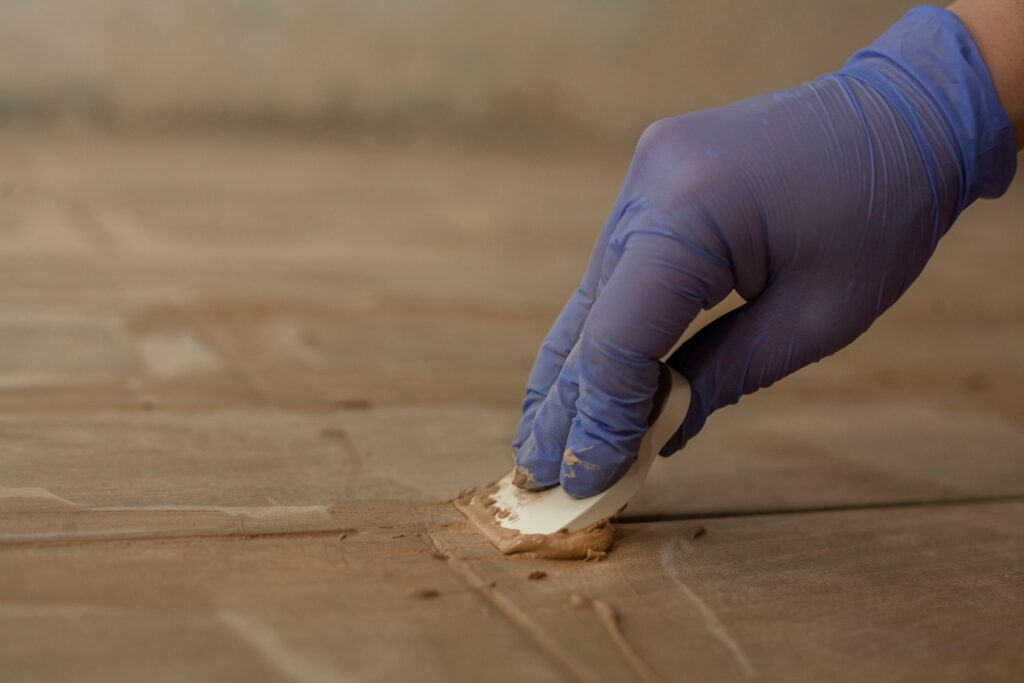
Epoxy grout is a strong choice for bathroom tile joints because it provides water and stain resistance. Roff Starlike is a two-component, epoxy-based tile joint filler designed to provide waterproof, stain-resistant joints and is suitable for areas where moisture and stain resistance are important.
Unlike conventional cement grout, epoxy grout does not rely on cementitious curing and offers greater resistance to water, stains and common bathroom contaminants. Apply it according to the manufacturer’s instructions after the tile adhesive has adequately cured.
Curing & First Use
Do not expose the newly tiled floor to regular water use immediately after installation. Allow the waterproofing, tile adhesive and grout to complete their respective curing periods before using the bathroom.
When it is ready
The exact curing time varies depending on the products selected and site conditions. Always check the product’s Technical Data Sheet (TDS) before application so you can plan future installation around the required curing time. Avoid proceeding with tiling or grouting until the waterproofing layer has dried. A partially cured waterproofing layer is still vulnerable and can be easily damaged by external forces. The same is also true for adhesives or grout. Never walk or put furniture on a tiled floor that hasn’t fully cured yet.
Frequently asked questions (FAQs)
1) Do I need to waterproof a bathroom floor before tiling?
Yes, waterproof the bathroom floor before fixing tiles. Tile adhesive is not a substitute for a dedicated waterproofing membrane.
2) Is tile adhesive waterproof on its own?
No, some tile adhesives are water-resistant and suitable for wet areas, but they should not be treated as a waterproofing membrane.
3) Which grout is best for bathroom floors?
A suitable epoxy grout, such as Roff Starlike, provides water- and stain-resistant joints and is well suited to wet-area applications.
4) How long after waterproofing can I tile?
Wait until the selected waterproofing system has fully cured. The time required for curing varies from product to product, so always check the manufacturer’s product Technical Data Sheet (TDS) before moving forward with any tile work.
5) What slope should a bathroom floor have?
The floor should have a consistent fall towards the drain, so water does not pool. The exact slope should be determined by the bathroom design, drainage system, and applicable construction requirements.