Check out the biggest trends of the season and our expert take on them.
Best Gap Filler for Tiles: How to Seal Joints for a Clean, Durable Finish
Even the best tiles will only last for long if they are installed properly with a high-quality gap filler. Choosing the right gap filler for tiles helps prevent water penetration, supports tile stability, prevents dirt accumulation within the joints, protects against the discolouration or blackening of joints, and improves the overall appearance of your installation.
Whether you are renovating a bathroom or finishing an outdoor patio, selecting the appropriate gap filler for tiles is just as important as choosing the tiles themselves.
This guide explains everything you need to know about selecting and using gap fillers for tiles so that your tiles remain beautiful for years to come.
Why Proper Tile Gap Filling Matters for Long-Term Performance
Tile joints do much more than improve appearance. They reduce stress between tiles, allow your tiles to expand and contract without rubbing into each other, and create a protective barrier against water and contaminants. Here’s why proper tile gap filling matters:
Protection Against Water Damage and Mould Growth
Unsealed tile joints act as a direct path for moisture. This leakage can saturate the substrate, leading to hidden mould growth, persistent musty odours, and costly structural rot behind the wall or floor.
A quality gap filler creates a watertight seal that prevents leakage, protecting the underlying substrate from costly water damage and mould growth. This is especially important in bathrooms, kitchens, balconies, and swimming pool areas where surfaces are regularly exposed to moisture.
Structural Stability and Tile Longevity
Tiles naturally expand and contract with temperature changes. Proper joint filling helps distribute this movement evenly across the surface.
Without an appropriate gap filler for tiles, tiles may loosen, crack, or face lippage. Well-filled joints help maintain alignment and reduce stress on individual tiles.
Aesthetic Benefits of Professional-Looking Joints
Even spacing and clean grout lines contribute significantly to the finished appearance of tiled surfaces.
The right gap filler for tiles creates consistent joint lines, enhances tile patterns, and prevents dirt from collecting between tiles. Clean joints also make regular maintenance much easier.
Types of Gap Filler for Tiles: A Complete Breakdown
Several products are available for tile joint filling. Understanding their strengths helps you with choosing the right grout material for your tiles:
Cement-Based Grout for Standard Installations
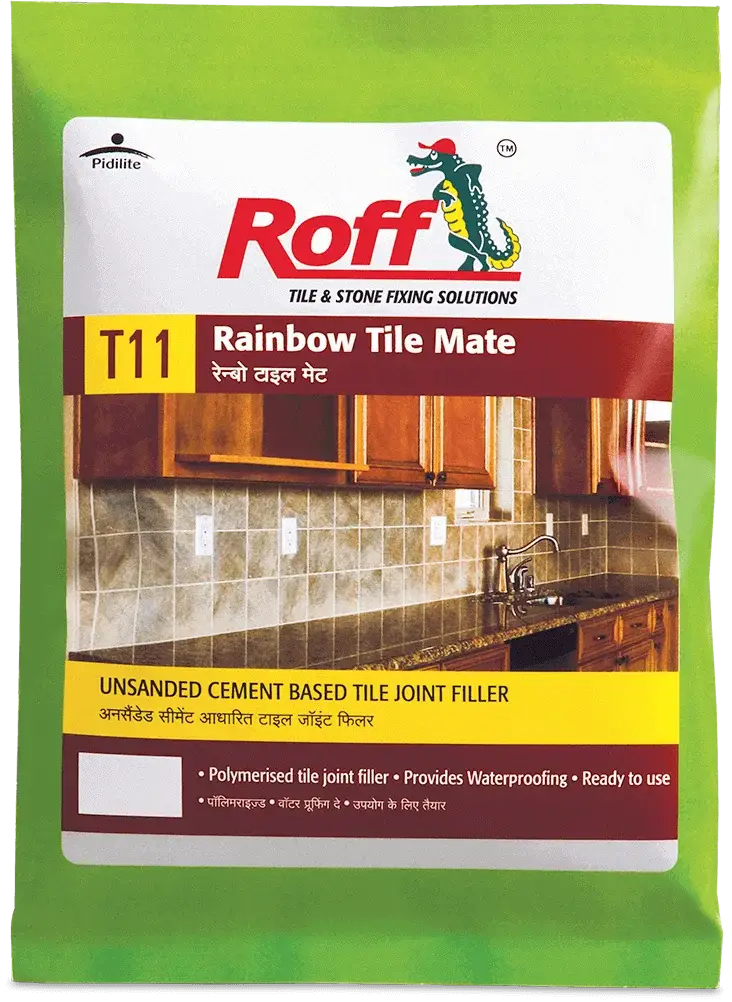
Cement grout remains one of the most widely used options for residential tile installations. It is cost-effective, relatively easy to apply, and suitable for many indoor applications.
A cement-based gap filler for tiles performs well when installed correctly and protected with an appropriate sealer where required.
Sanded vs. Unsanded Cement Grout
Sanded grout contains fine sand particles that improve strength and minimise shrinkage. It is generally recommended for joints wider than 3 mm.
Unsanded grout provides a smoother finish and is better suited to narrow joints or delicate tiles that may scratch during installation.
Choosing between sanded and unsanded products depends on tile type, joint width, and the expected service conditions.
Best Applications for Cement-Based Fillers
Cement grout is widely used in India, however, it has numerous issues that make it unideal for long-term use, especially in urban conditions. Some of its downsides include:
Can absorb water and stains due to porosity
May crack or shrink over time
Can become discoloured/turn black
Can develop mould in damp areas
Not very flexible, doesn’t allow for tile movement
Not suitable for areas that constantly face moisture
Epoxy Grout: The Waterproof Gap Filler for Tiles
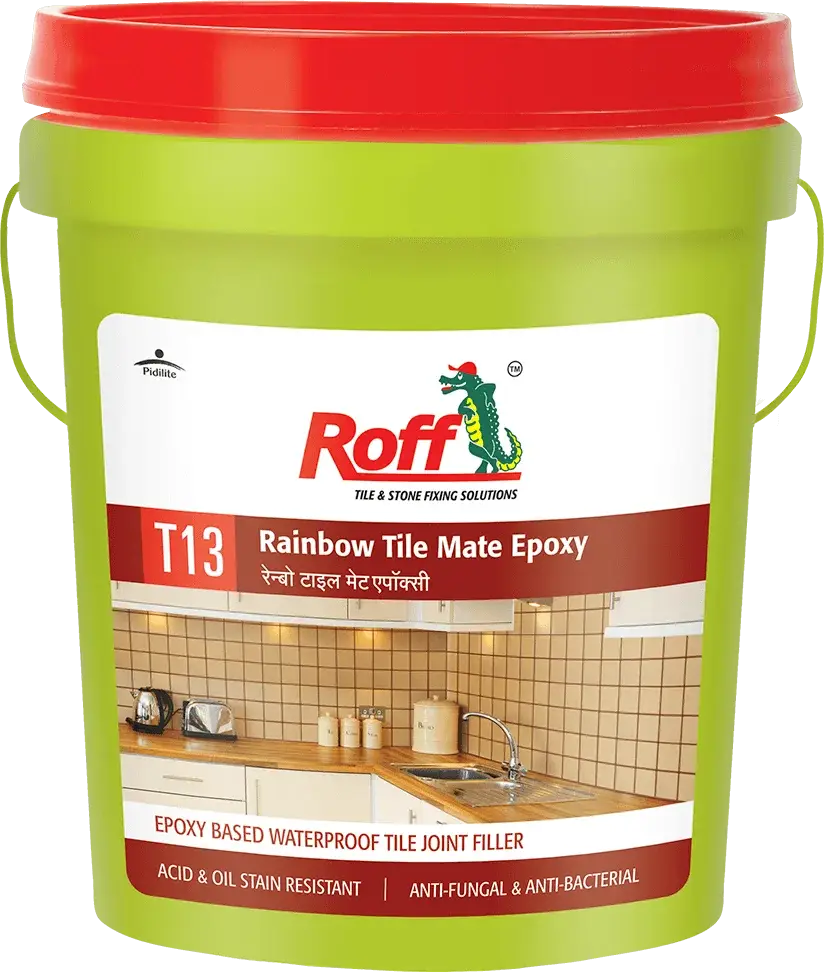
For areas demanding maximum water and stain protection, epoxy grout is the professional standard. Its two-part resin and hardener formula cures into a non-porous, plastic-like joint that is virtually impenetrable to water, grime, and harsh chemicals.
Due to its non-porous nature, epoxy grout provides maximum protection against moisture and staining, making it the top choice for demanding environments like showers and commercial kitchens.
Superior Moisture and Stain Resistance
Epoxy grout absorbs very little water. This helps prevent staining, mould growth, and chemical damage.
Food spills, oils, cleaning chemicals, and soap residue are less likely to penetrate epoxy joints compared with traditional cement grout.
For commercial kitchens and frequently cleaned areas, epoxy provides excellent long-term performance.
Ideal for High-Traffic and Wet Areas
Epoxy grout is commonly used in:
Bathrooms
Shower enclosures
Swimming pools
Commercial kitchens
Hospitals
Food processing facilities
Although installation requires greater skill, epoxy often delivers longer service life under demanding conditions.
Premixed Grout: Convenience vs. Performance
Premixed grout offers convenience because it arrives ready for application without mixing. For smaller projects, repairs, or DIY touch-ups, premixed products save preparation time and reduce material waste. However, professionals generally evaluate performance carefully before selecting premixed products for larger installations.
Advantages include:
Consistent texture
Reduced mixing errors
Faster preparation
Less material waste
Convenient storage
Potential limitations include longer drying times and suitability restrictions depending on joint width and exposure conditions.
How to Choose the Right Gap Filler for Tiles Based on Location
Every tiled space experiences different conditions. Selecting the appropriate gap filler for tiles according to the installation environment improves durability and reduces future maintenance.
Best Gap Filler for Bathroom and Shower Tiles
Bathrooms experience constant exposure to water, humidity, and strong cleaning products. This is where the choice between cement vs epoxy grout can make a massive difference. For shower walls and wet areas, epoxy grout is consistently the better choice as it is excellent at resisting moisture and staining.
Movement joints should always use silicone sealant rather than grout. A high-quality gap filler for tiles helps reduce water ingress, supports hygienic surfaces, and improves the lifespan of bathroom installations.
Kitchen Backsplash and Countertop Joint Fillers
Kitchen surfaces are exposed to cooking oils, food splashes, grease, and regular cleaning. epoxy grout offers good stain resistance and flexibility for many residential kitchens. Where hygiene and chemical resistance are priorities, epoxy grout also provides enhanced protection and easier cleaning.
Choosing the right gap filler for tiles also helps maintain the neat appearance of decorative backsplashes.
Pool and Outdoor Tile Applications
Outdoor installations face challenging weather conditions throughout the year. Rain, sunlight, temperature changes, and moisture movement place additional stress on tile joints.Epoxy grout or specialised exterior-grade cement grouts are commonly selected because they offer improved durability under demanding conditions.
Selecting an appropriate gap filler for tiles helps outdoor tiled surfaces remain pristine even when they are exposed to changing environmental conditions.
Step-by-Step Guide: How to Apply Gap Filler for Tiles
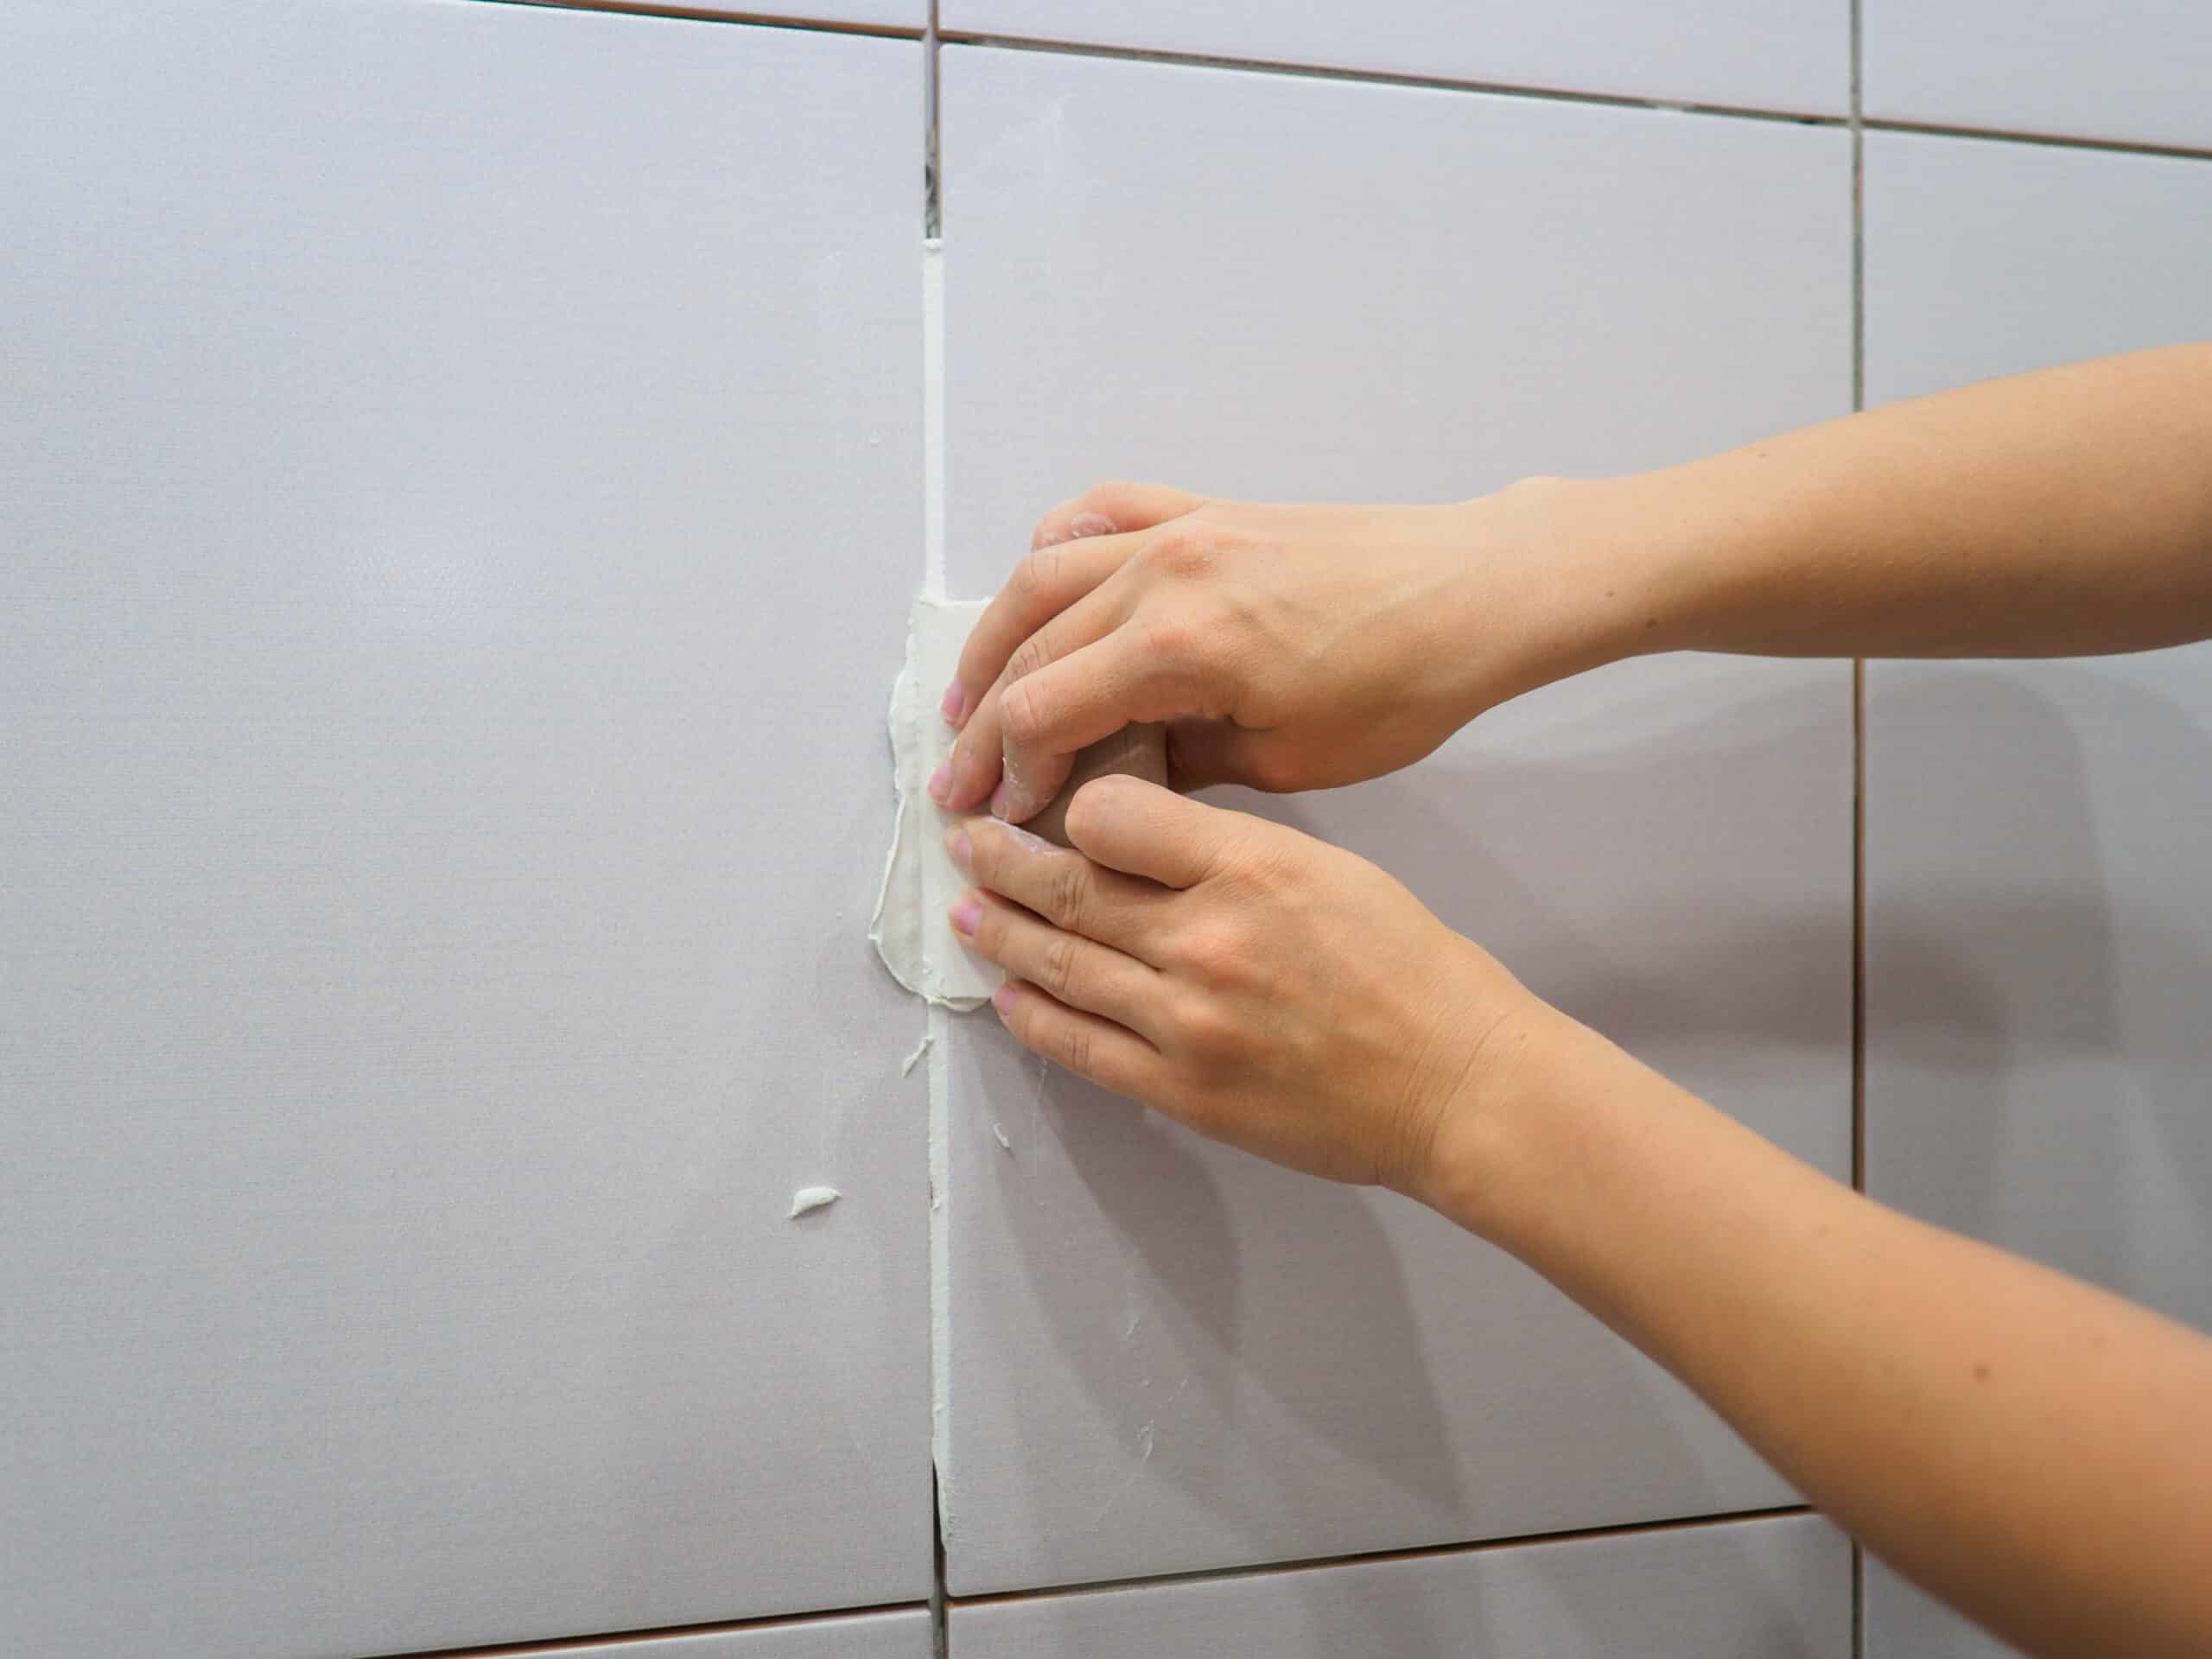
Applying the right gap filler for tiles requires proper preparation and careful execution. A well-installed tile joint improves durability, reduces moisture-related issues, and keeps your tiled surfaces looking clean for longer.
Before starting, identify the tile type, joint width, location, and exposure conditions. The right approach will depend on whether you are working on bathroom tiles, kitchen surfaces, floors, or outdoor installations.
Essential Tools and Materials Needed
Before applying a gap filler for tiles, keep all required materials ready. Proper preparation helps achieve consistent joints and reduces application errors.
Common tools and materials include:
Tile grout or selected tile joint filler
Mixing container
Grout float
Rubber gloves
Clean sponge
Measuring tools
Soft cloth
Protective equipment
Sealant applicator for silicone joints
For larger installations, professional guidance can help ensure the filler is selected and applied correctly.
Surface Preparation: Cleaning and Priming Tile Joints
Surface preparation plays an important role in achieving strong and long-lasting tile joints.
Remove dust, loose particles, old residue, and construction debris from the gaps.
Any remaining material can prevent proper bonding between the filler and tile edges.
If you are replacing old grout, remove damaged sections carefully before applying new material.
The joints should have enough depth and a clean surface for better adhesion.
A clean base allows the gap filler for tiles to perform effectively and reduces the chances of cracking or separation.
Mixing and Application Techniques
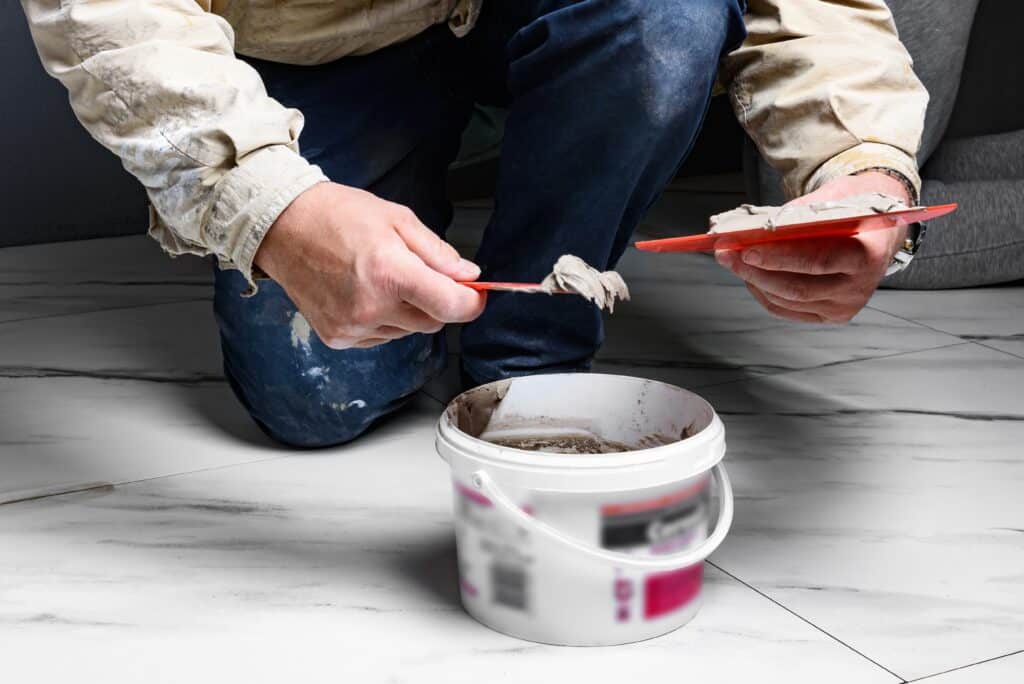
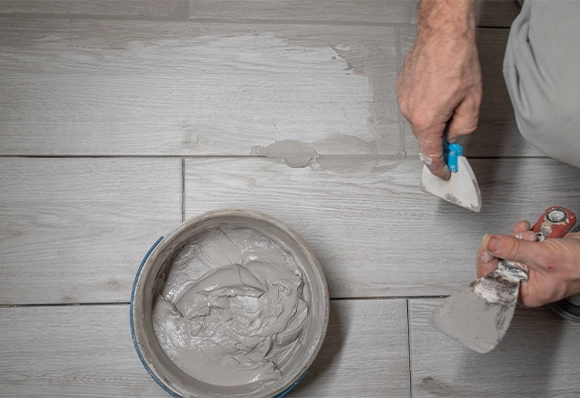
The mixing process depends on the type of filler selected. Always follow the manufacturer’s recommended mixing ratio. Incorrect consistency can affect strength, drying time, and final appearance. A properly mixed filler should have a smooth texture and should be easy to spread without being too runny.
When applying the material:
Work on small sections at a time
Press the filler firmly into the joints
Remove excess material from the tile surface
Maintain consistent joint depth
Avoid disturbing the filler before it sets
Correct application helps create stronger joints and improves the overall finish.
Working with Cement-Based Gap Fillers
Cement-based fillers are commonly used for standard tile installations. They require accurate mixing and controlled application.
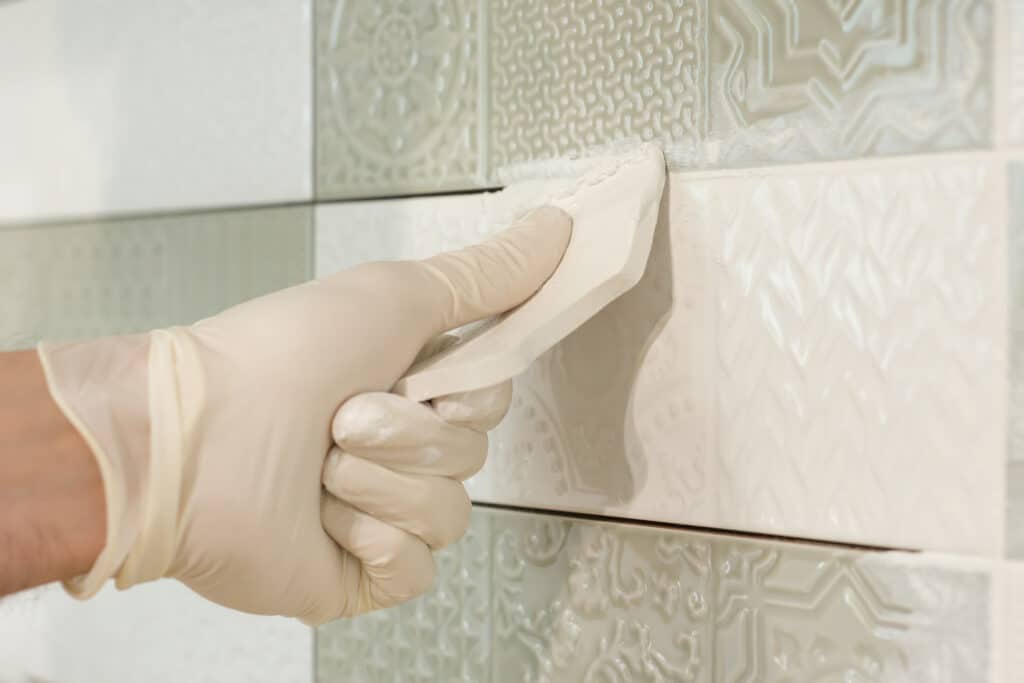
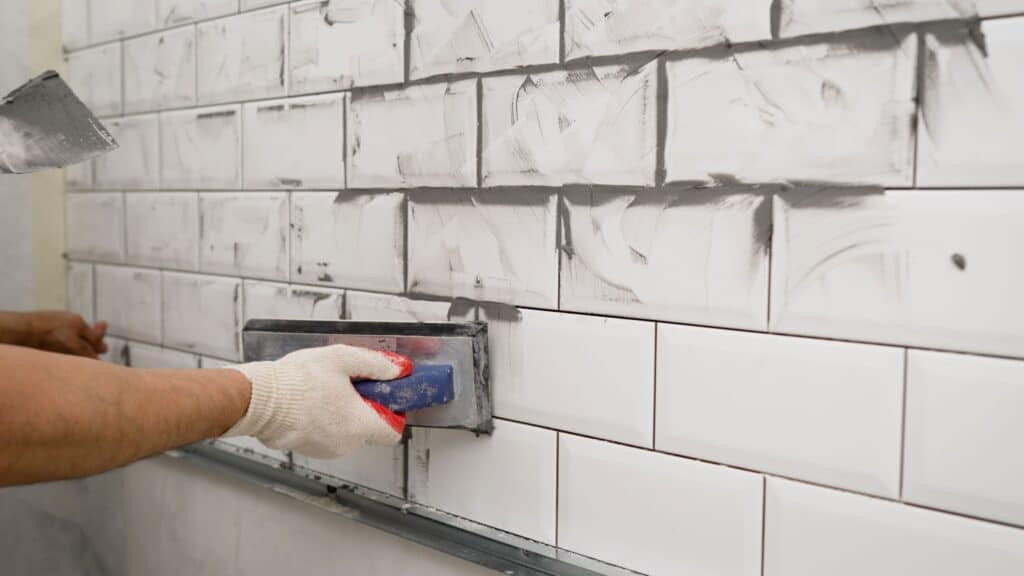
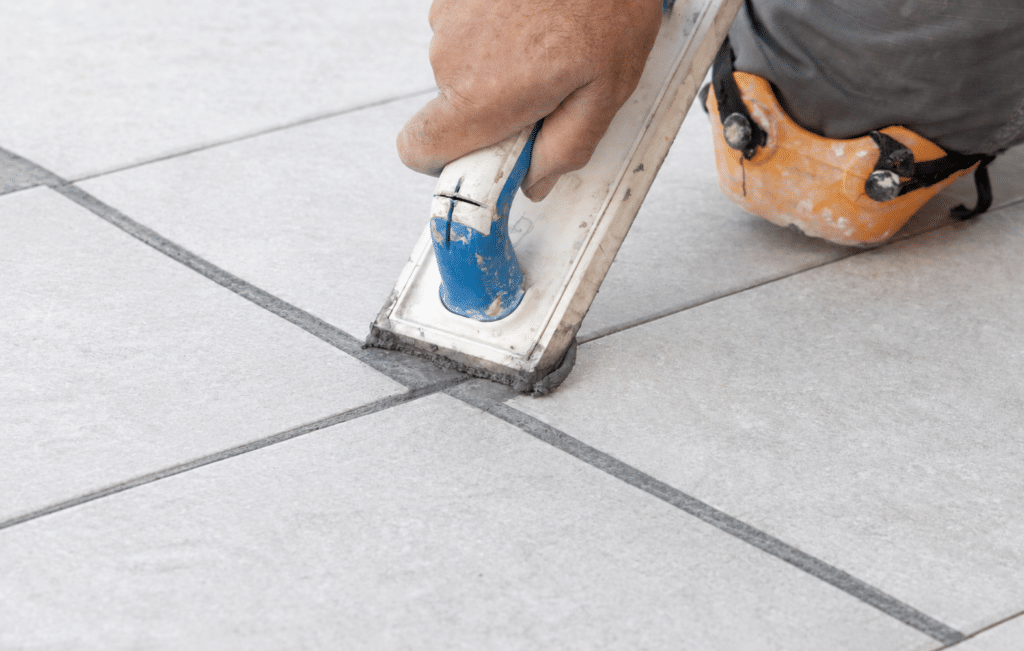
Spread the grout diagonally across the tiles using a grout float.
This movement helps push the material deeper into the joints.
After filling the gaps, remove excess grout before it fully hardens.
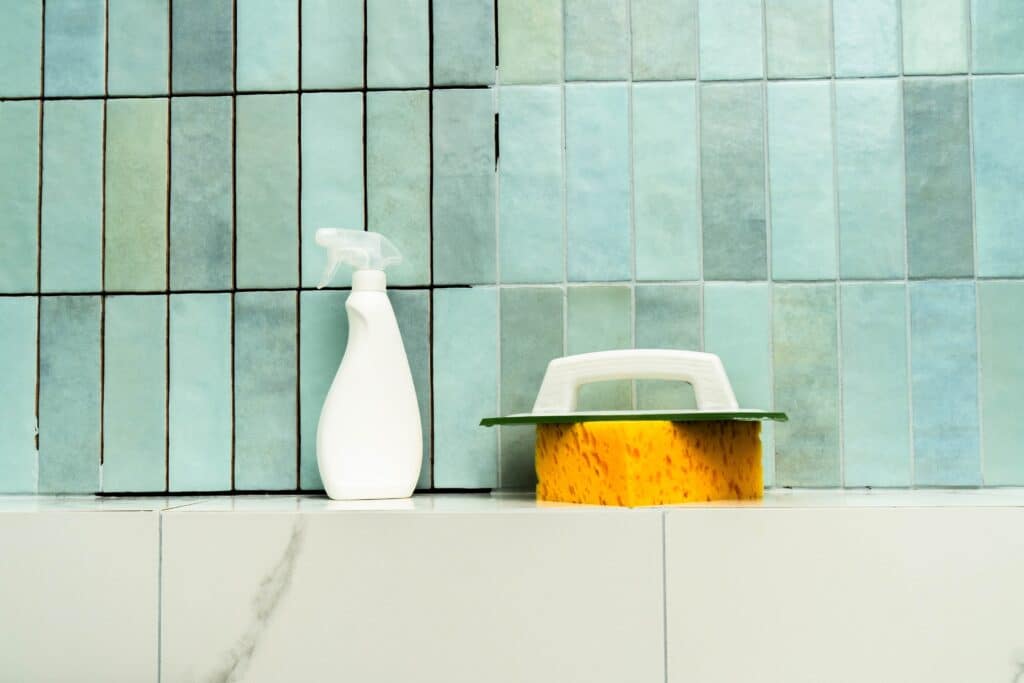
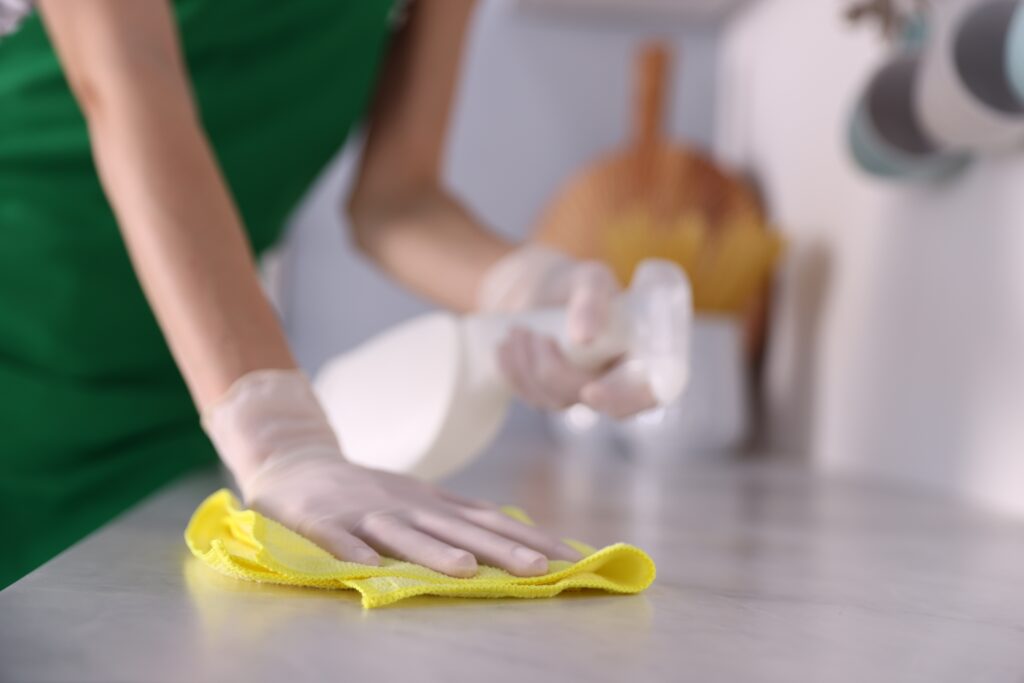
Use a damp sponge to clean the tile surface without removing material from the joints.
Once cured, sealing may be recommended for certain cement-based products.
A suitable sealant can provide additional protection against moisture and staining.
For dry areas with moderate foot traffic like living rooms and hallways, a properly sealed cement-based grout is a cost-effective and reliable choice.
Applying Epoxy Grout Correctly
Epoxy grout requires careful handling because it cures differently from cement-based products.
Before application, check the working time provided by the manufacturer.
Epoxy generally needs to be installed within a specific period after mixing.
Apply epoxy grout evenly across the joints and remove excess material promptly.
Once hardened, removing leftover residue becomes more difficult.
Because epoxy grout offers strong resistance to moisture and stains, it is often selected for areas requiring a reliable waterproof gap filler for tiles.
Finishing and Smoothing the Joint Lines
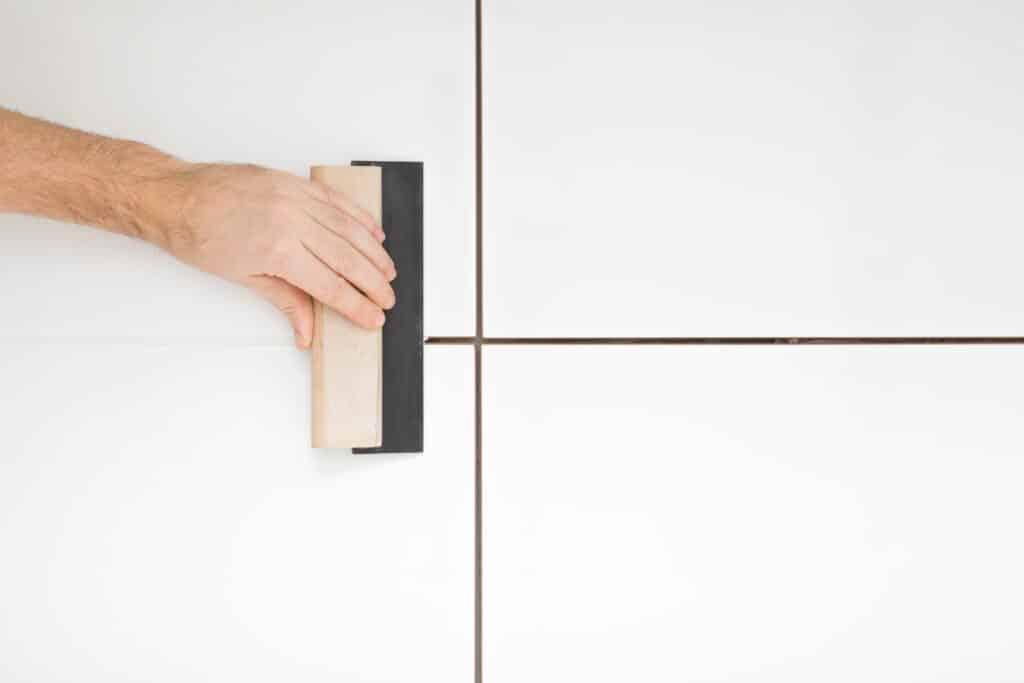
Finishing the joints correctly improves both appearance and performance. Once the filler begins setting, smooth the joints using appropriate tools. This creates an even surface and prevents rough edges where dirt can accumulate.
Clean the tile surface carefully after application. Avoid excessive water during cleaning, as it may affect freshly installed filler. Allow adequate curing time before exposing the surface to water, heavy foot traffic, or cleaning products.
Proper curing helps the gap filler for tiles develop its intended strength and durability.
Curing Times and Post-Application Care
Curing time varies depending on the filler type, temperature, humidity, and application conditions. Cement-based grout usually requires sufficient drying time before regular use. Epoxy products may have different curing requirements based on their formulation.
During the curing period:
Avoid washing the surface
Prevent dust accumulation
Protect joints from physical damage
Follow product-specific instructions
Once cured, regular maintenance helps preserve the appearance and function of the tile joints.
Common Mistakes When Filling Tile Gaps (And How to Avoid Them)
Even high-quality products may not perform properly if installation mistakes occur. Understanding common errors helps you achieve better results. Here are some dos and don’ts for filling tile gaps:
Using the Wrong Type of Filler for Your Application
Every area has different requirements. A bathroom floor, kitchen backsplash, and outdoor terrace do not face the same challenges. Using a standard filler in a high-moisture location may reduce performance over time.
For example, wet areas often require products with better moisture resistance, while movement areas require flexible sealants. Selecting the correct gap filler for tiles based on location helps prevent avoidable repairs.
Improper Mixing Ratios and Consistency Issues
Adding too much water or using incorrect proportions can weaken the filler. A mixture that is too thin may shrink during drying, while a mixture that is too thick may become difficult to apply evenly. Always follow the recommended preparation method to maintain product performance.
Skipping Surface Preparation Steps
Applying new filler over dirty or damaged joints can affect adhesion. Dust, grease, old residue, and moisture can prevent the material from bonding properly. Cleaning and preparing the joints before application is an essential step for lasting results.
Applying Filler in Unfavourable Weather Conditions
Temperature and humidity can affect curing performance. Very high temperatures may cause faster drying, while excessive moisture can slow curing. For outdoor projects, check weather conditions before application. This helps ensure the gap filler for tiles cures properly and develops better strength.
Waterproof Gap Filler for Tiles: Features and Benefits
A waterproof gap filler for tiles is designed to reduce moisture absorption and protect tiled surfaces in demanding environments. Water resistance is especially important in bathrooms, balconies, kitchens, pools, and other areas exposed to regular moisture.
The right filler not only improves appearance, but it also supports the overall waterproofing system by reducing pathways where water can enter.
Understanding Water Resistance Ratings
Different tile fillers offer different levels of water resistance. Cement-based fillers may require additional sealing depending on the product and application area. Epoxy fillers generally provide stronger resistance because of their dense structure. When selecting a waterproof gap filler for tiles, consider:
Moisture exposure
Cleaning requirements
Joint width
Location conditions
Expected usage
Choosing based on actual needs helps improve long-term performance.
Top Waterproof Options for Wet Environments
Wet environments require careful material selection. Epoxy grout is often preferred for areas exposed to continuous moisture because it provides low water absorption and strong stain resistance. A complete tile installation should always include the correct joint filling alongside the best waterproofing membranes. Only with the right grout and waterproofing solution can you ensure that your tiles remain healthy for the foreseeable future.
Sealing vs. Filling: When to Use Each Approach
Filling and sealing serve different purposes. A gap filler for tiles fills the space between tiles and supports the structure of the tiled surface. A sealant creates an additional protective layer that helps reduce moisture penetration.
Some tile fillers may require sealing after installation, while others are designed to provide higher resistance without additional treatment. Understanding the difference helps you choose the right solution for your project.
Maintenance and Repair: Keeping Your Tile Joints in Top Condition
A properly installed gap filler for tiles can provide long-lasting performance when maintained correctly. However, regular cleaning, timely repairs, and periodic inspection help prevent minor issues from becoming larger problems. Tile joints are exposed to moisture, dirt, cleaning products, and daily wear. Over time, these factors may affect the appearance and performance of the filler.
Following a suitable maintenance routine helps keep your tiled surfaces hygienic, durable, and visually appealing.
Cleaning and Sealing Schedule for Different Gap Fillers
Different types of tile fillers require different maintenance approaches. Cement-based grout may need periodic sealing depending on the product, location, and moisture exposure. Sealing helps reduce absorption and protects the joints from stains.
Epoxy grout generally requires less maintenance because of its low absorption properties. However, regular cleaning is still important to remove surface dirt and deposits.
For effective maintenance:
Clean tile surfaces regularly with suitable products
Avoid harsh chemicals that may damage joints
Remove standing water in moisture-prone areas
Inspect joints periodically for damage
Follow recommended care instructions
A consistent maintenance routine helps your gap filler for tiles continue protecting the tiled surface.
Signs Your Tile Joints Need Regrouting
Tile joints may show signs of deterioration over time. Identifying these signs early can help prevent further damage.
Common indicators include:
Visible cracks in grout lines
Missing sections between tiles
Dark stains that do not clean easily
Loose or damaged filler
Water penetration near joints
Crumbling grout texture
Damaged joints may allow moisture to reach the underlying surface. This can affect the durability of the tile installation and may require professional assessment.
If you notice repeated moisture issues, addressing the underlying cause is important instead of only replacing the visible filler.
Quick Fixes for Minor Cracks and Gaps
Small surface issues may sometimes be repaired without replacing the entire tiled area. Minor cracks or damaged sections can be addressed by removing loose material and applying a suitable repair solution. However, repairs should match the existing filler type and joint requirements. Applying an unsuitable material may create uneven results or recurring damage.
For larger cracks or moisture-related problems, expert evaluation is recommended. The right gap filler for tiles combined with correct installation practices can ensure that your tile joints remain strong and clean without requiring constant repairs.
Conclusion: Selecting the Best Gap Filler for Tiles for Your Project
Choosing the right gap filler for tiles is an important step in creating durable, attractive, and moisture-resistant tiled surfaces. The best option depends on several factors, including location, moisture exposure, joint width, and maintenance requirements.
Cement-based grout is widely used but is usually not recommended for critical applications, while epoxy grout offers enhanced resistance for areas exposed to frequent moisture and heavy use. Flexible epoxy grouts work better for movement joints where tiles experience expansion and contraction.
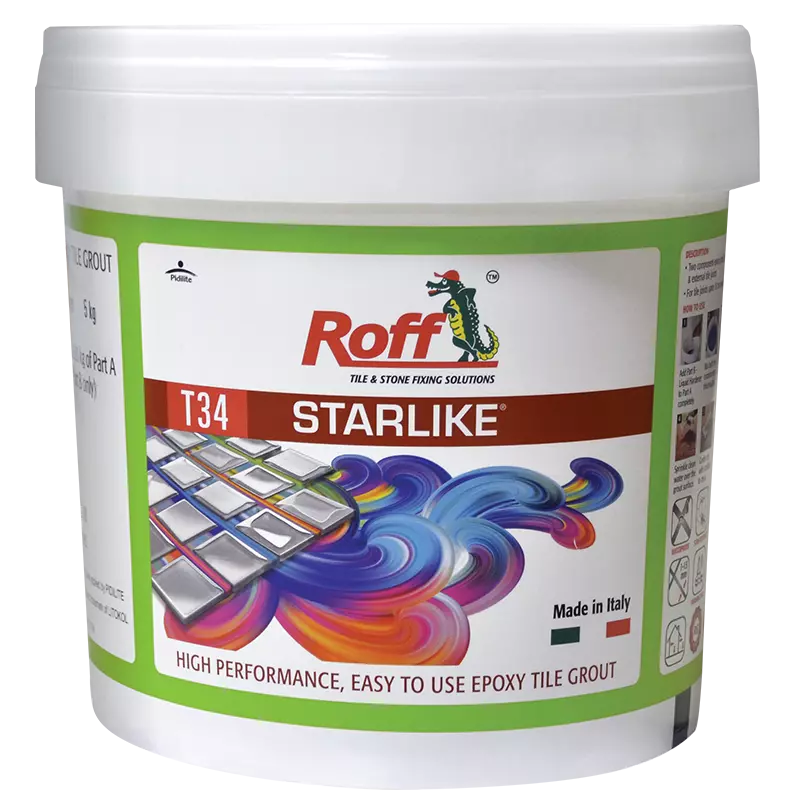
When you choose the right gap filler for tiles, you create cleaner finishes, stronger joints, and longer-lasting tiled spaces. If you need a reliable tile gap filling solution, consider checking Roff Starlike, an epoxy grout that is water-, UV-, and stain-resistant, while also offering a multitude of shades to help you design your tiles the way you like.
Frequently asked questions (FAQs)
1) What is the best waterproof gap filler for tiles in a shower?
Epoxy grout is often considered a suitable option for shower areas because it offers low water absorption and strong resistance to stains. However, the right choice depends on tile type, joint width, and installation conditions.
2) Can I use silicone instead of grout to fill tile gaps?
Silicone and grout serve different purposes. Grout is designed to fill spaces between tiles, while silicone is used for flexible joints where movement is expected. Using silicone as a replacement for all tile joints may not provide the required finish or structural support. Select the material based on the specific application area.
3) How long does tile gap filler take to dry before I can use the shower?
Drying and curing time depends on the type of filler, environmental conditions, and product specifications. Cement-based fillers, epoxy products, and silicone sealants each have different curing requirements. Always allow sufficient time before exposing newly filled joints to water.
4) What is the difference between sanded and unsanded grout for filling tile gaps?
Sanded grout contains fine sand particles that improve strength and reduce shrinkage, and it is generally used for wider joints. Unsanded grout has a smoother texture and is commonly selected for narrower joints or surfaces where scratching may be a concern.
5) Do I need to seal tile gap filler after application?
Some tile fillers require sealing to improve resistance against moisture and stains, especially cement-based products. Other options, such as certain epoxy grouts, offer higher resistance without additional sealing. Check product recommendations before applying any protective treatment.
6) Can I apply gap filler for tiles myself, or should I hire a professional?
Small applications may appear simple, but achieving durable results requires correct material selection, preparation, mixing, and finishing. For large areas, wet zones, or projects involving waterproofing requirements, professional guidance helps ensure the filler is applied correctly.
7) How do I remove old tile gap filler before regrouting?
Old, damaged filler should be removed carefully using appropriate tools to avoid damaging tile edges. The joints should then be cleaned thoroughly before applying new material. Removing loose and weakened filler improves the performance of the replacement product.
8) What causes tile gap filler to crack or fall out?
Several factors can contribute to damaged tile joints, including incorrect filler selection, poor surface preparation, improper mixing, excessive movement, moisture issues, or unsuitable application conditions.