Check out the biggest trends of the season and our expert take on them.
How to Fix Swimming Pool Tiles: Adhesive & Grout That Last Underwater
Key Takeaways
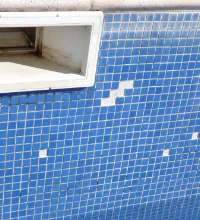
Swimming pool tiles require specialised materials capable of surviving under constant immersion in water, chlorine, chemicals, and temperature fluctuations.
Proper waterproofing is essential before tiling to prevent water penetration, protect the pool structure, and support long-term tile adhesion.
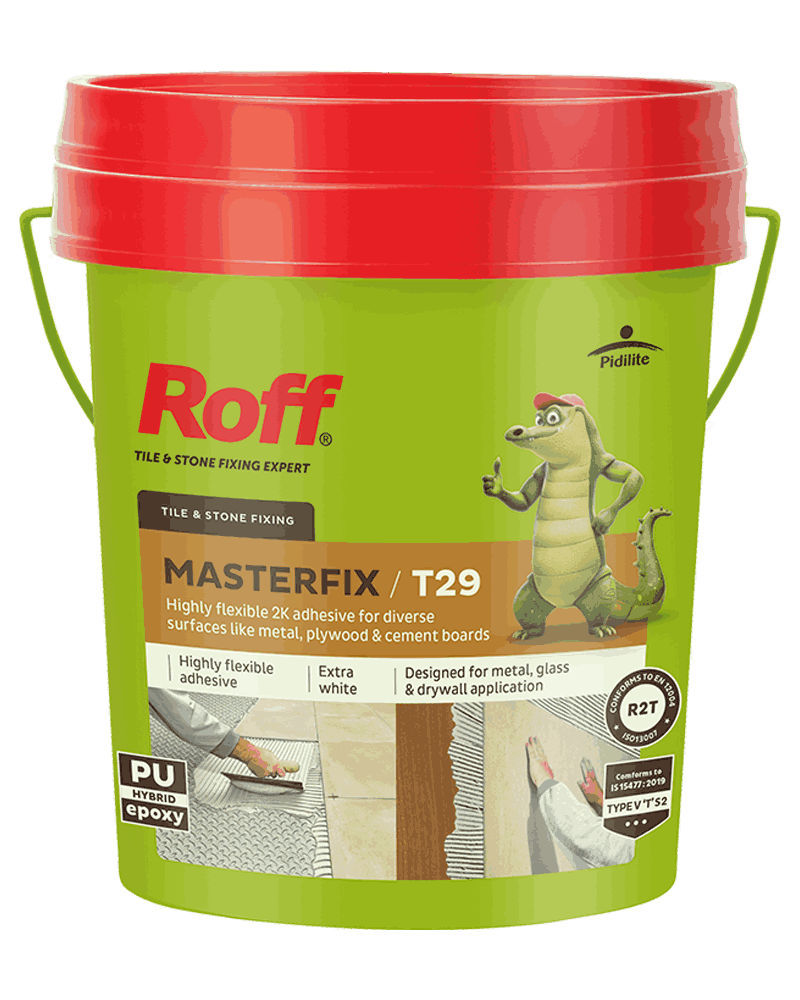
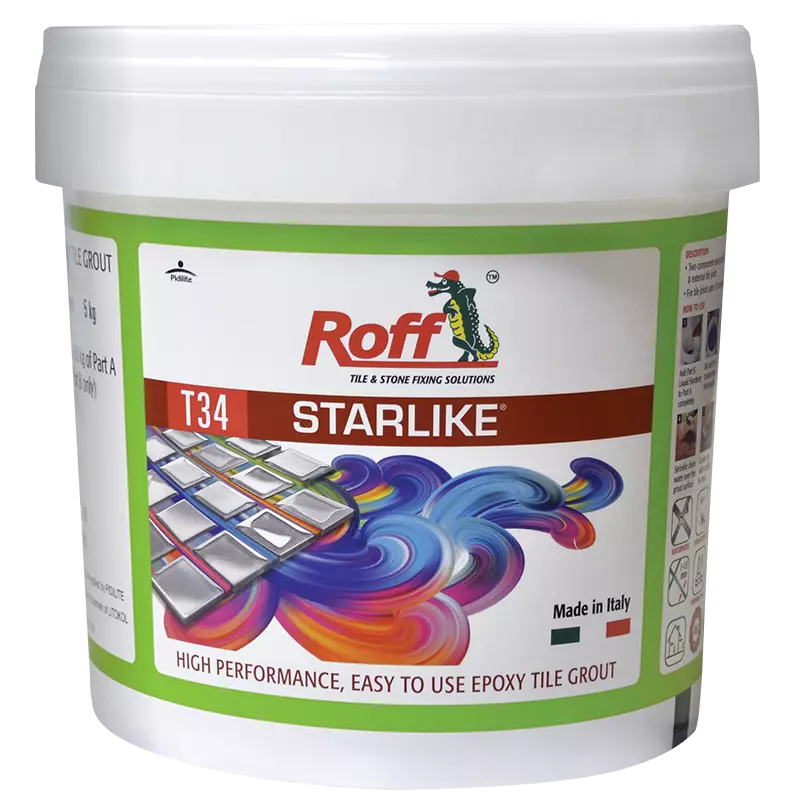
Use a performant tile adhesive and epoxy grout, such as Roff Master Fix Adhesive and Roff Starlike Epoxy Grout, to achieve strong bonding and durable grout joints.
Allow adequate curing time before filling the pool so the waterproofing system, adhesive, and grout reach their intended performance and minimise installation failures.
Swimming pool tiling is one of the most demanding tile installation applications. Unlike regular walls or floors, pool tiles face constant water immersion, chemical treatments, temperature fluctuations, and continuous hydraulic pressure. That is why fixing swimming pool tiles requires more than standard tile adhesives and grouts.
For a durable, long-lasting finish, you need a complete installation system that includes proper waterproofing, a high-performance tile adhesive, and an epoxy grout designed for submerged conditions. Here’s a step-by-step guide to installing swimming pool tiles correctly and keeping them securely bonded for years.
Why Pools Are the Toughest Tiling Job
Swimming pools create conditions that place significant stress on tile installations. Understanding these challenges helps explain why specialised products are essential.
Constant submersion & chemicals
Pool tiles are continuously exposed to water, chlorine, salt, cleaning chemicals, and pH-balancing treatments. Over time, these factors can weaken standard bonding materials, causing discolouration or tile failure.
The adhesive and grout used in swimming pools must be able to withstand:
Continuous water immersion
Chlorine exposure
Saltwater conditions
Chemical cleaning agents
Temperature fluctuations
Standard cement-based systems often struggle in these environments, especially under prolonged moisture and aggressive pool chemicals.
Hydrostatic pressure
Swimming pools are also subjected to hydrostatic pressure, which is the force exerted by water on the tiled surface. This pressure constantly pushes against the bond between the tile and the substrate. Any weakness in the installation system can cause debonding or water penetration behind the tile. A properly designed adhesive and grout system must resist both water ingress and the continuous pressure generated by the water body.
The Right Adhesive + Grout System for Pools
Choosing the right product combination is the most important factor in a successful swimming pool tile installation. The best way to fix swimming pool tiles is to use a waterproofing membrane, a high-performance, pool-grade adhesive like Roff Master Fix Adhesive, and an epoxy grout like Roff Starlike. This system provides strong adhesion, water resistance, and long-term durability under constant submersion.
Because swimming pools remain underwater for extended periods, epoxy grout is generally preferred for long-term performance and appearance.
How to Fix Pool Tiles (Step by Step)
Proper installation requires careful preparation and compatible waterproofing, adhesive, and grouting products.
Waterproof the shell first
Before fixing any tiles, ensure the concrete pool shell is structurally sound, clean, and dry. First, apply a waterproofing system to prevent water migration through the structure. Waterproofing creates a protective barrier that helps prevent leakage and protects the adhesive bond from water-related damage.
Follow these steps:
Clean the pool shell thoroughly.
Repair cracks, honeycombs, or damaged areas.
Ensure the substrate is level and stable.
Apply the waterproofing system according to product instructions.
Allow the waterproofing layer to cure completely before tiling.
Skipping waterproofing can compromise the entire installation, regardless of the quality of the adhesive or grout used.
Fix & epoxy-grout
Once waterproofing is complete, you can begin tile installation.
Step 1: Prepare the adhesive
Mix Roff Master Fix Adhesive according to the manufacturer’s instructions. The adhesive should achieve a smooth, workable consistency that allows easy spreading and proper tile coverage.
Step 2: Apply adhesive
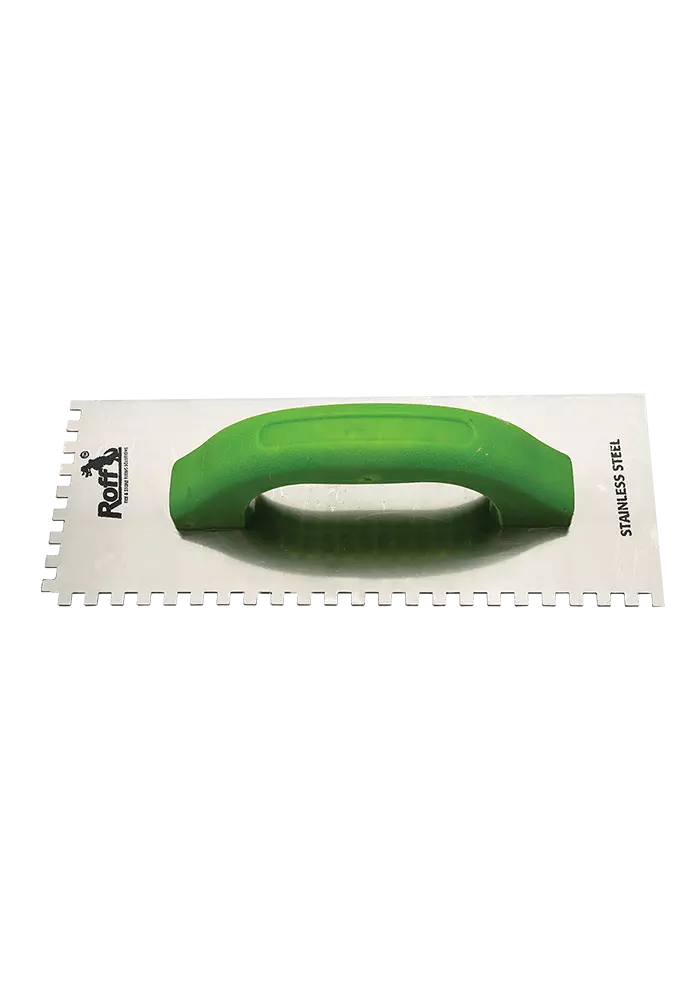
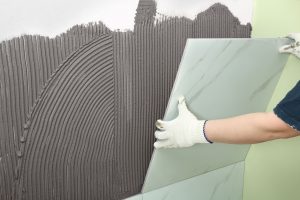
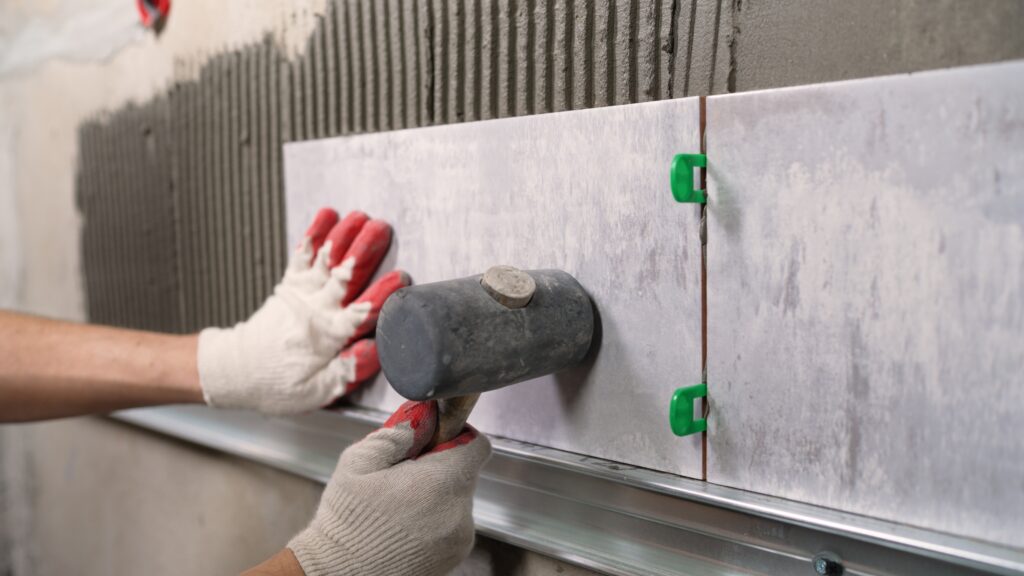
Use a notched trowel to spread adhesive over a manageable section of the surface. Comb the adhesive to create uniform ridges for consistent coverage and better adhesion. Avoid spreading too much adhesive at once, as it may skin over before you place the tile.
Step 3: Fix the tiles
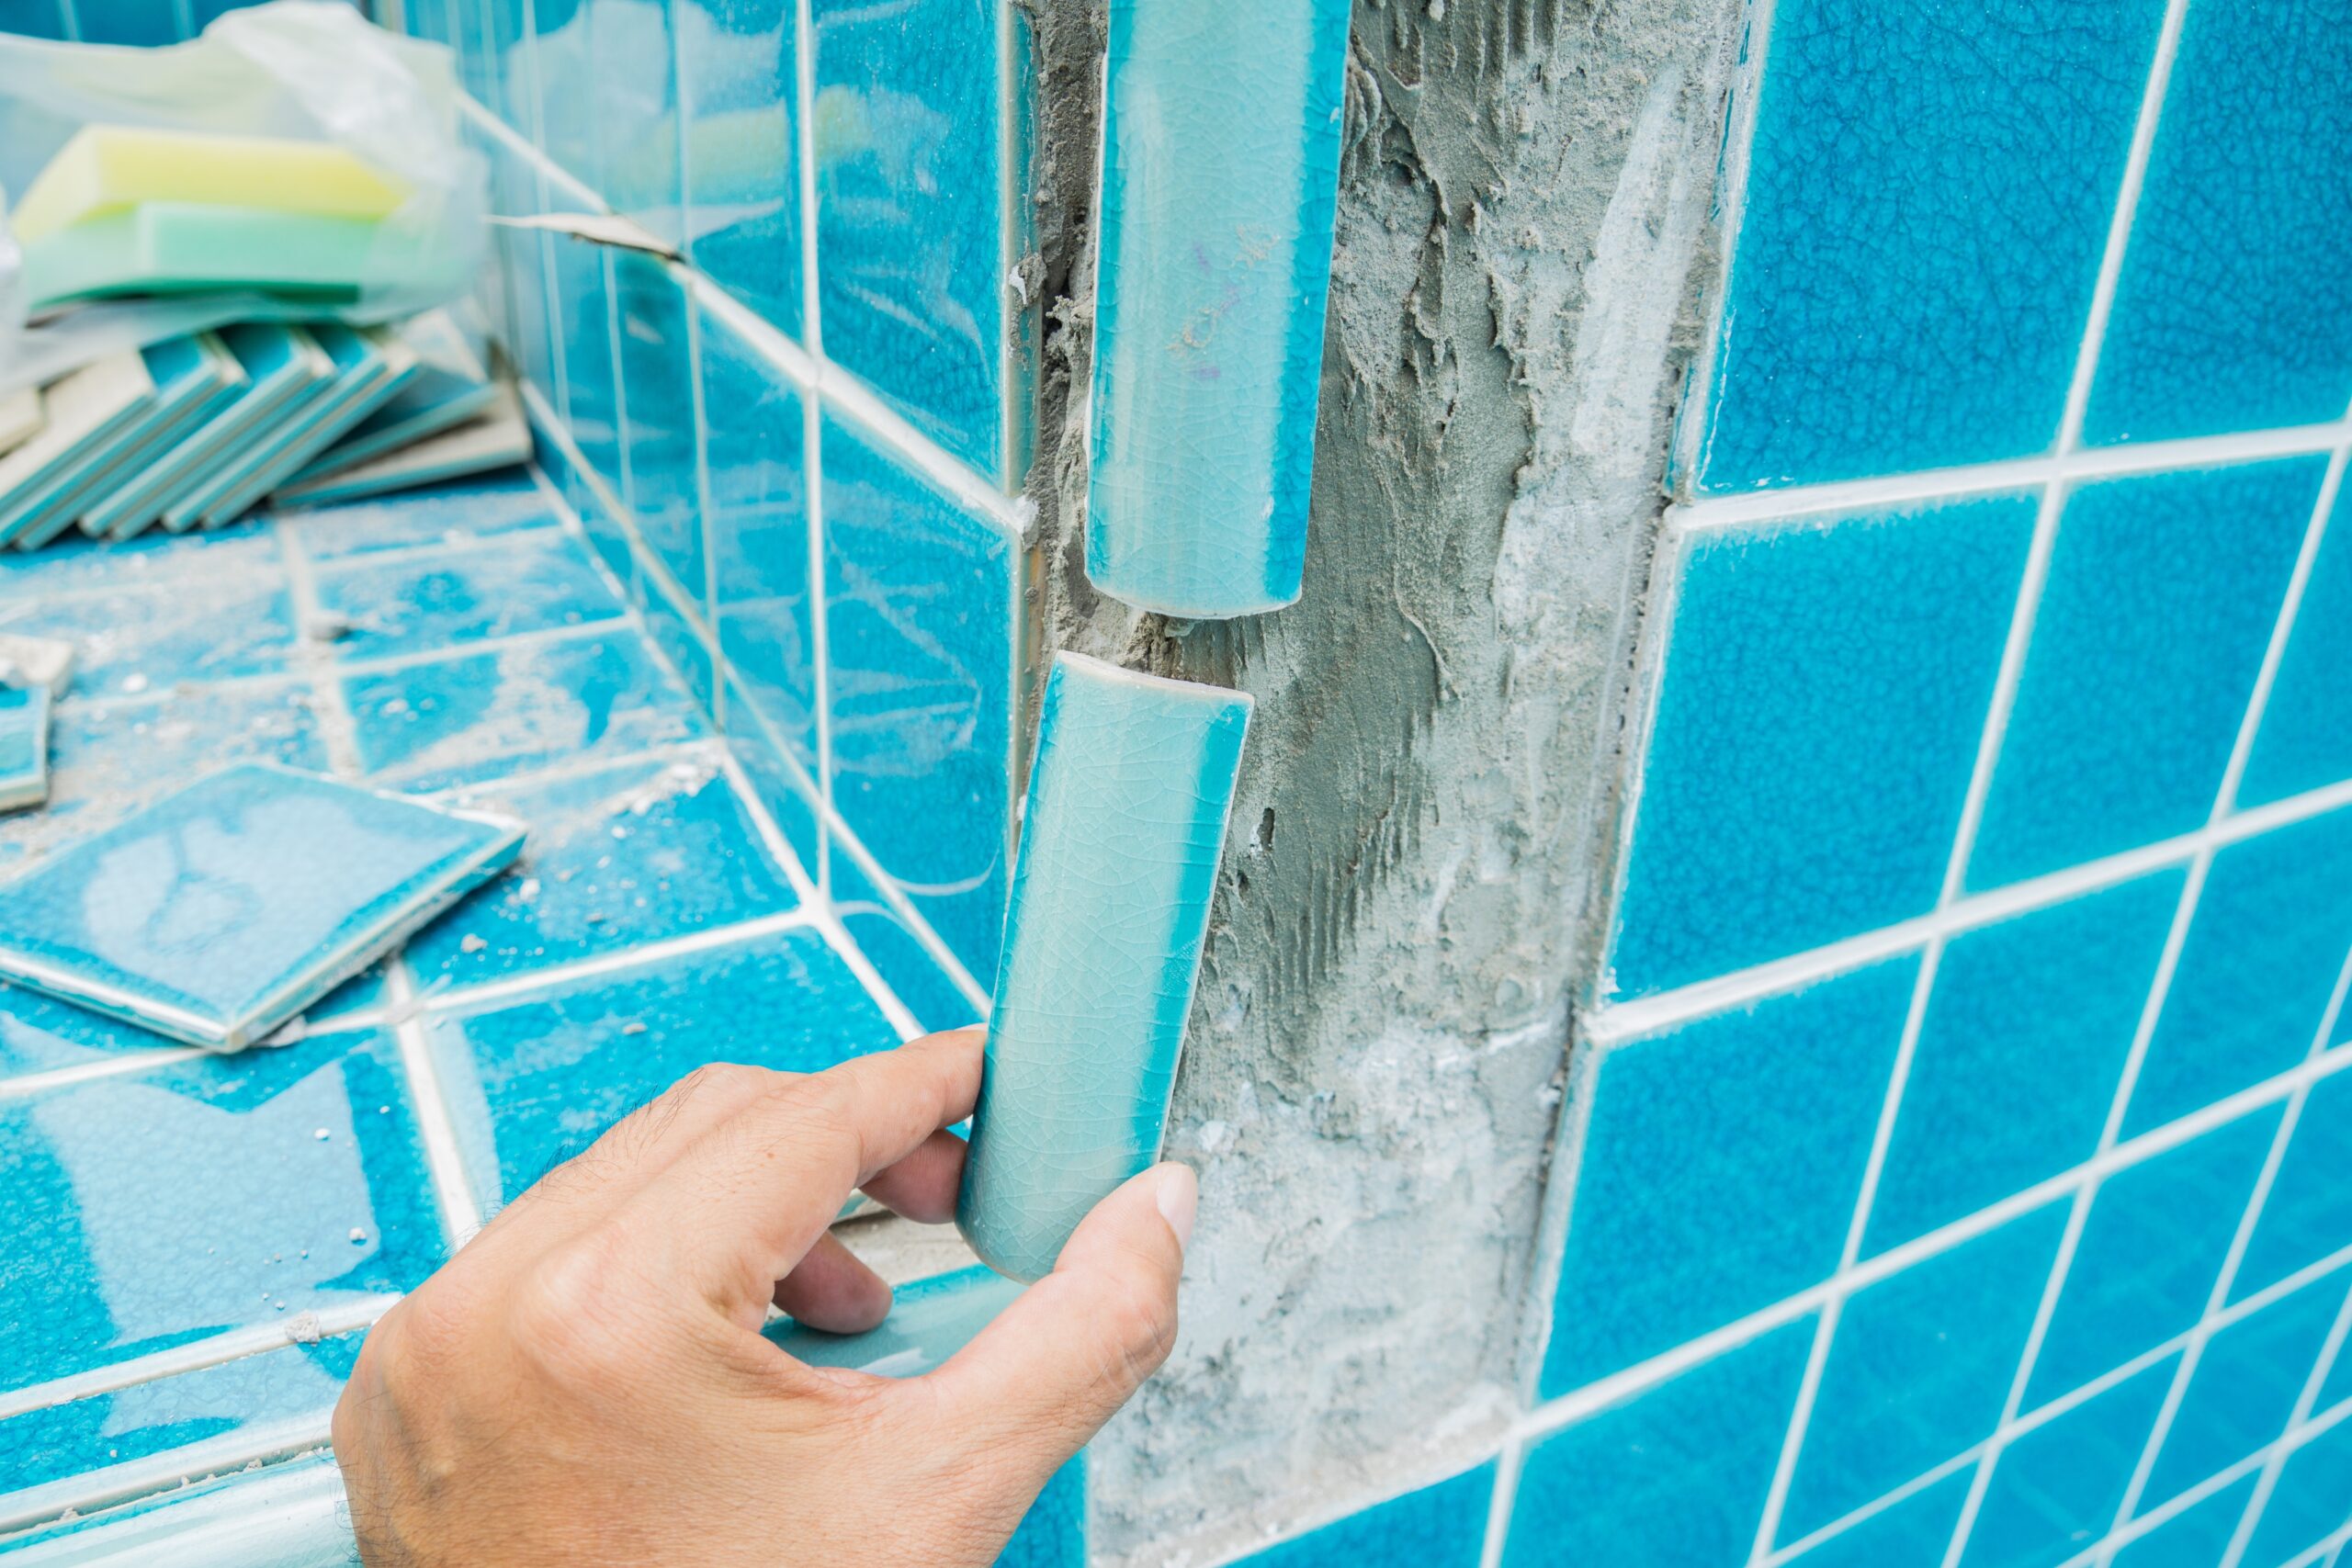
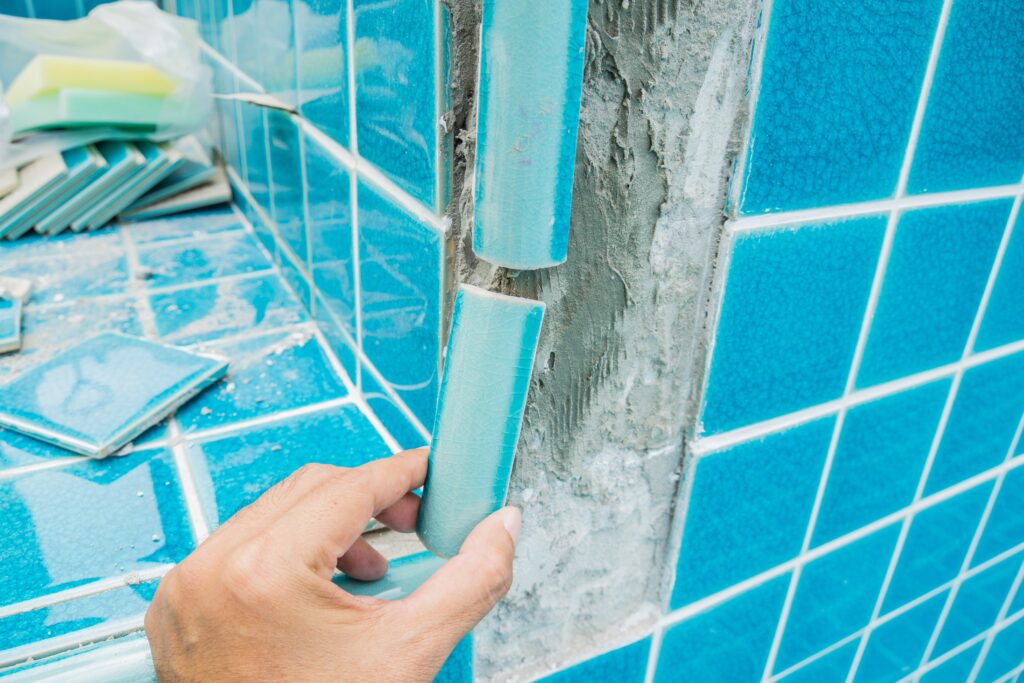
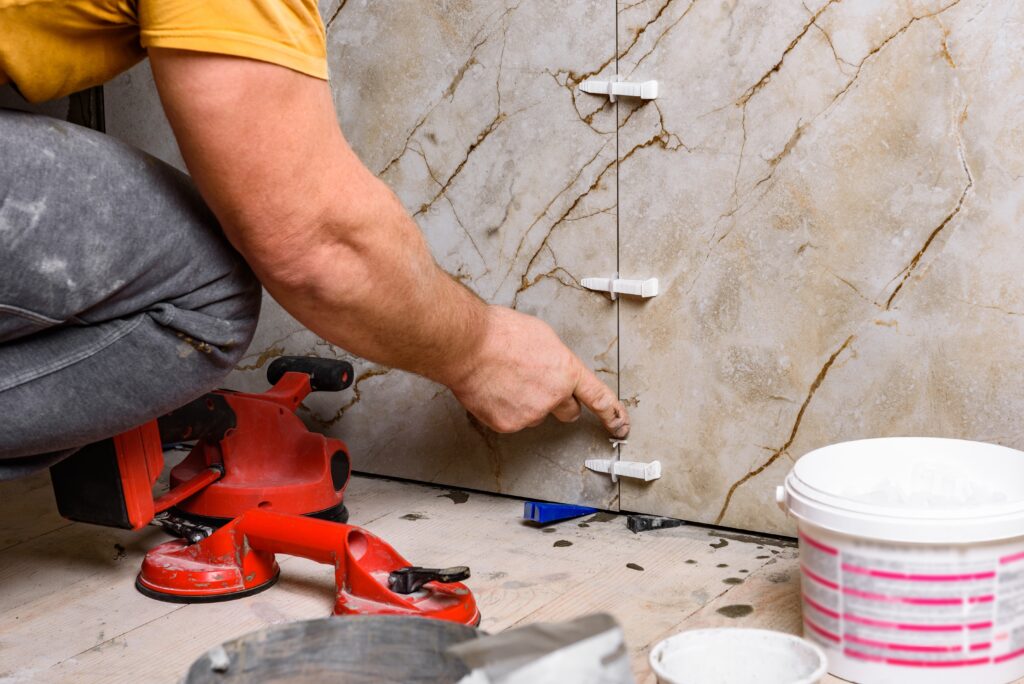
Press each tile firmly into the adhesive, twisting slightly. For swimming pools, achieving full adhesive contact behind every tile is critical. Voids behind tiles can trap water and increase the risk of bond failure.
Continue checking:
Alignment
Levelness
Joint spacing
Adhesive coverage
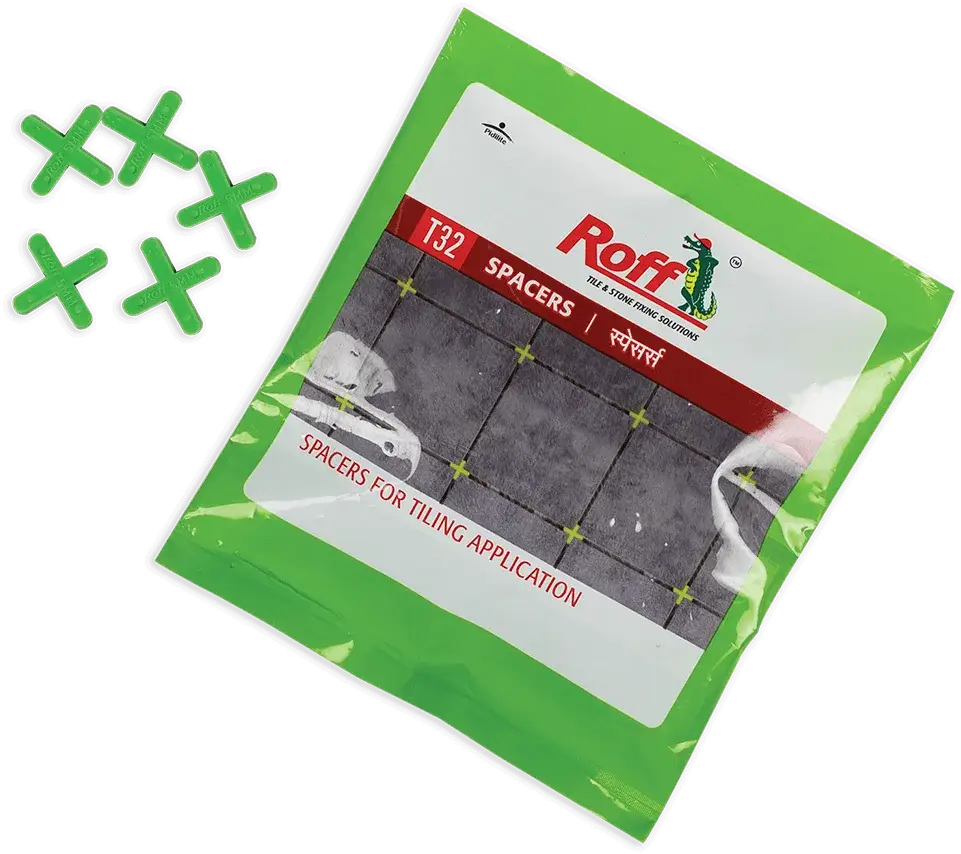
Use spacers where required to maintain consistent grout joints.
Step 4: Allow adhesive curing
Once all tiles are fixed, let the adhesive fully cure before grouting. Grouting before full curing may reduce bond strength and overall installation performance.
Step 5: Apply epoxy grout
After the adhesive cures, grout the joints with Roff Starlike Epoxy Grout. Apply the grout diagonally across the joints with a grout float, ensuring all joints are filled.
Benefits of epoxy grout in pools include:
Waterproof joints
Resistance to chlorine and chemicals
Low maintenance requirements
Enhanced durability
Long-lasting appearance
After grouting, clean excess material from the tile surfaces before the grout fully hardens.
Curing Before You Fill the Pool
One of the most common mistakes in pool tile installations is filling the pool too early. Even when tiles appear secure, the adhesive, grout, and waterproofing system need adequate curing time to reach their intended performance.
Premature water filling can:
Reduce bond strength
Affect grout performance
Cause moisture-related installation failures
Lead to costly repairs
Proper curing is essential for achieving a durable, waterproof tiled surface.
Minimum cure time
Before allowing water contact, ensure all installation materials have cured according to the manufacturer’s recommendations. The exact curing period may vary depending on:
Adhesive type
Grout type
Weather conditions
Site humidity
Temperature
Always follow the curing guidelines provided for each product used during the waterproofing and tiling process. Patience during this stage significantly improves the long-term success of the swimming pool installation.
Frequently asked questions (FAQs)
1) Which adhesive is best for swimming pool tiles?
Pool installations require a high-performance waterproof adhesive designed for submerged applications. Roff Master Fix Adhesive is recommended for swimming pool tile installations.
2) What grout should I use in a swimming pool?
Epoxy grout is generally preferred for swimming pools because it offers superior water resistance, durability, and chemical resistance. Products such as Roff Starlike Epoxy Grout are suitable options.
3) How long before I can fill the pool after tiling?
The pool should only be filled after the waterproofing system, adhesive, and grout have fully cured according to the manufacturer’s recommendations.
4) Is epoxy grout necessary for pools?
Epoxy grout is strongly recommended for swimming pools because it provides better waterproofing and chemical resistance than conventional cement grout.
5) Do pools need waterproofing under tiles?
Yes, waterproofing beneath the tile helps prevent water penetration, protect the substrate, and improve the long-term performance of the pool tiling system.