Check out the biggest trends of the season and our expert take on them.
How to Fix Tiles on a Rough Brick Wall (Correct Surface Prep & Thickness)
Tiling directly onto raw brick is not recommended, as it often leads to failure due to higher thickness, dust, and loose mortar, preventing the adhesive from forming a strong bond, causing hollow spots and eventual tile detachment. Proper preparation creates a sound, level base for the tile adhesive. Missing the surface preparation step is one of the biggest mistakes one can make while fixing tiles on a rough brick surface.
Prepare the Brick Surface First
Start by preparing the plaster rather than trying to compensate for a rough surface with excessive adhesive. Clean it, dampen it as appropriate, and create a suitable level plastered surface before tiling. Tip for surface preparation include:
Clean & dampen the brick
Remove dust, loose mortar, dirt and other material from the brick surface. Dampen the brick surface as required, so that the surface is properly prepared without leaving standing water.
Level with plaster
Raw rough brick has an open, irregular surface, so applying tiles directly can cause inconsistent adhesive coverage and make it difficult to keep the tiles aligned. First, level the wall with a cement-based plaster to create a flat, stable surface, and allow it to cure for the time specified by the manufacturer before tiling. A sound, sufficiently level base reduces the need to use an unnecessarily thick adhesive layer. Plaster should be levelled properly and should not have a level difference of more than 3 mm in a 2 meter span.
How to Fix Tiles on Rough Brick, Step by Step
First, level the rough brick surface with suitable plaster, then apply the recommended Roff adhesive at the correct bed thickness for the product. For a standard cementitious tile adhesive, it is recommended to use 12 mm thickness, subject to the product specification and site conditions.
Comb, set and level
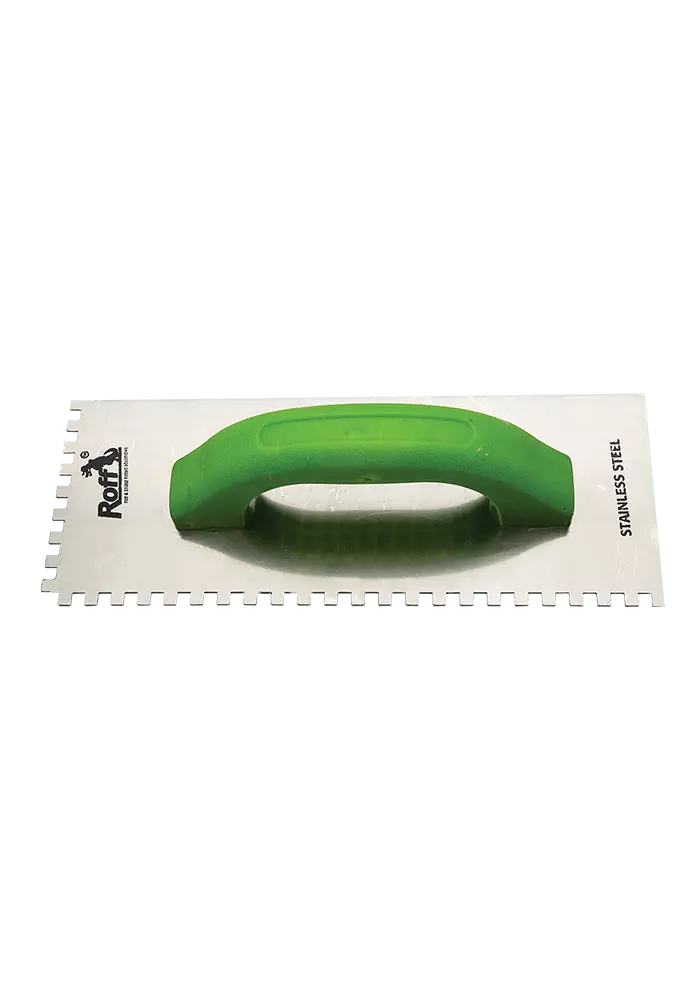
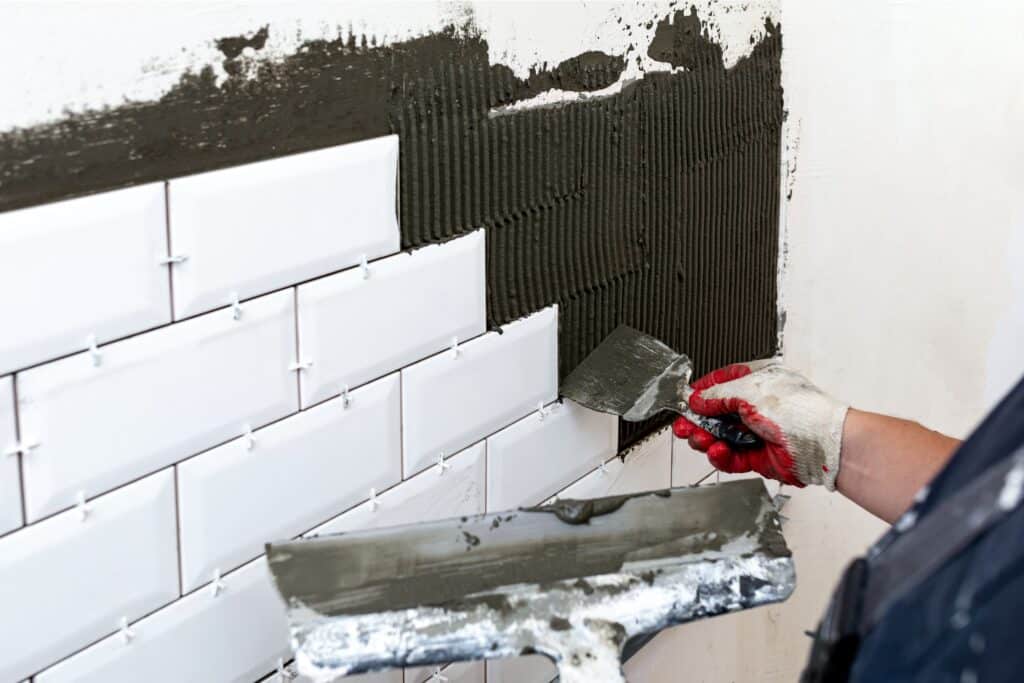
Clean the surface by removing dust, then make the surface damp. Mix and apply the adhesive according to the product instructions. Use a notched trowel to comb the adhesive into consistent ridges, keeping the trowel at the recommended angle. Press the tile into the adhesive with the required movement to achieve good contact, then check alignment and level. Avoid relying on isolated dabs of adhesive, as these can leave unsupported areas.
Getting the Adhesive Thickness Right
When tiling diverse substrates, getting the adhesive thickness right is essential. Adhesive thickness depends on the condition of the prepared surface, tile size, and the type of adhesive used. Applying adhesive thicker than the manufacturer’s limit can cause poor adhesion, leading to uneven and lipped tiles.
Thick-bed vs thin-bed
Thin-bed application is suitable when the prepared surface is already sufficiently level, and the selected adhesive is designed for a thinner adhesive layer. Use thick-bed application when the product is specifically designed to accommodate greater surface variation.
Avoid one over-thick coat
Do not apply one excessively thick coat of adhesive to compensate for a rough or poorly prepared surface. If additional build-up is required, level the surface correctly first or build up the adhesive as recommended for the selected product. Keep each application within the manufacturer’s specified thickness limits to maintain proper bonding and tile alignment.
Which Roff Adhesive to Use
For fixing tiles over a properly prepared plastered/levelled surface, choose an adhesive designed for the substrate and the required adhesive-bed thickness.
Best pick for brick/masonry
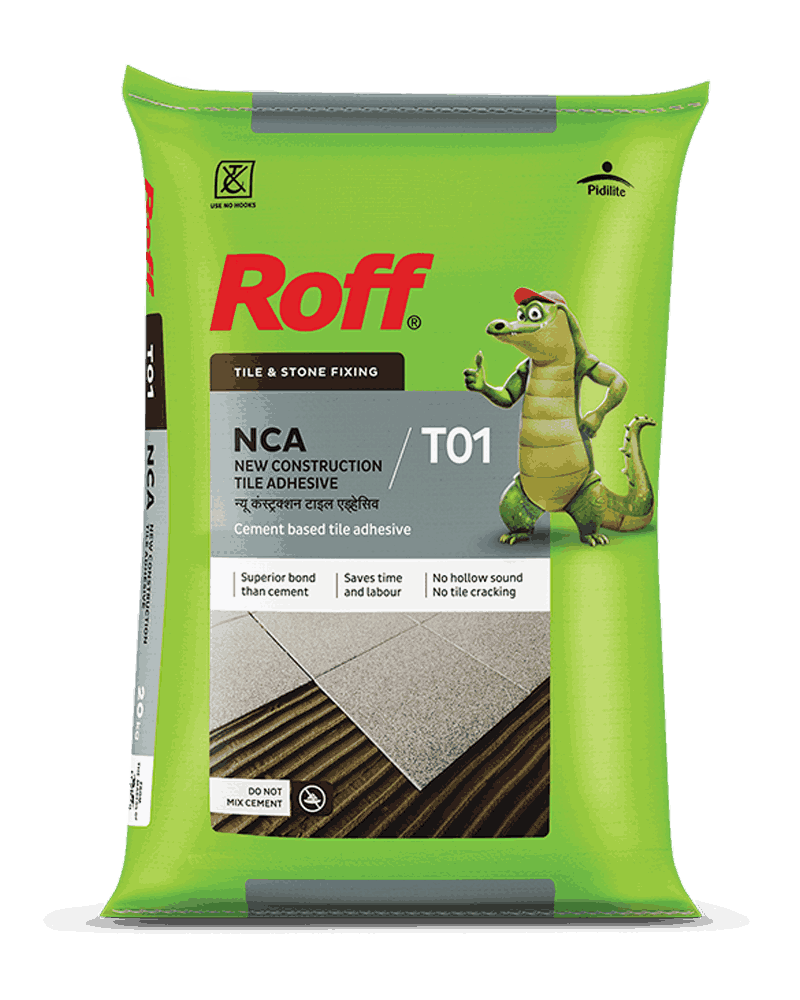
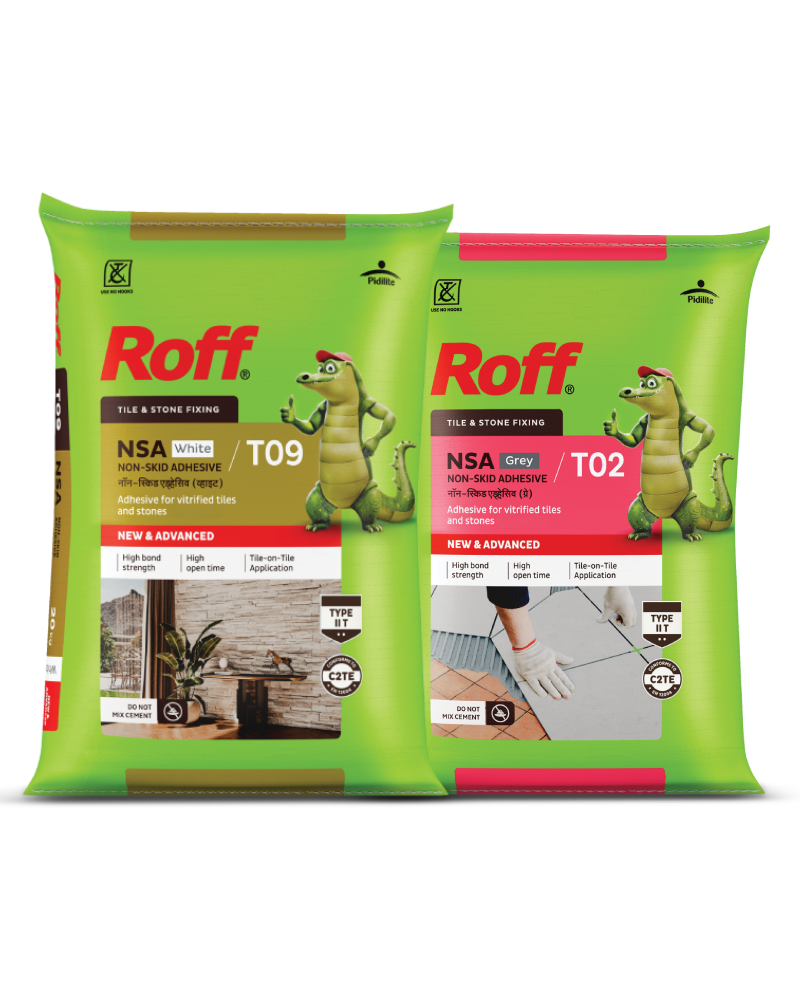
Roff Non Skid Adhesive (NSA) is a suitable Roff option for tile installation on the plaster surface. Use it according to the product’s recommended application and adhesive-bed thickness. Ensure the brick surface has been properly prepared and levelled before tiling.
Common Mistakes
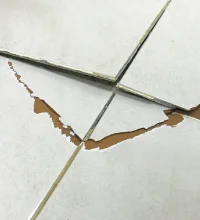
Applying tile adhesive directly over loose, dusty, or highly uneven brickwork can weaken the bond and create hollow spots behind the tiles. Wall treatment can greatly improve adhesive performance and should be the first step in any tile installation procedure. Another common mistake is using adhesive to compensate for large surface irregularities instead of first levelling and preparing the brick surface properly.
Skipping plaster / no curing
Tiling directly on raw brick: Skipping surface preparation can result in inconsistent adhesive contact and make it difficult to achieve a properly aligned tile surface.
Using adhesive to level the wall: Do not rely on an excessively thick adhesive layer to correct a poorly prepared brick surface.
Tiling before plaster cures: Allow the plaster to cure for the period recommended for the plaster system before applying tile adhesive.
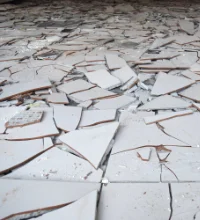
Ignoring surface condition: Dust, loose material or an inadequately prepared plastered surface can weaken the bond and contribute to tile failure.
Frequently asked questions (FAQs)
1) Can I fix tiles directly on brick?
It is generally better to prepare and level rough brick with suitable plaster before tiling rather than fixing tiles directly to raw brick. This provides a more suitable base for consistent adhesive application.
2) What is the maximum tile adhesive thickness?
For a standard cementitious tile adhesive, guidance is up to approximately 12 mm. The actual maximum depends on the specific product, so follow its technical instructions.
3) Do I need to plaster a brick wall before tiling?
For a rough brick surface, plastering and levelling are recommended to create a suitable tile-ready base and improve adhesive coverage.
4) Which adhesive works on plastered brick wall?
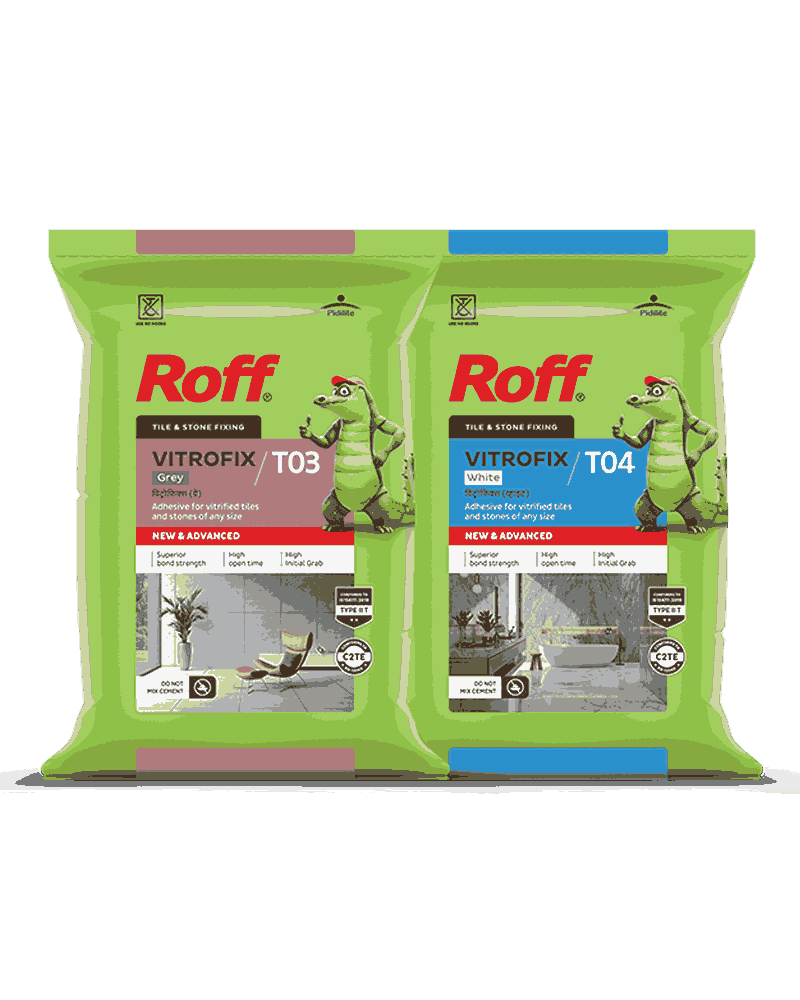
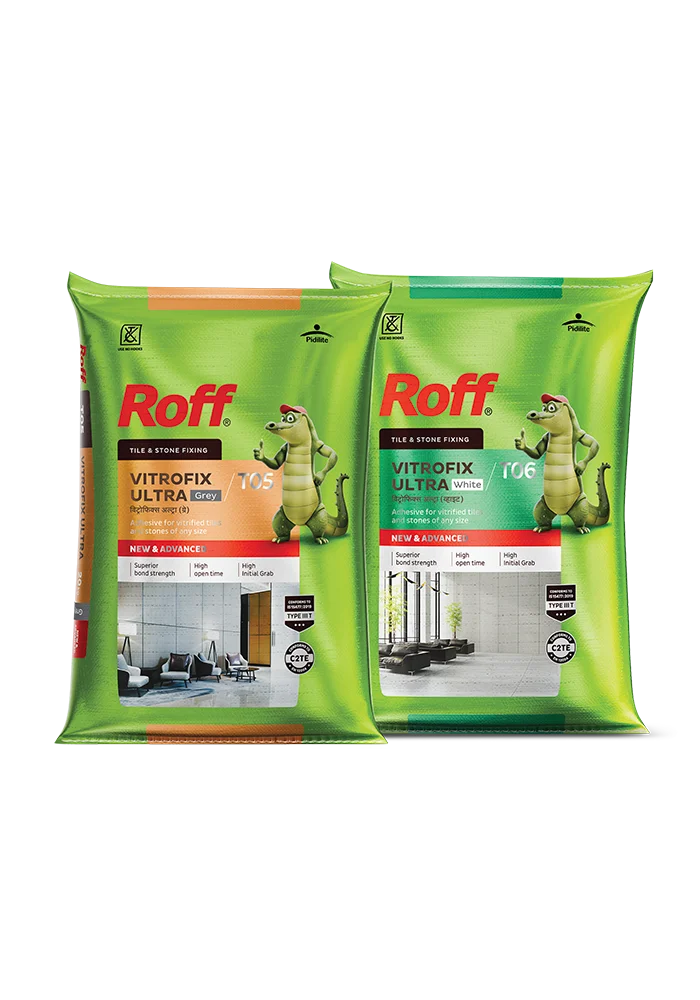
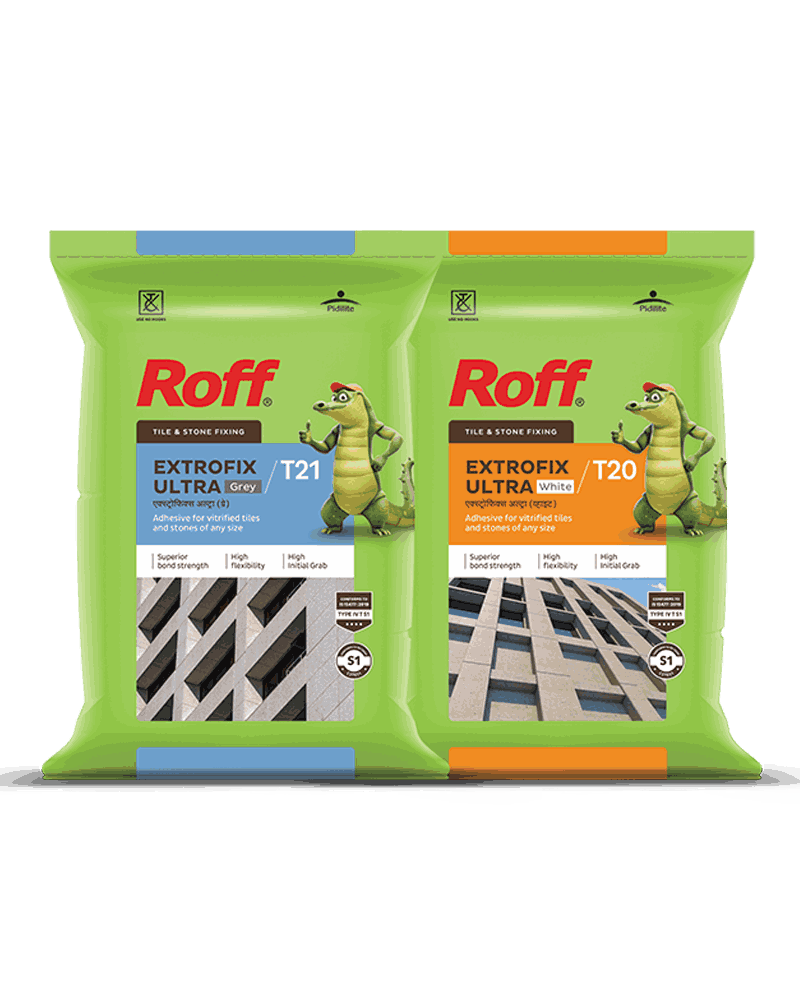
Choose a Roff adhesive specifically recommended for the specific application. Roff Non Skid Adhesive (NSA) and Roff Vitrofix are recommended for internal tile fixing, while Roff Extrofix is recommended for external tile fixing.
5)How long should the plaster cure before tiling?
Allow the plaster to cure for the period specified by the manufacturer (the standard timeline is around 28), and the time may vary with site conditions as well as the needs of the construction timeline.