Check out the biggest trends of the season and our expert take on them.
Why Do Tiles Fall Off Walls? Causes & Fixes
Key Takeaways
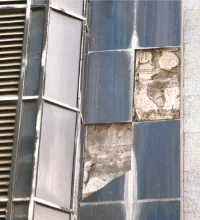
Wall tiles commonly loosen because of poor surface preparation, hollow bonding, unsuitable adhesive, moisture exposure, or inadequate movement joints.
Check early warning signs such as a hollow sound, cracks, lippage, or visible movement before the tile completely debonds.
Re-fixing requires a clean, sound substrate, the correct tile adhesive, proper trowel application, and adequate adhesive coverage, not spot bonding.
Long-term prevention depends on proper waterproofing in wet areas, suitable joint spacing, the right adhesive, and sufficient curing time.
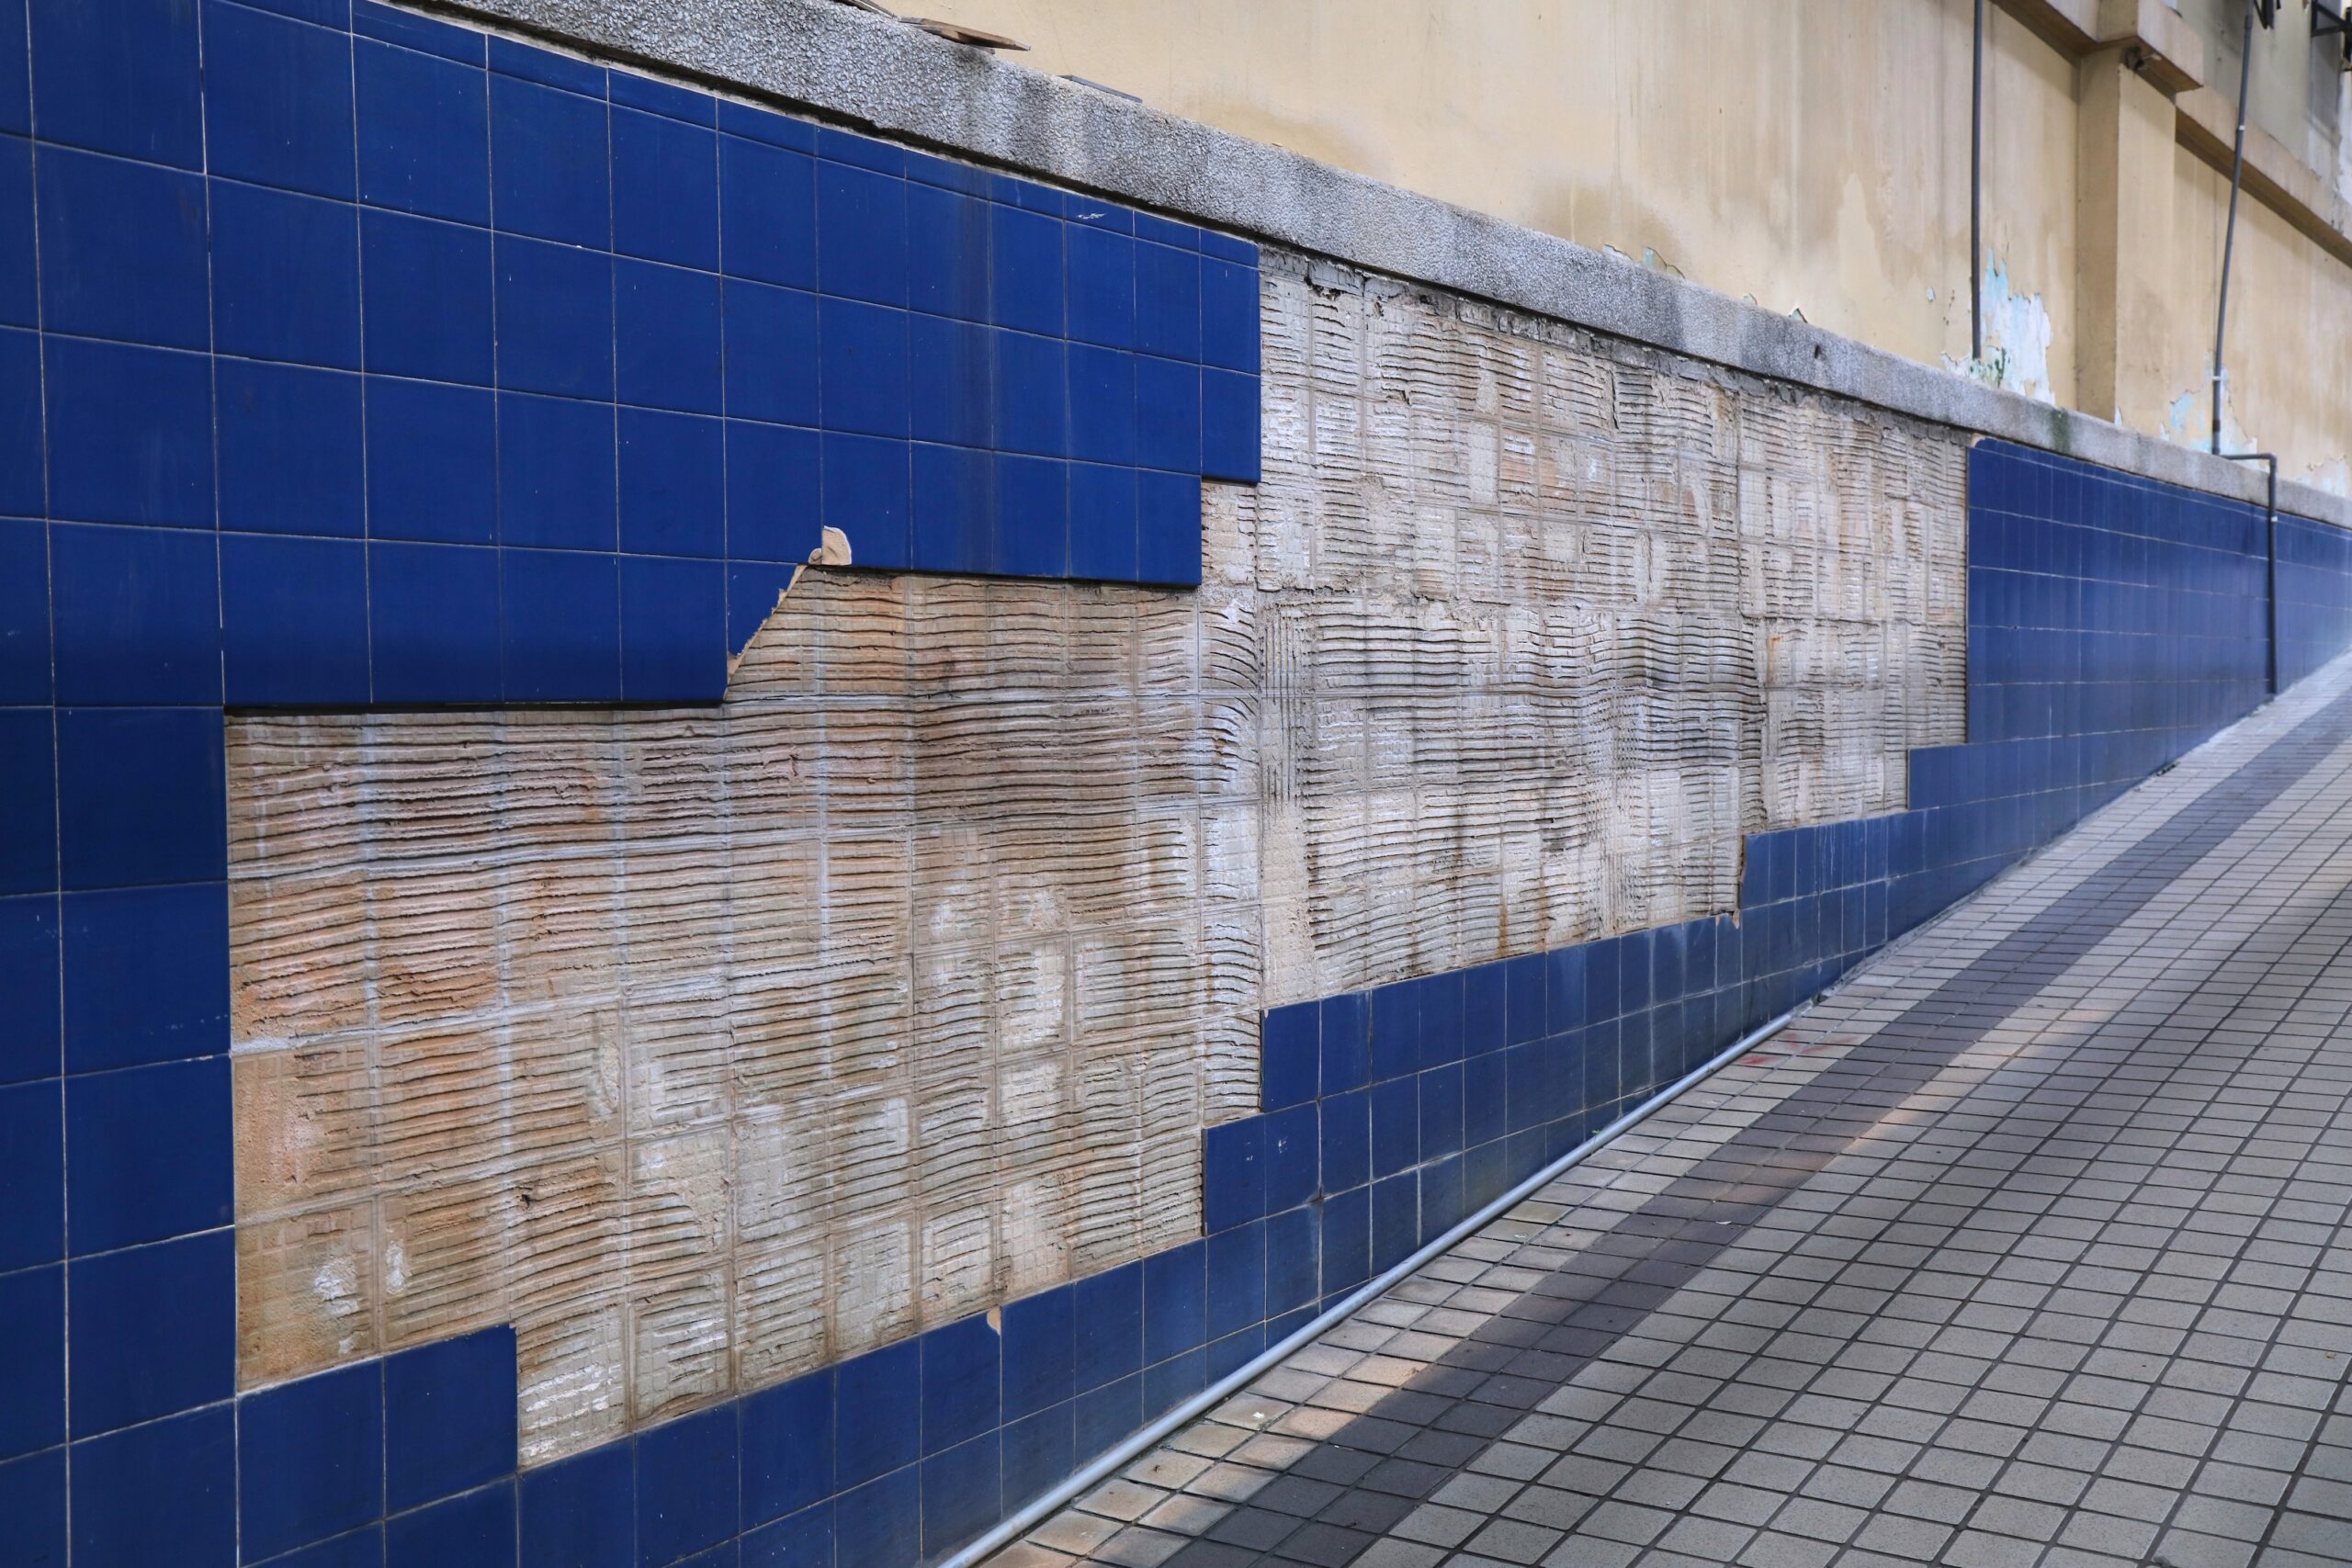
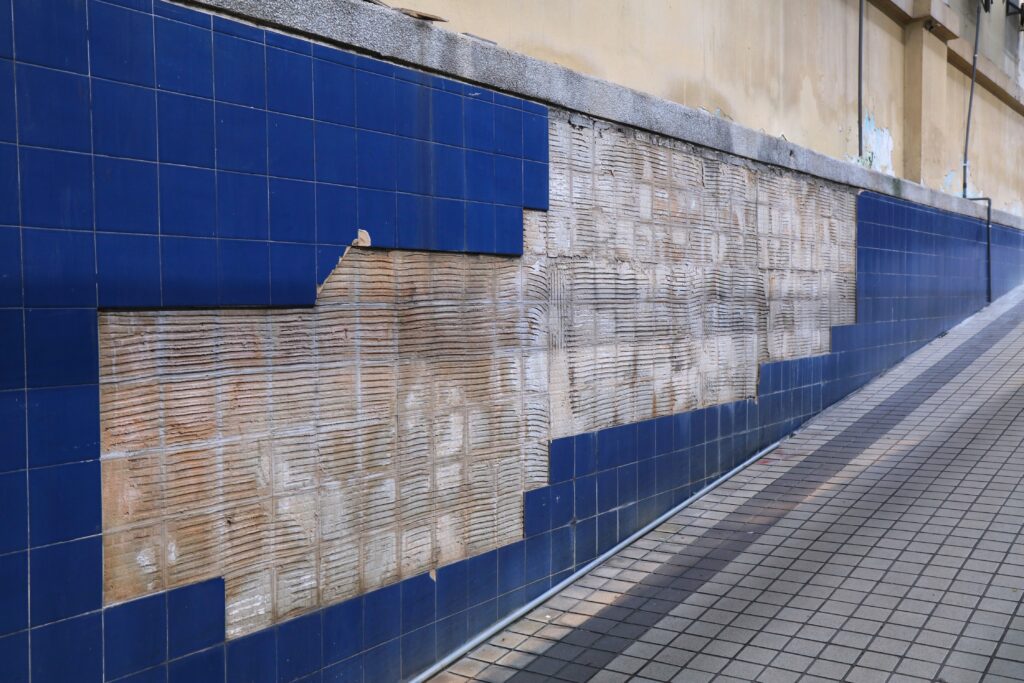
Wall tiles can come loose or fall off when the bond between the tile and substrate is inadequate. Hollow bonding, unsuitable adhesive, wrong application technique, and poor surface preparation are common causes, but the right adhesive, proper installation technique, and adequate curing can usually prevent the problem.
The Main Causes
Several installation and site-related problems can weaken the bond between a wall tile and its substrate. Identifying the cause matters because replacing a fallen tile without addressing the underlying problem can lead to repeated failure. Once you identify the cause, proper wall treatment is essential for long-term durability.
Wall tiles can come loose because of:
Hollow or spot bonding: Gaps beneath the tile reduce adhesive contact and leave unsupported areas.
Cement instead of tile adhesive: Ordinary cement may not provide the bonding performance required for modern tile installations.
Wrong application technique: Not using the right notch trowel during the application process can lead to improper adhesion.
Missing movement joints: Without sufficient room for movement, stress can build up and affect the tile installation.
Poor surface preparation: Dust, loose material, contamination or an unsuitable substrate can prevent proper adhesion.
Moisture & missing joints
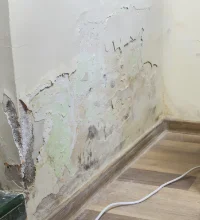
Wet areas such as bathrooms are particularly sensitive to moisture-related problems. Water can enter through poorly protected areas, joints or cracks and affect the installation beneath the tiles. Address waterproofing before tiling where required.
Tiles and their substrates can also move slightly due to temperature changes and other stresses. Movement joints allow for this movement and help prevent excessive stress from transferring to the tiled surface. Incorporate them where the installation design requires them, rather than eliminating joints to create a continuous surface.
How to Tell a Tile Is About to Fail
A tile may show warning signs before it completely debonds from the wall. Checking these signs early can allow you to repair the affected area before neighbouring tiles are also affected.
Hollow sound, cracks, lippage
Look for these warning signs to identify tiles that may be at risk of becoming loose or falling off:
Hollow sound: Tap the tile gently and compare its sound with firmly bonded surrounding tiles. A hollow sound can indicate insufficient adhesive contact or voids beneath the tile.
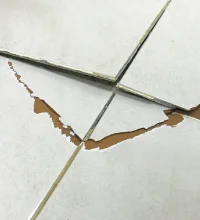
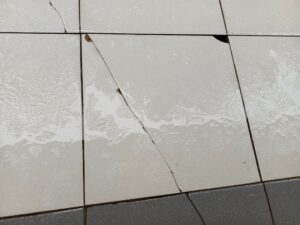
Cracks: Cracks through the tile or along grout joints can indicate stress, impact or movement in the installation.
Lippage: When one tile sits noticeably higher or lower than an adjacent tile, it can indicate poor setting or an unsuitable adhesive bed.
Movement: A tile that shifts, flexes or feels loose when pressed should be addressed before it falls.
These signs don’t always point to one specific cause, so assess the substrate and adhesive bed before deciding on a repair.
How to Fix and Prevent It
The correct repair depends on the condition of the tile and substrate. You can re-fix a tile that has completely fallen off if the underlying surface is sound and properly prepared.
Re-fix with the right adhesive
Remove loose material and old adhesive from the substrate and clean the surface thoroughly.
Use a tile adhesive appropriate for the tile and substrate rather than relying on cement or household glue.
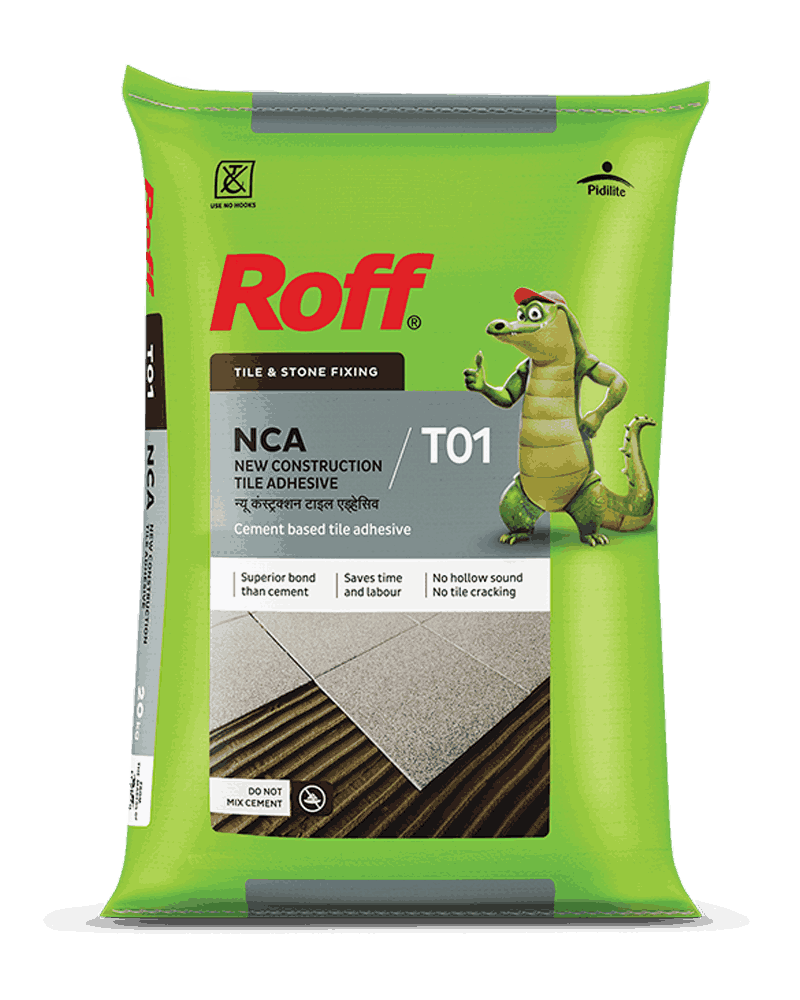
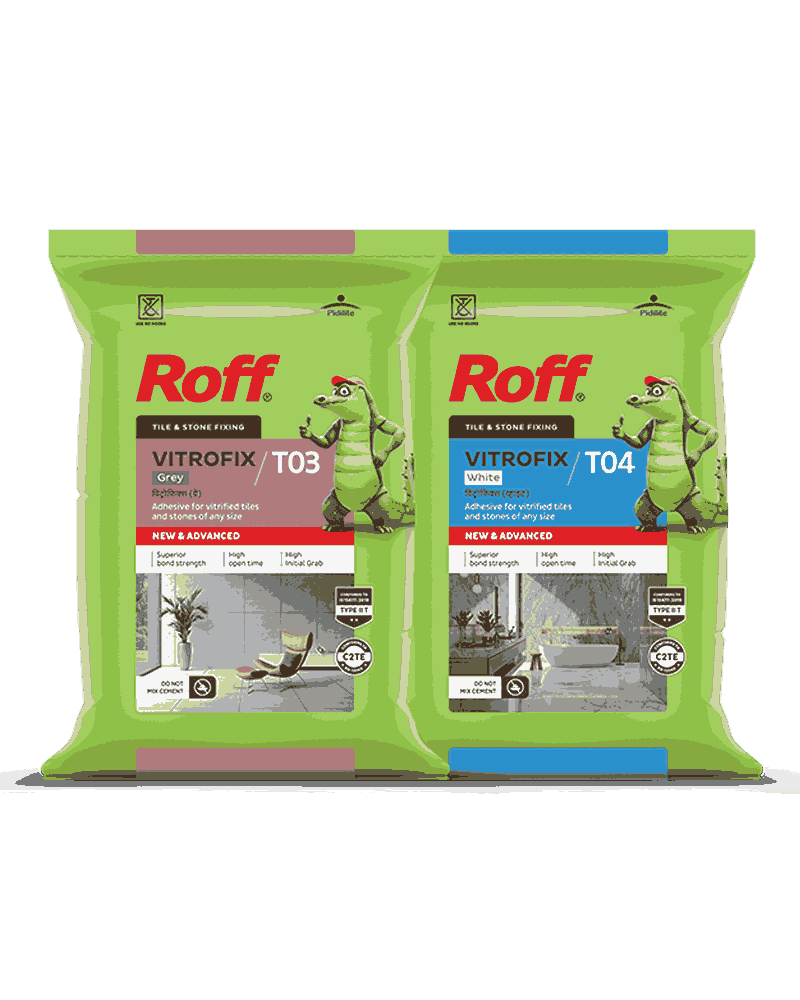
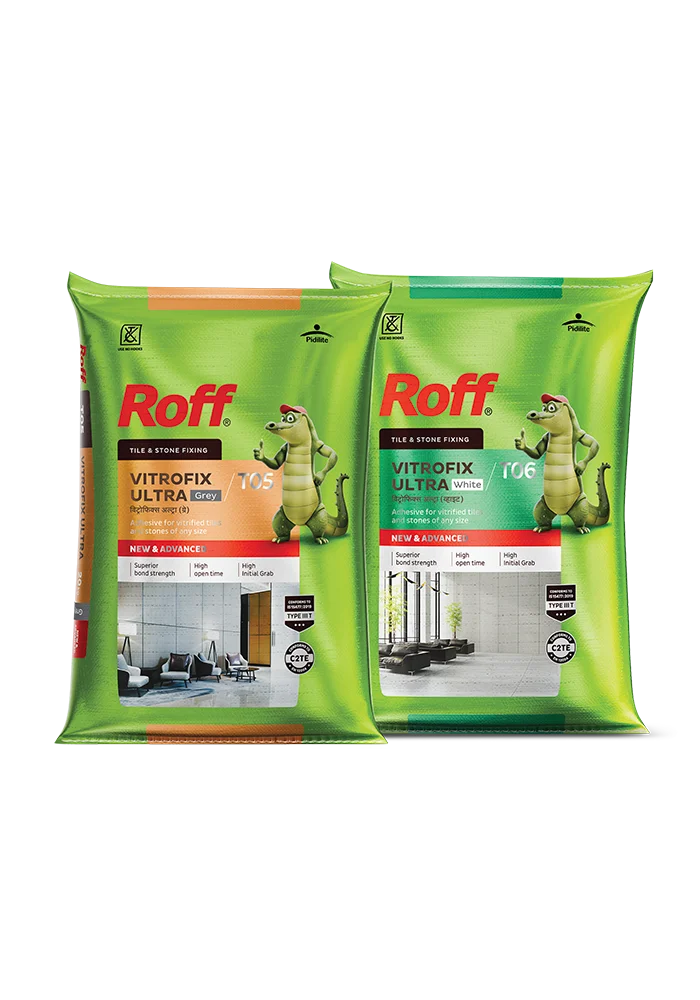
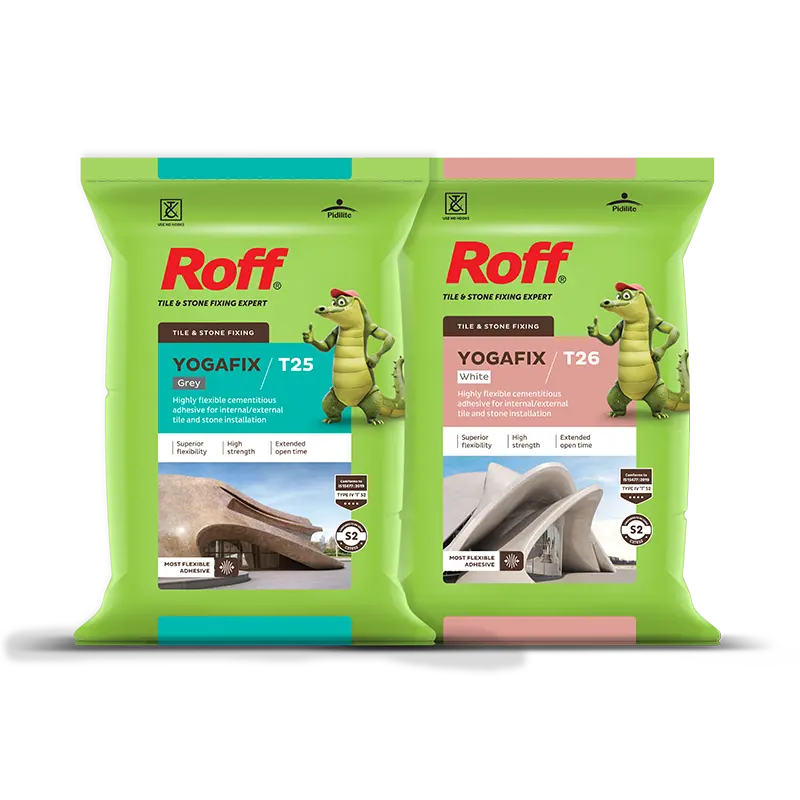
For suitable vitrified tile applications, Roff Vitrofix Adhesive provides a polymer-modified adhesive solution designed for strong bonding on recommended substrates.
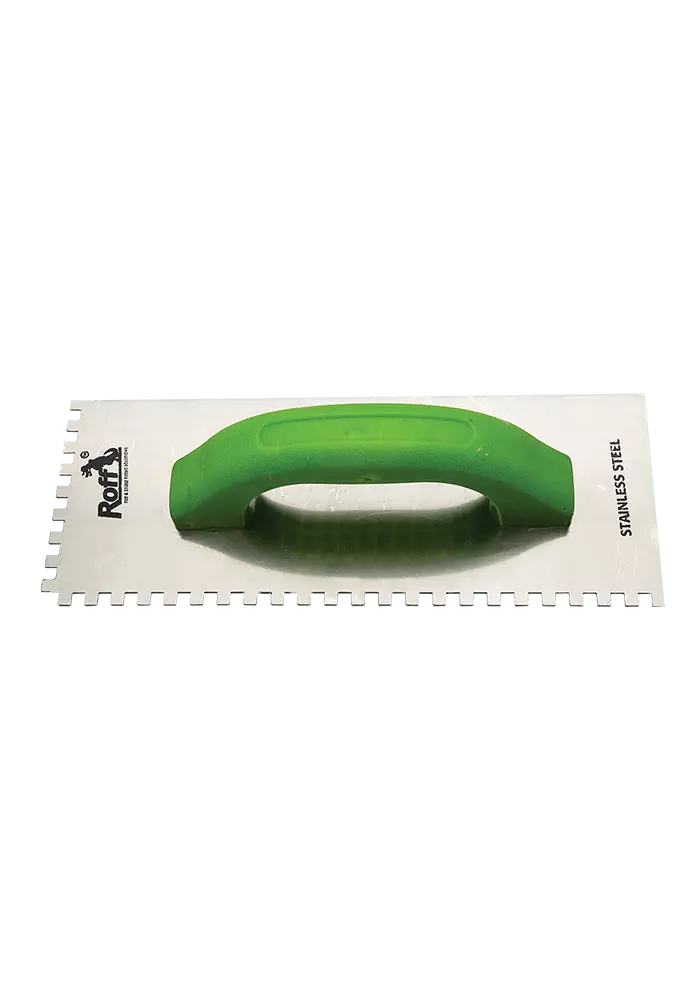
Apply the adhesive according to the manufacturer’s instructions and use the appropriate notched trowel.
Aim for full adhesive contact,not isolated dabs.
Comb the adhesive evenly, press the tile firmly into position and check its alignment.
Proper coverage helps reduce hollow areas and provides more consistent support across the back of the tile.
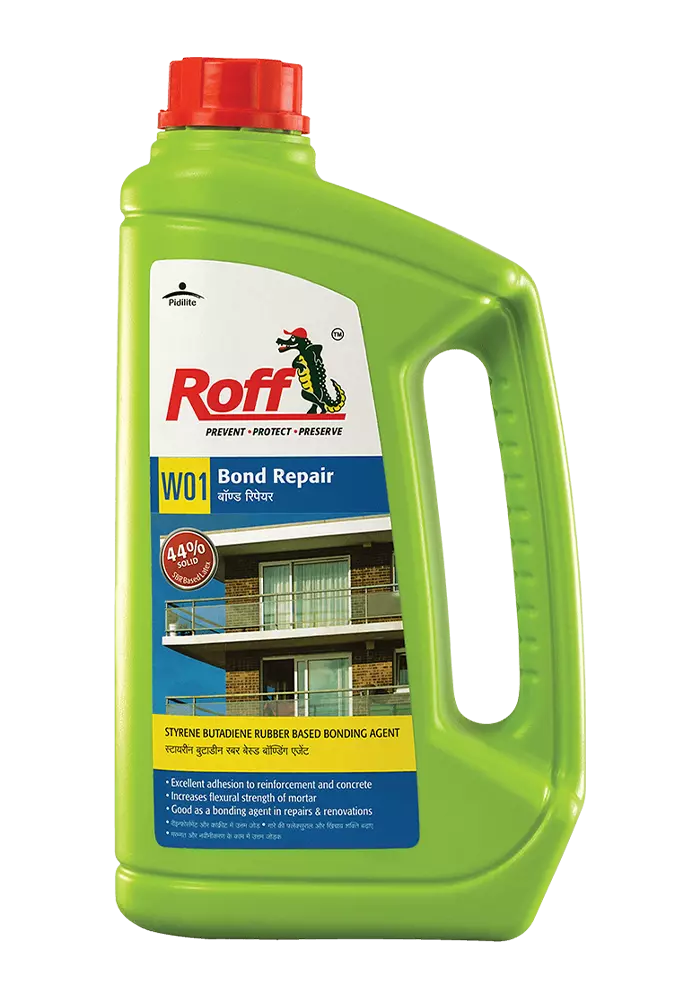
If the substrate or bond is damaged beyond simple cleaning and re-fixing, consider a suitable repair product such as Roff Bond Repair, provided its application matches the repair requirement.
Waterproof wet areas
In bathrooms and other wet areas, complete waterproofing as part of the system before installing tiles. Tile adhesive is not a substitute for a dedicated waterproofing layer. Address water ingress, leaking plumbing or damaged waterproofing before replacing tiles. Otherwise, moisture can continue to affect the substrate and contribute to repeated debonding. Once you’ve resolved the underlying issue, re-fix the tile using an adhesive suitable for the application.
Prevention Checklist
A good prevention routine helps ensure tiles remain firmly bonded and reduces the risk of future cracks, hollow spots, or movement. Before starting the installation, keep these basic practices in mind:
Do-it-right habits
Use the right adhesive: Select an adhesive compatible with the tile, substrate and installation conditions.
Prepare the surface: Remove dust, loose material and contaminants before applying adhesive.
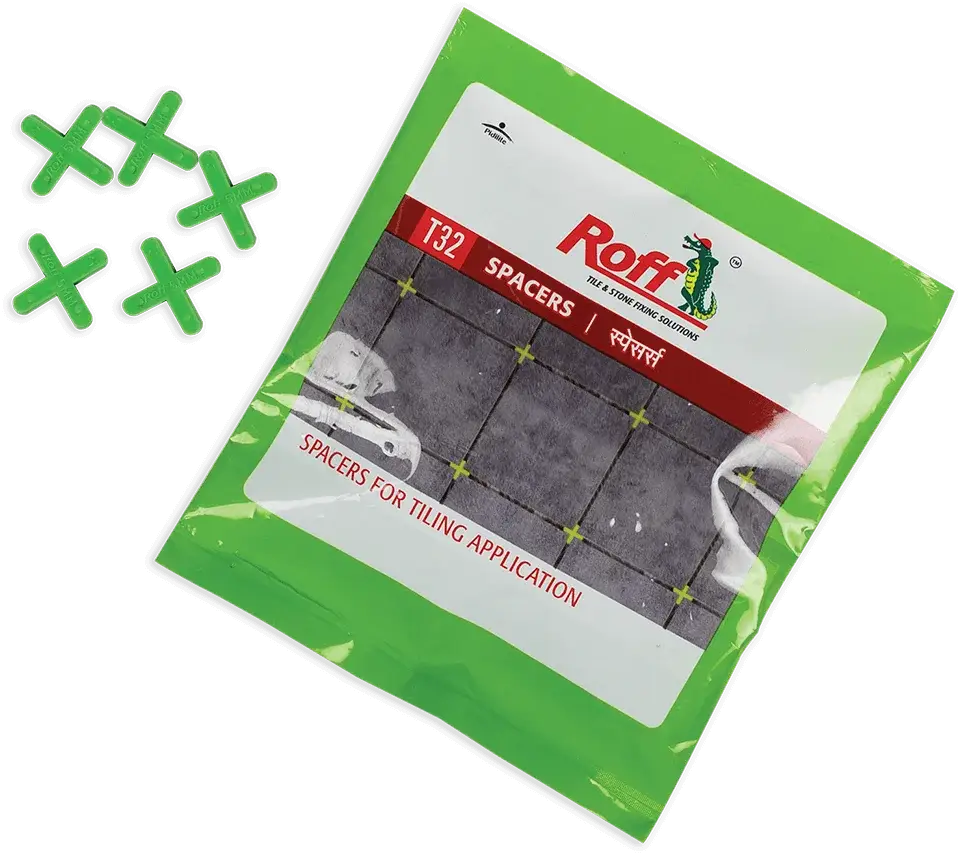
Use spacers: Maintain consistent joints between tiles and provide movement accommodation where required by the installation.
Ensure proper coverage: Comb adhesive evenly and achieve adequate contact instead of spot bonding.
Allow proper curing: Do not disturb, load or expose the installation to conditions that could interfere with curing before the manufacturer’s recommended time has elapsed.
Frequently asked questions (FAQs)
1) Why do wall tiles fall off over time?
Wall tiles can fall off because of poor surface preparation, hollow or spot bonding, unsuitable adhesive, wrong application techniques or inadequate movement accommodation.
2) What is hollow bonding?
Hollow bonding occurs when gaps or voids form beneath a tile because the adhesive has not made adequate contact with the tile and substrate. These unsupported areas can weaken the installation.
3) Can I re-fix a fallen tile myself?
Yes, if the tile and substrate are in sound condition and you can properly remove loose adhesive, prepare the surface and apply a suitable tile adhesive. Address significant substrate damage or persistent moisture problems first.
4) Does cement cause tiles to fall?
Using ordinary cement instead of a suitable tile adhesive can contribute to bonding problems because cement is not necessarily formulated for the tile and substrate combination or installation conditions.
5)How do I stop tiles from popping?
Use the correct adhesive, prepare the substrate properly, ensure good adhesive coverage, maintain appropriate joints, and allow the installation to cure properly.